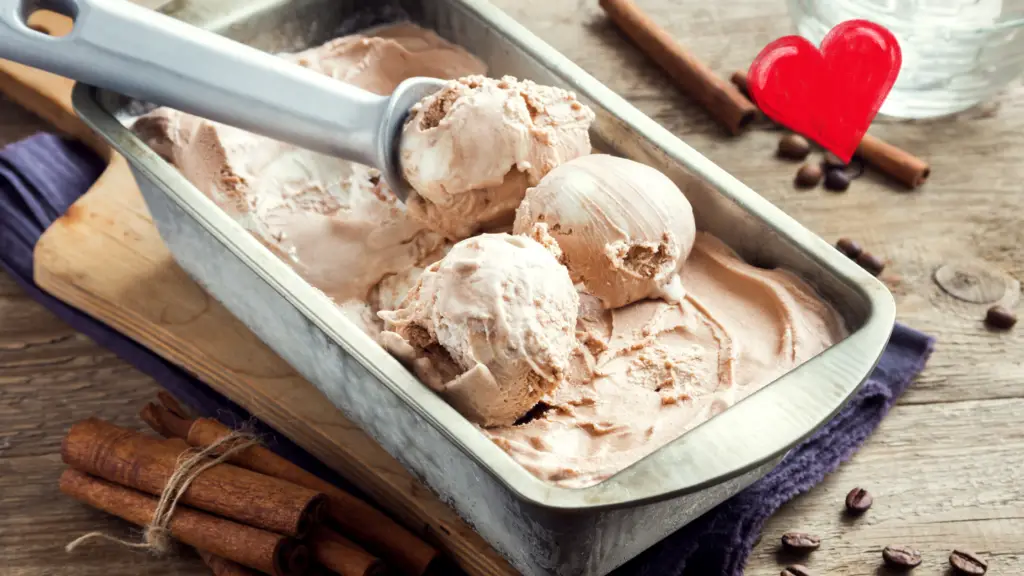
Looking for the best coffee ice cream recipe? You’re in the right place!
This guide will show you how to make a rich, creamy coffee ice cream that packs a bold coffee flavor.
Whether you have an ice cream maker or not, we’ve got you covered.
Our step-by-step instructions will help you create a dessert that’s better than store-bought.
So, with that being said, let’s dive in!

Ingredients
Here’s a list of everything you’ll need to make the best coffee ice cream.
Basic Ingredients
- Whole Milk: 1 ½ cups
- Heavy Cream: 1 ½ cups (divided)
- Granulated Sugar: ¾ cup
- Egg Yolks: 5 large
- Coffee:
- 1 ½ cups whole coffee beans (decaf if desired), or
- 1 to 1 ½ tablespoons instant coffee granules, or
- ½ cup strong brewed coffee
- Vanilla Extract: ¼ teaspoon
- Salt: Pinch
Optional Ingredients for Variations

- Espresso Powder: 1 tablespoon (for a more intense coffee flavor)
- Flavored Coffee Beans: 1 ½ cups (e.g., French vanilla, hazelnut) instead of regular coffee beans
- Corn Syrup: 1-2 tablespoons (to prevent ice crystals and keep the ice cream smooth)
- Mix-ins:
- Chocolate chips or chunks: ¾ cup
- Nuts (pecans, walnuts, or almonds): ½ cup, chopped
- Caramel or fudge swirl: ½ cup
- Crumbled cookies or brownies: 1 cup
Equipment Needed
To make the best coffee ice cream, you’ll need the following equipment:
Ice Cream Maker
Freezer Bowl Ice Cream Maker
- Example: Cuisinart 2-Quart Ice Cream Maker
- Recommendation: This is a more affordable option, but you’ll need to freeze the bowl overnight before use.
Automatic Ice Cream Maker
- Example: Breville Smart Scoop Ice Cream Maker
- Recommendation: This is a higher-end option that requires no pre-freezing and is convenient for frequent ice cream making.
Fine Mesh Strainer
- Purpose: To strain the custard and remove coffee grounds or any lumps, ensuring a smooth texture.
- Example: Cuisinart Fine Mesh Strainers Set
Mixing Bowls
- Purpose: For whisking the egg yolks and mixing the ice cream base.
- Example: Pyrex 3-Piece Mixing Bowl Set
Saucepan
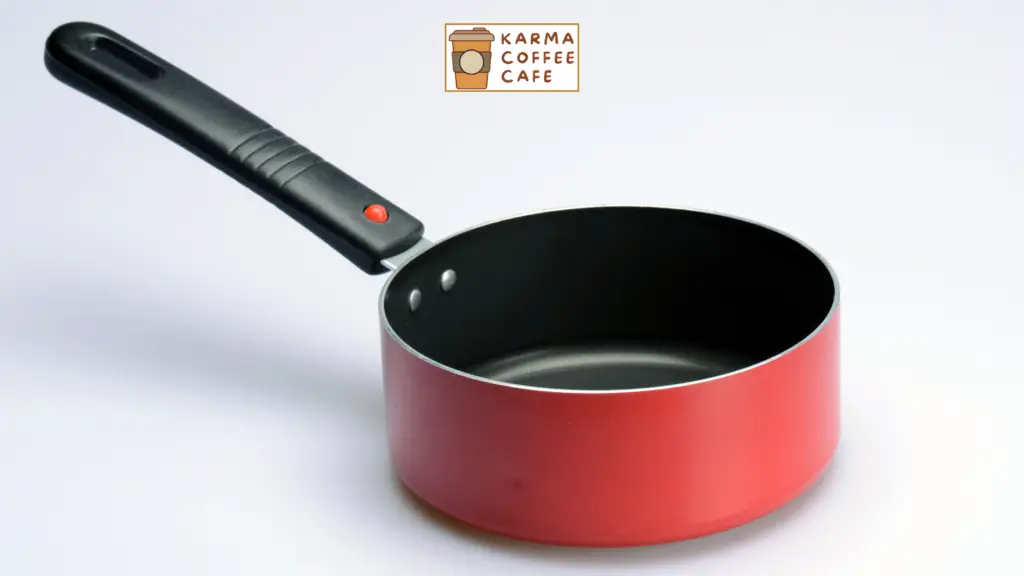
- Purpose: To heat the milk, coffee, and sugar mixture, and to cook the custard.
- Example: All-Clad 3-Quart Saucepan
Whisk
- Purpose: For whisking ingredients together, especially when tempering egg yolks.
- Example: OXO Good Grips Balloon Whisk
Airtight Containers for Storage
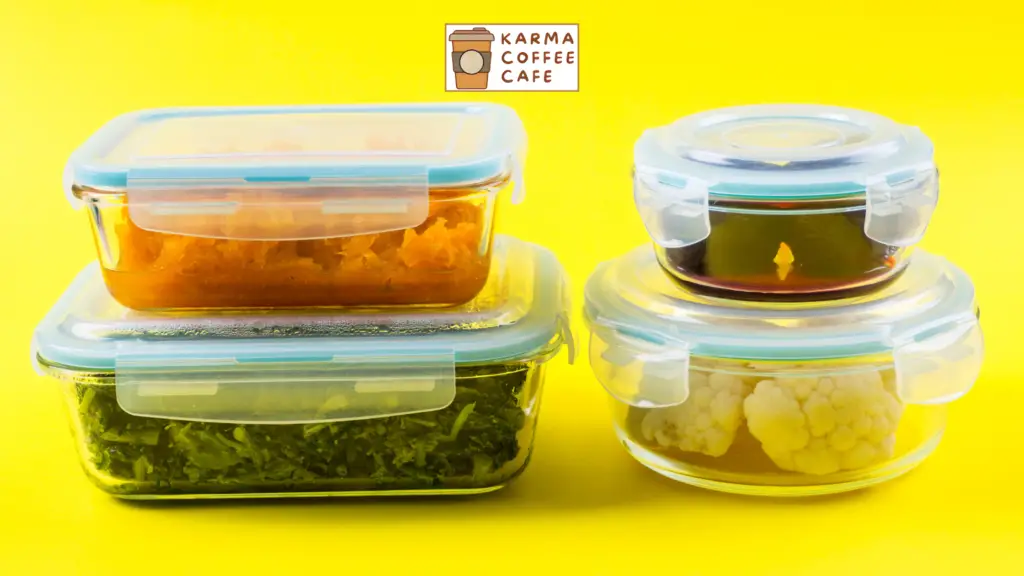
- Purpose: To store the ice cream in the freezer, keeping it fresh and preventing ice crystals.
- Example: Tovolo Ice Cream Storage Containers
Step-by-Step Recipe

Follow these steps to create the best coffee ice cream at home.
Each step is detailed to ensure your ice cream turns out rich, creamy, and full of bold coffee flavor.
1. Making the Custard Base
Steeping the Milk with Coffee Beans or Dissolving Instant Coffee in Milk
Start by combining 1 ½ cups of whole milk and 1 ½ cups of heavy cream in a saucepan.
If you’re using whole coffee beans, add 1 ½ cups of them to the mixture and heat until warm.
Let it steep at room temperature for 1 hour to infuse the flavor.
If you’re using instant coffee granules, add 1 to 1 ½ tablespoons to the milk mixture and stir until dissolved.
Warming the Milk, Sugar, and Salt Mixture
Add ¾ cup of granulated sugar and a pinch of salt to the milk mixture.
Heat over medium heat, stirring occasionally, until the sugar dissolves and the mixture is warm (do not boil).
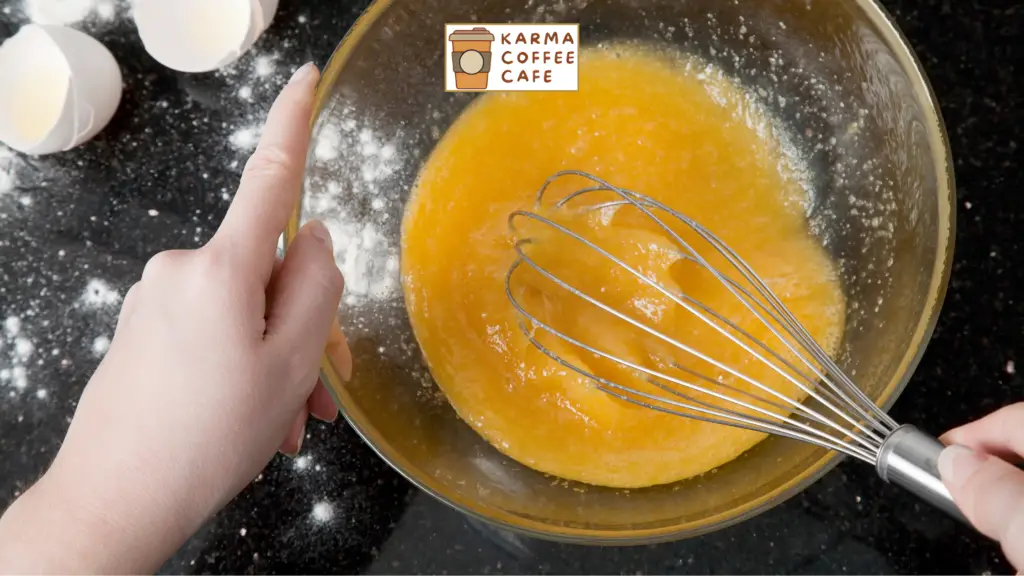
Tempering the Egg Yolks with the Hot Milk Mixture
In a separate bowl, whisk together 5 large egg yolks.
Slowly add 1 cup of the hot milk mixture to the egg yolks, whisking constantly to temper them.
This prevents the yolks from curdling.
Cooking the Custard Until It Thickens (Without Boiling)
Pour the egg mixture back into the saucepan with the rest of the milk mixture.
Cook over medium heat, stirring constantly with a heatproof spatula, until the custard thickens and coats the back of the spatula (about 170°F).
Be careful not to let it boil.
2. Chilling the Mixture
Straining the Custard into a Bowl with Heavy Cream
Set a fine mesh strainer over a bowl containing the remaining 1 cup of heavy cream.
Pour the hot custard through the strainer to remove the coffee beans and any cooked egg bits.
This step ensures a smooth texture.
Adding Vanilla Extract
Stir in ¼ teaspoon of vanilla extract into the strained custard mixture.
Mix well to combine.
Chilling the Mixture Thoroughly (Preferably Overnight)
Cover the bowl with plastic wrap, pressing it directly onto the surface of the custard to prevent a skin from forming.
Chill the mixture in the refrigerator for at least 4 hours, but preferably overnight.
The colder the mixture, the smoother the ice cream will be.
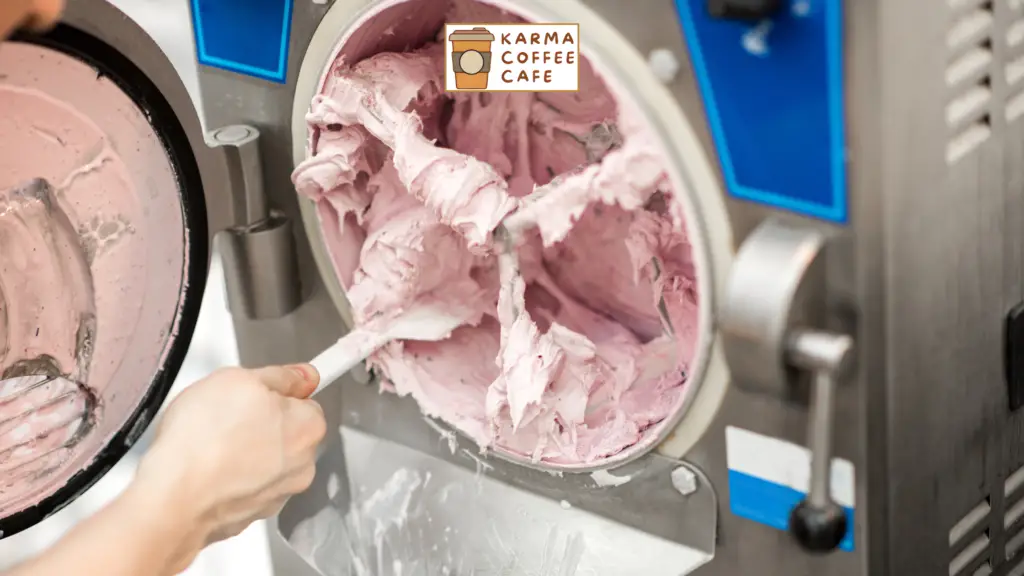
3. Churning the Ice Cream
Setting Up the Ice Cream Maker
Follow your ice cream maker’s instructions for setup.
If you have a freezer bowl ice cream maker, ensure the bowl is completely frozen before use.
Pouring the Chilled Mixture into the Ice Cream Maker
Once the mixture is thoroughly chilled, pour it into the ice cream maker.
Turn on the machine and start churning.
Churning Until the Desired Consistency is Achieved (About 30-40 Minutes)
Churn the mixture until it reaches the consistency of soft-serve ice cream.
This usually takes about 30-40 minutes.
The ice cream should be thick and creamy.
4. Adding Mix-Ins (Optional)
If you want to add mix-ins, do so in the last few minutes of churning.
You can add ¾ cup of chocolate chunks, crumbled brownies, or a caramel swirl. Mix until evenly distributed.
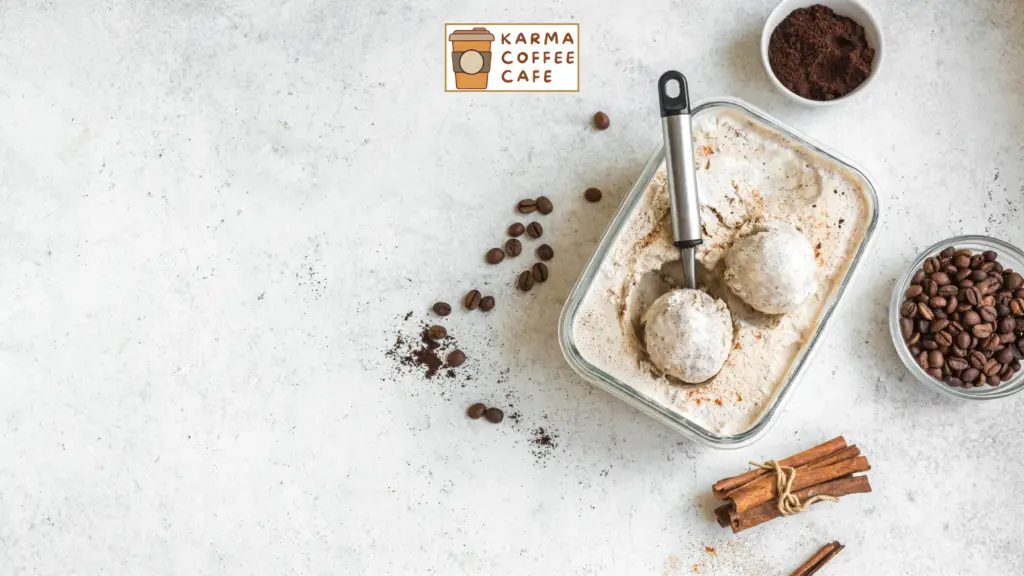
5. Freezing the Ice Cream
Transferring the Churned Ice Cream to an Airtight Container
Once the ice cream is churned, transfer it to an airtight container.
Use a spatula to spread it evenly in the container.
Freezing for at Least 4 Hours Before Serving
Place the container in the freezer and let the ice cream harden for at least 4 hours before serving.
This will give it the perfect scoopable consistency.
Enjoy your homemade coffee ice cream!
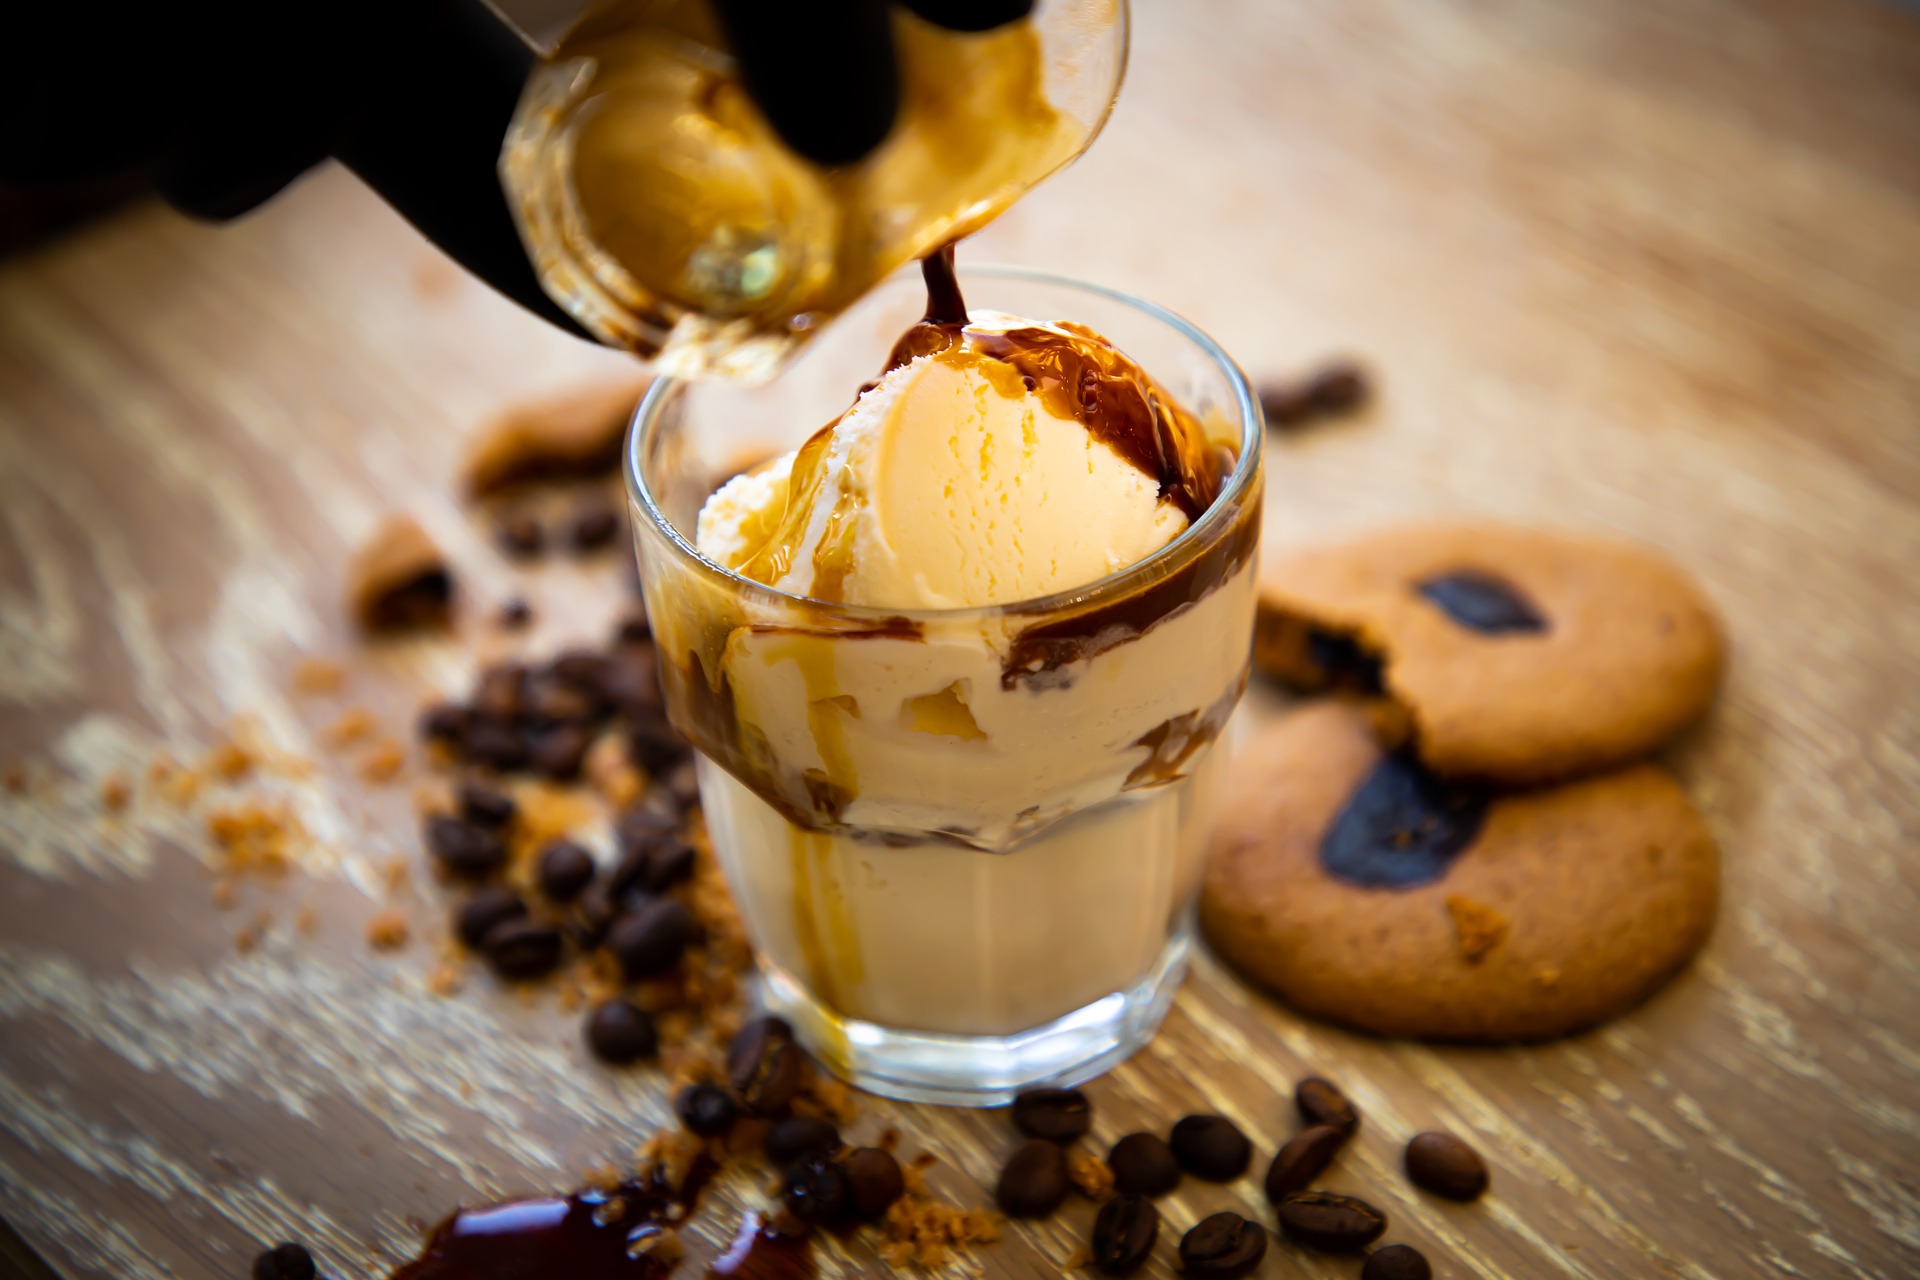
Serving Suggestions
Now that you’ve made the perfect coffee ice cream, it’s time to enjoy it!
Here are some delicious ways to serve your homemade treat.
Serving Coffee Ice Cream with Homemade Whipped Cream
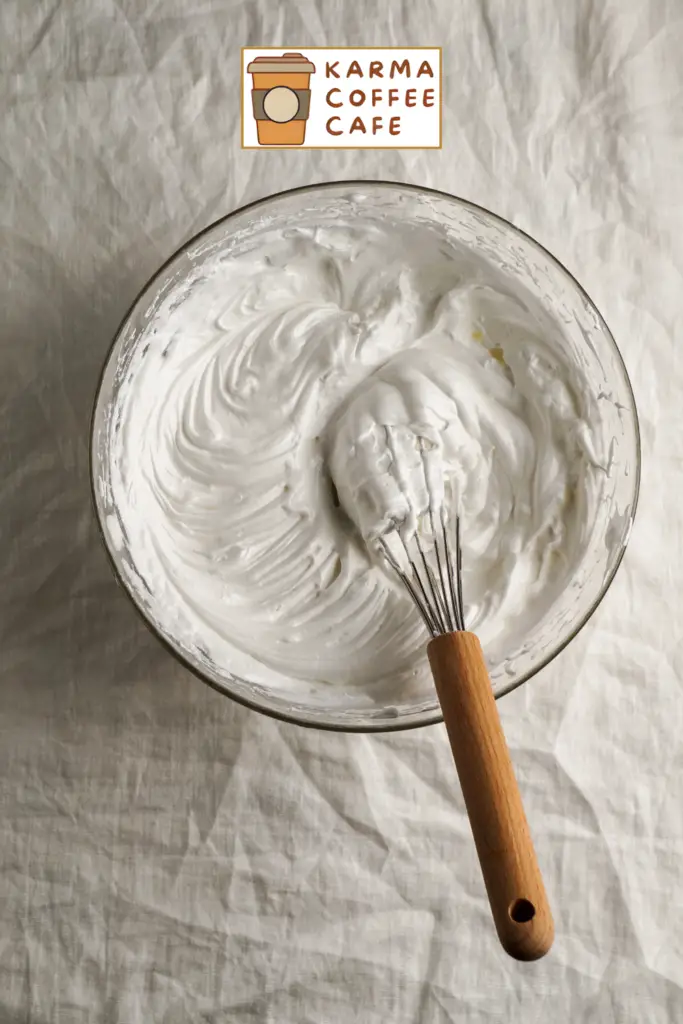
One of the simplest and most satisfying ways to enjoy coffee ice cream is with a dollop of homemade whipped cream.
To make the whipped cream, combine 1 cup of heavy cream with 2 tablespoons of powdered sugar and 1 teaspoon of vanilla extract.
Beat the mixture with a mixer on medium-high speed until soft peaks form.
Spoon the whipped cream over a scoop of coffee ice cream for a classic, creamy topping that complements the bold coffee flavor perfectly.
Pairing with Coffee Brownies or Making Ice Cream Sandwiches
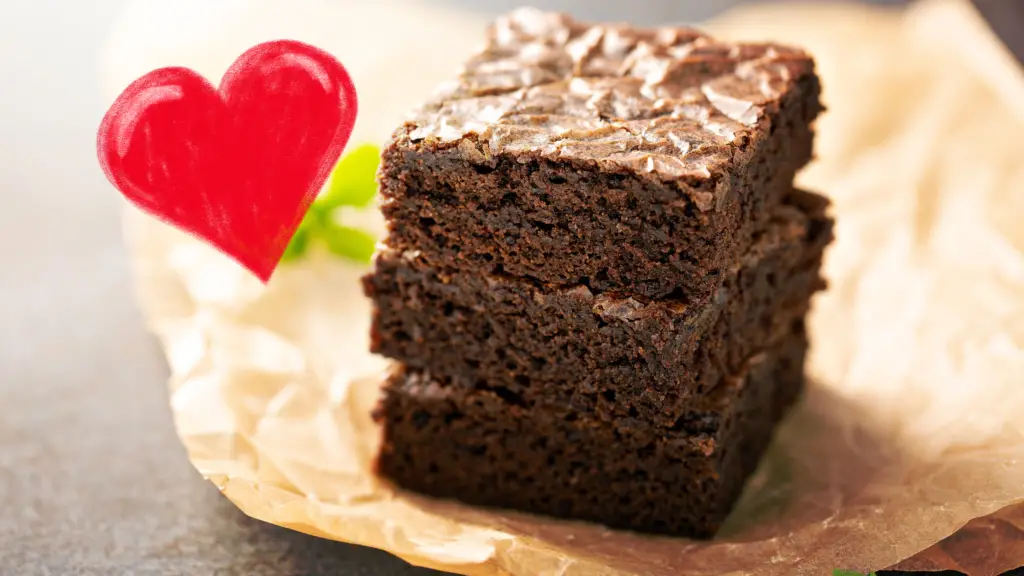
Coffee ice cream pairs wonderfully with coffee brownies.
The rich, chocolatey brownies enhance the coffee notes, creating a decadent dessert experience.
You can bake a batch of your favorite brownies, cut them into squares, and serve with a scoop of coffee ice cream on top.
For a fun twist, make ice cream sandwiches by placing a scoop of coffee ice cream between two brownie squares.
Wrap them in plastic wrap and freeze until firm for a delightful treat.
Using It as a Base for Affogato or a Layer in an Ice Cream Cake
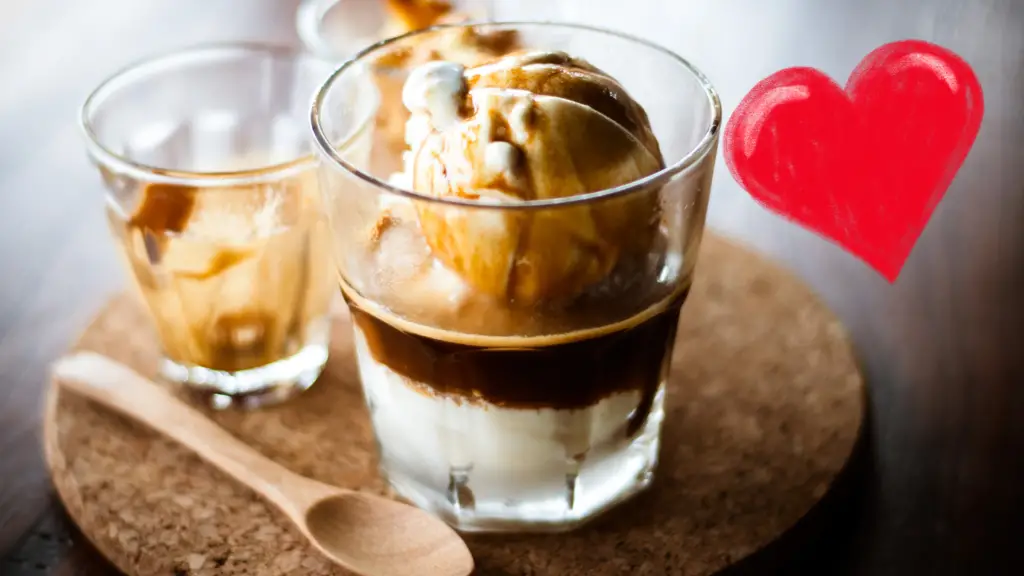
Coffee ice cream is a fantastic base for affogato, an Italian dessert that combines hot espresso with cold ice cream.
To make affogato, simply pour a shot of hot espresso over a scoop of coffee ice cream.
The hot espresso slightly melts the ice cream, creating a creamy, coffee-flavored dessert drink.
This quick and easy dessert is perfect for coffee lovers.
For special occasions, consider using coffee ice cream as a layer in an ice cream cake.
You can layer the coffee ice cream with other flavors like vanilla or chocolate, and add mix-ins like crushed cookies or fudge swirls between the layers.
Freeze the cake until firm, then slice and serve for a show-stopping dessert that combines multiple flavors and textures.
Tips for the Best Coffee Ice Cream

Creating the best coffee ice cream involves a few essential tips and tricks.
These will help ensure your ice cream is rich, creamy, and full of flavor.
Importance of Using High-Quality Ingredients
Quality ingredients make a significant difference in the final product.
Use high-quality whole milk, heavy cream, and fresh eggs.
When it comes to coffee, opt for premium instant coffee granules or whole coffee beans.
This will enhance the overall flavor and texture of your ice cream, giving it a gourmet touch.
Using real vanilla extract instead of imitation also adds depth to the flavor.
Ensuring the Custard Base is Very Cold Before Churning
One key to smooth and creamy ice cream is making sure the custard base is thoroughly chilled before churning.
After preparing the custard, chill it in the refrigerator for at least 4 hours, but preferably overnight.
This step is crucial because a cold base freezes faster in the ice cream maker, reducing the formation of large ice crystals and resulting in a smoother texture.
Preventing Ice Crystals by Using a Combination of Sugar and Corn Syrup
Ice crystals can ruin the texture of your ice cream, making it grainy rather than smooth.
To prevent this, use a combination of granulated sugar and corn syrup in your recipe.
Corn syrup helps to inhibit the formation of ice crystals, ensuring a creamy consistency.
If you prefer not to use corn syrup, make sure to dissolve the sugar completely in the milk mixture before chilling it.
Adjusting the Coffee Strength to Taste
The strength of the coffee flavor in your ice cream can be adjusted to your preference.
If you enjoy a robust coffee flavor, use a full 1 ½ tablespoons of instant coffee granules or strong brewed coffee.
For a milder taste, reduce the amount to 1 tablespoon or use decaffeinated coffee.
You can also experiment with flavored coffee beans, like French vanilla or hazelnut, to add a unique twist to your ice cream.
Storage and Shelf Life
To keep your coffee ice cream fresh and delicious, store it in a freezer-friendly, airtight container.
This prevents ice crystals from forming and maintains the ice cream’s smooth texture.
Properly stored, your homemade coffee ice cream can last up to 3 months in the freezer.
For the best results, place a piece of plastic wrap directly on the surface of the ice cream before sealing the container.
This extra step minimizes air exposure, preserving the rich, creamy consistency and bold coffee flavor of your ice cream.
Nutritional Information
Each serving of this homemade coffee ice cream provides approximately 305 calories.
It contains about 21 grams of fat, 23 grams of carbohydrates, and 7 grams of protein per serving.
If you prefer a caffeine-free version, using decaf coffee granules instead of regular coffee will not affect these nutritional values.
Additionally, you can adjust the sugar content to suit dietary preferences, but this might alter the texture and sweetness of the ice cream.
Variations and Customizations
There are many ways to customize your coffee ice cream to suit your taste preferences.
For a unique twist, try adding a teaspoon of ground cardamom to the custard base for a warm, spicy flavor.
If you enjoy a boozy dessert, mix in a tablespoon of Irish whiskey after the custard has cooled but before churning; this adds a rich, sophisticated note.
For a caffeine-free version, simply use decaf coffee granules or beans.
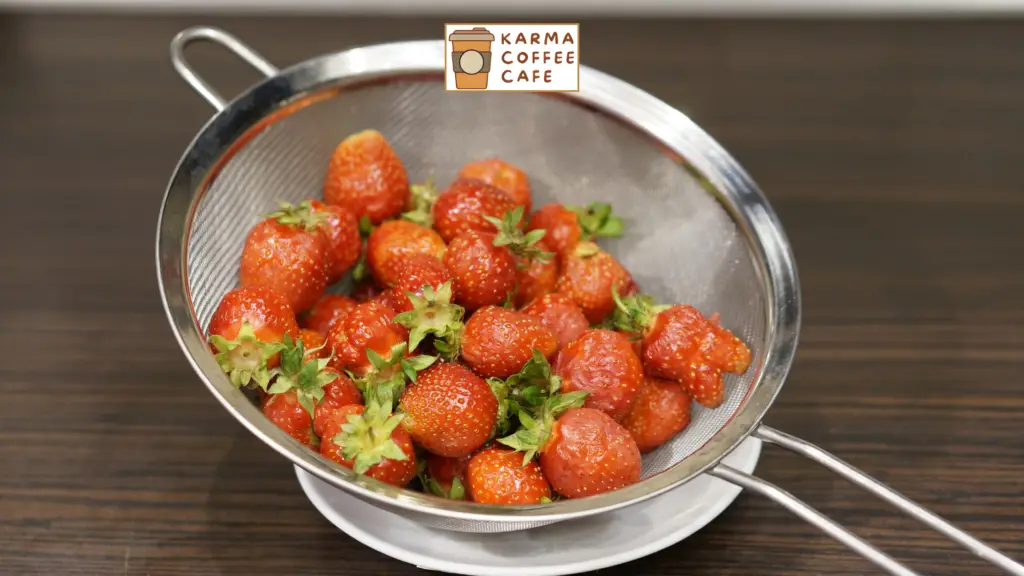
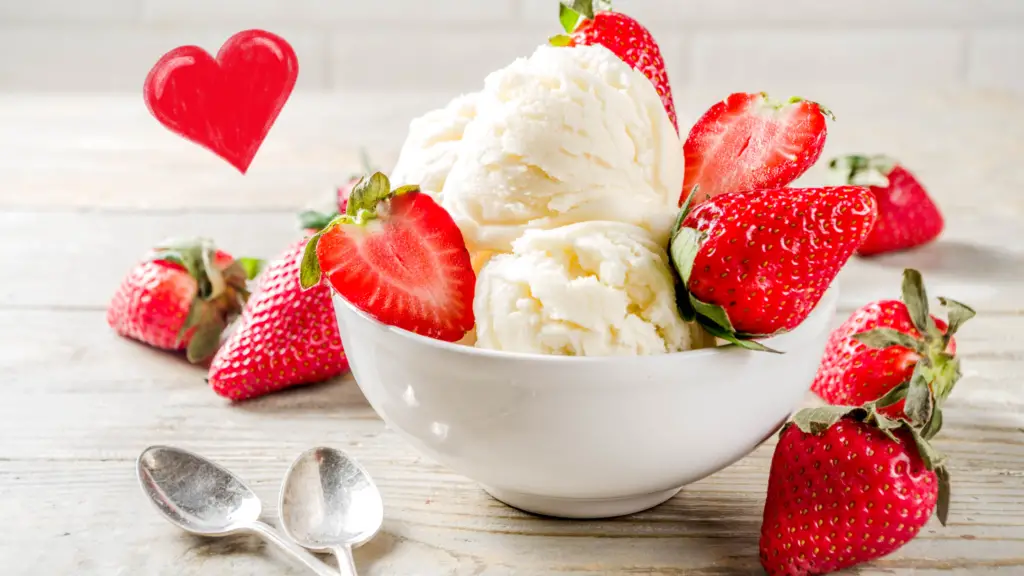
Beyond coffee, you can explore other homemade ice cream flavors like mint chocolate chip, strawberry cheesecake, or classic vanilla to expand your repertoire and delight your taste buds with a variety of delicious options.
Conclusion
Making coffee ice cream at home is a rewarding experience.
This recipe’s rich, creamy texture and bold coffee flavor make it a standout dessert.
Don’t hesitate to experiment with different mix-ins and flavors, like cardamom or Irish whiskey, to make it your own.
We’d love to hear about your creations and any variations you try, so please share your feedback in the comments.
Enjoy your homemade coffee ice cream and happy churning!