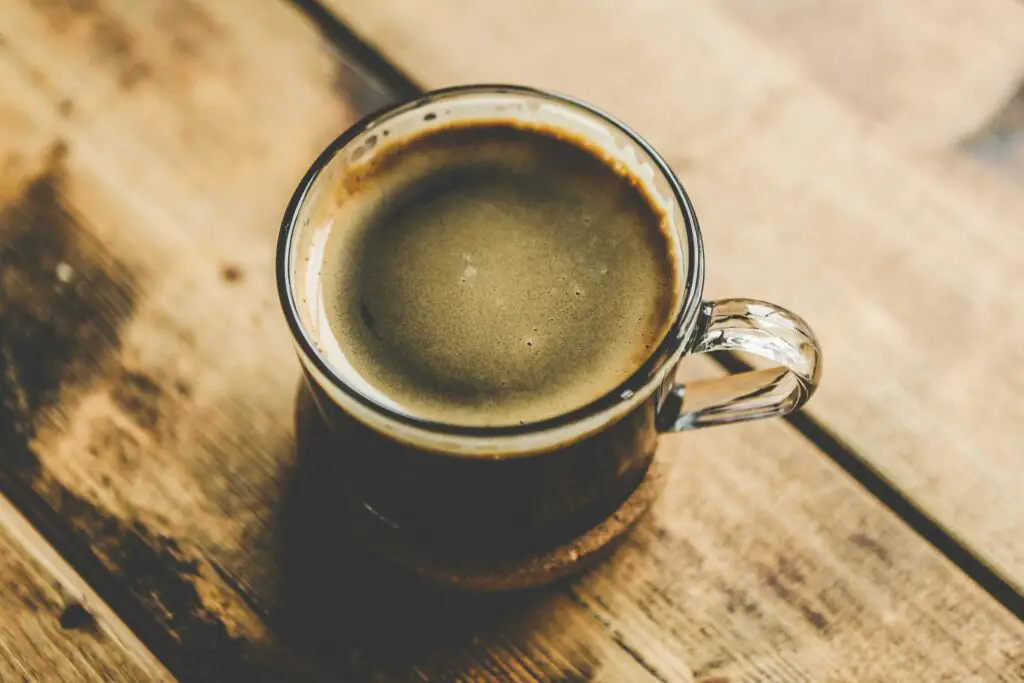
Brewing coffee in a percolator is a time-honored method that’s making a comeback.
Invented in the early 1800s, the percolator was once the go-to tool for a rich, bold cup of coffee.
Today, coffee enthusiasts are rediscovering its charm.
Why choose a percolator? It delivers piping hot coffee with robust flavor, and it’s simple to use.
To brew with a percolator, you’ll follow a straightforward process.
You’ll assemble the percolator, heat it, and monitor the brew.
With a bit of attention, you can enjoy a delicious cup of coffee that’s hard to beat.
Let’s dive into the details of how to make the perfect percolator coffee.

How To Brew Coffee In A Percolator: At A Glance
- Preparation
- Assembling the Percolator
- Heating and Monitoring
- Finishing the Brew
- Serving
Equipment Needed
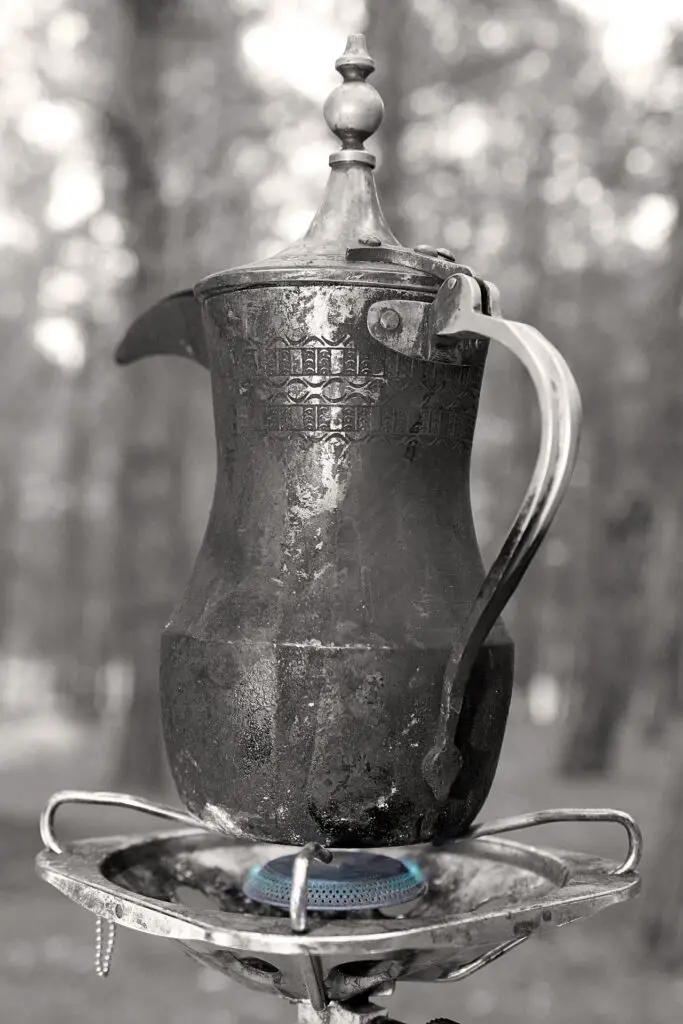
Stovetop Percolator
A stovetop percolator is the key piece of equipment you’ll need.
It has four basic parts:
- Base: This is where you fill with water. It’s the main body of the percolator.
- Coffee Grounds Basket: This basket holds the coffee grounds and sits inside the base.
- Stem: A metal tube that connects the base to the top of the percolator. Water travels up this stem during brewing.
- Top: Often a glass or clear plastic knob, this allows you to see when the water starts percolating.
These components work together to cycle hot water through the coffee grounds, creating a robust and flavorful brew.
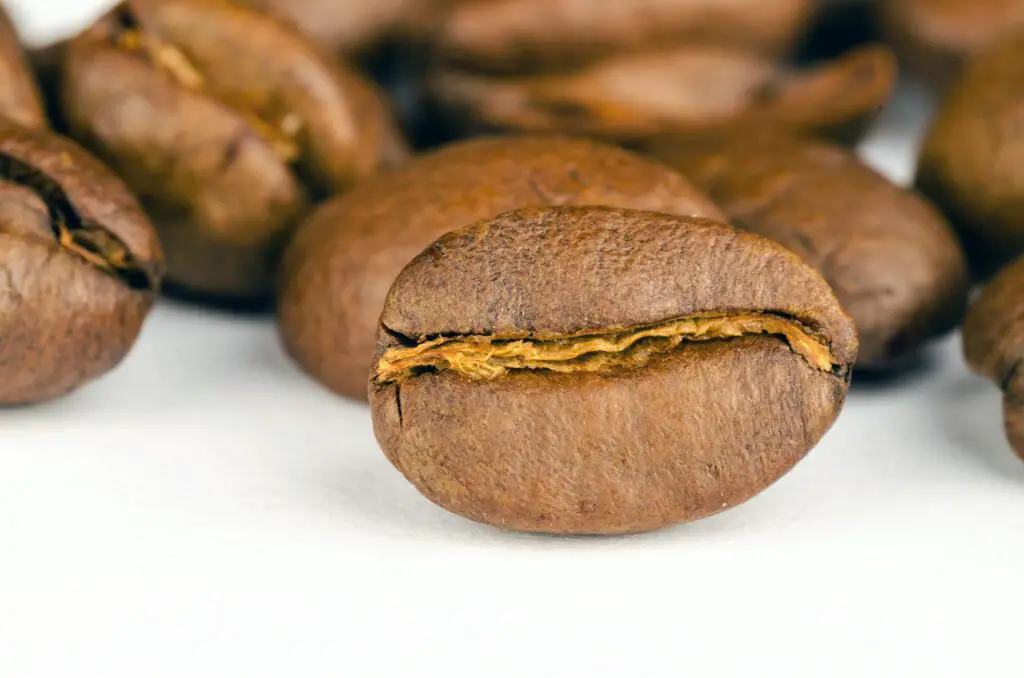
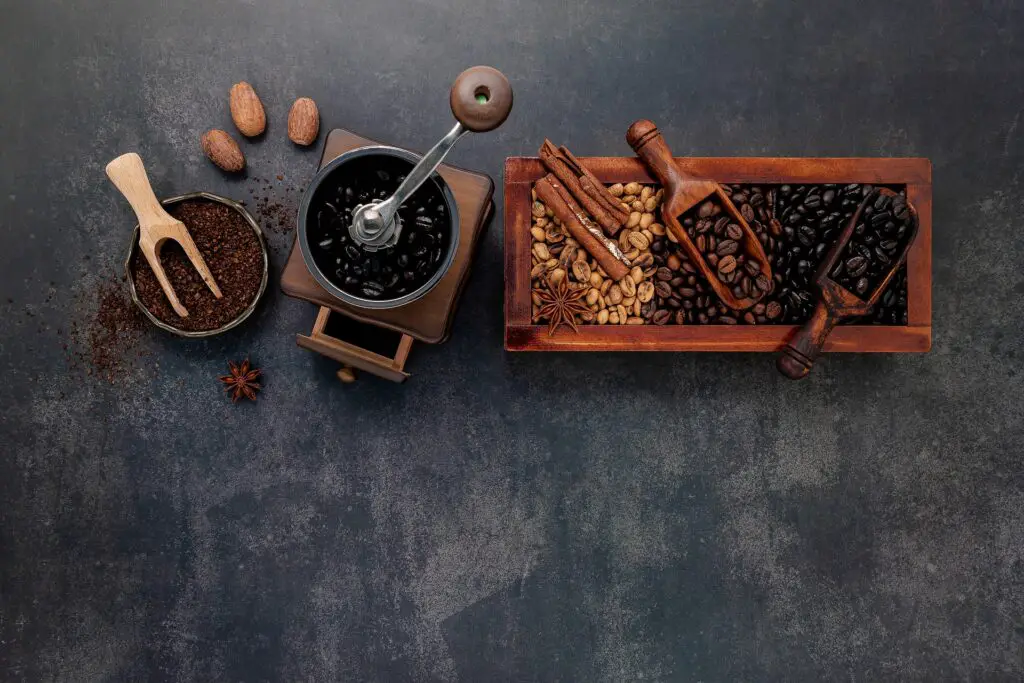
Coarsely Ground Coffee
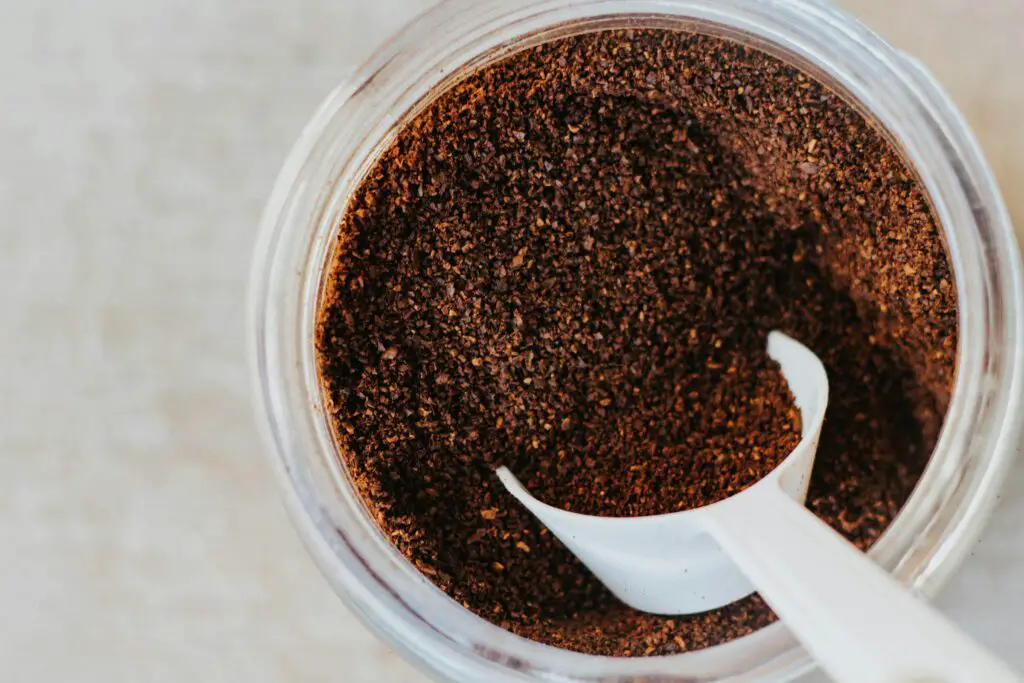
For the best results, use coarsely ground coffee.
Fine grounds can slip through the basket and into your coffee, making it gritty.
Coarse grounds are more forgiving and help prevent over-extraction, which can lead to bitterness.
Measuring Spoon or Scale
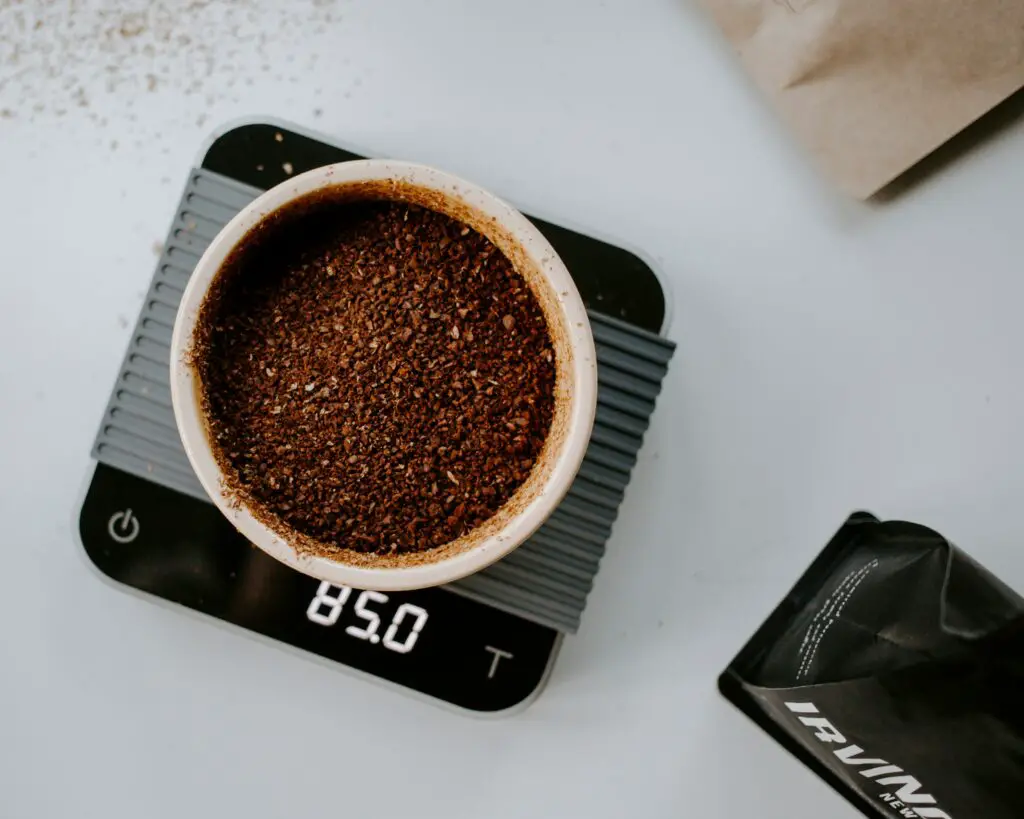
Accurate measurement is crucial.
A measuring spoon or scale will help you use the right amount of coffee grounds.
The standard ratio is one tablespoon of coffee per cup of water.
Adjust this to suit your taste.
Heat Source
You’ll need a heat source to brew your coffee.
A stove works well at home, while a campfire is great for outdoor brewing.
Ensure you can control the heat to avoid boiling the water, which can make the coffee bitter.
Optional: Paper Filters
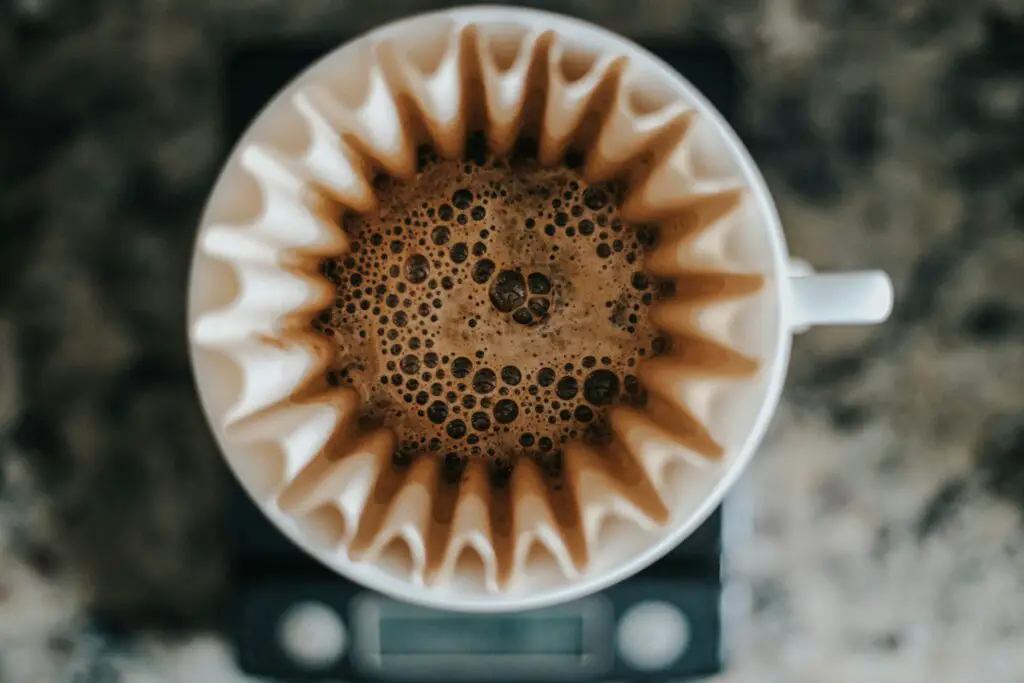
Using paper filters is optional but beneficial.
They can reduce the amount of cholesterol in your coffee by trapping oils that would otherwise end up in your cup.
Filters also make cleanup easier by keeping grounds out of the percolator.
Having these essential items will set you up for success.
Now you’re ready to start brewing delicious percolator coffee.
Choosing the Right Coffee Beans
Recommended Coffee Types
Selecting the right coffee beans is essential for a great percolator brew.
Medium roast beans are ideal.
They offer a balanced flavor that’s neither too mild nor too strong.
This makes them perfect for percolators, which can easily bring out the full spectrum of the coffee’s taste.
If you prefer a stronger, more robust coffee, you might consider dark roast beans.
However, be cautious.
Dark roast beans can quickly become bitter if over-extracted.
If you’re new to percolating, start with medium roast beans to avoid this issue.
Importance of Coarsely Ground Coffee
As we mentioned earlier, using coarsely ground coffee is crucial when brewing with a percolator.
Fine grounds can over-extract and make your coffee bitter.
They can also slip through the filter basket, ending up in your cup.
Coarse grounds prevent these problems, ensuring a smoother and more enjoyable coffee.
Coarse grounds extract more slowly, giving you a more controlled and even brew.
This helps avoid the pitfalls of bitterness and over-extraction.
So, always opt for coarse grind settings on your grinder or buy pre-ground coffee labeled as coarse.
Step-by-Step Brewing Instructions
Step 1: Preparation
Before you start brewing, make sure to clean the percolator thoroughly.
This step is crucial to avoid any residual flavors from previous brews that could affect the taste of your coffee.
Wash all parts of the percolator with warm, soapy water and rinse well.
A clean percolator ensures the purest coffee flavor.
Next, measure one tablespoon of coarsely ground coffee per cup of water.
Accurate measurement is key to achieving the right strength and flavor.
Use a measuring spoon or scale to ensure consistency.
If you prefer a milder cup, you can adjust to one teaspoon per cup.
Always start with cold water in the base of the percolator.
Step 2: Assembling the Percolator
Start by filling the reservoir with cold water.
The amount of water should match the number of cups you want to brew.
For instance, if you want to make four cups of coffee, fill the reservoir with four cups of water.
Using cold water is important because it heats slowly, allowing for a more controlled brewing process.
Next, place the coarsely ground coffee into the filter basket.
Measure one tablespoon of coffee per cup of water you added to the reservoir.
This ensures the right strength and flavor.
If you prefer a lighter brew, you can reduce the amount to one teaspoon per cup.
Place the filter basket inside the percolator, ensuring it’s properly seated on the stem.
Finally, assemble the percolator.
Make sure all parts are securely in place.
The stem should be inserted into the base, the filter basket should sit on top of the stem, and the lid should be firmly attached.
Double-check that everything is tightly fitted to prevent any leaks or misalignment during brewing.
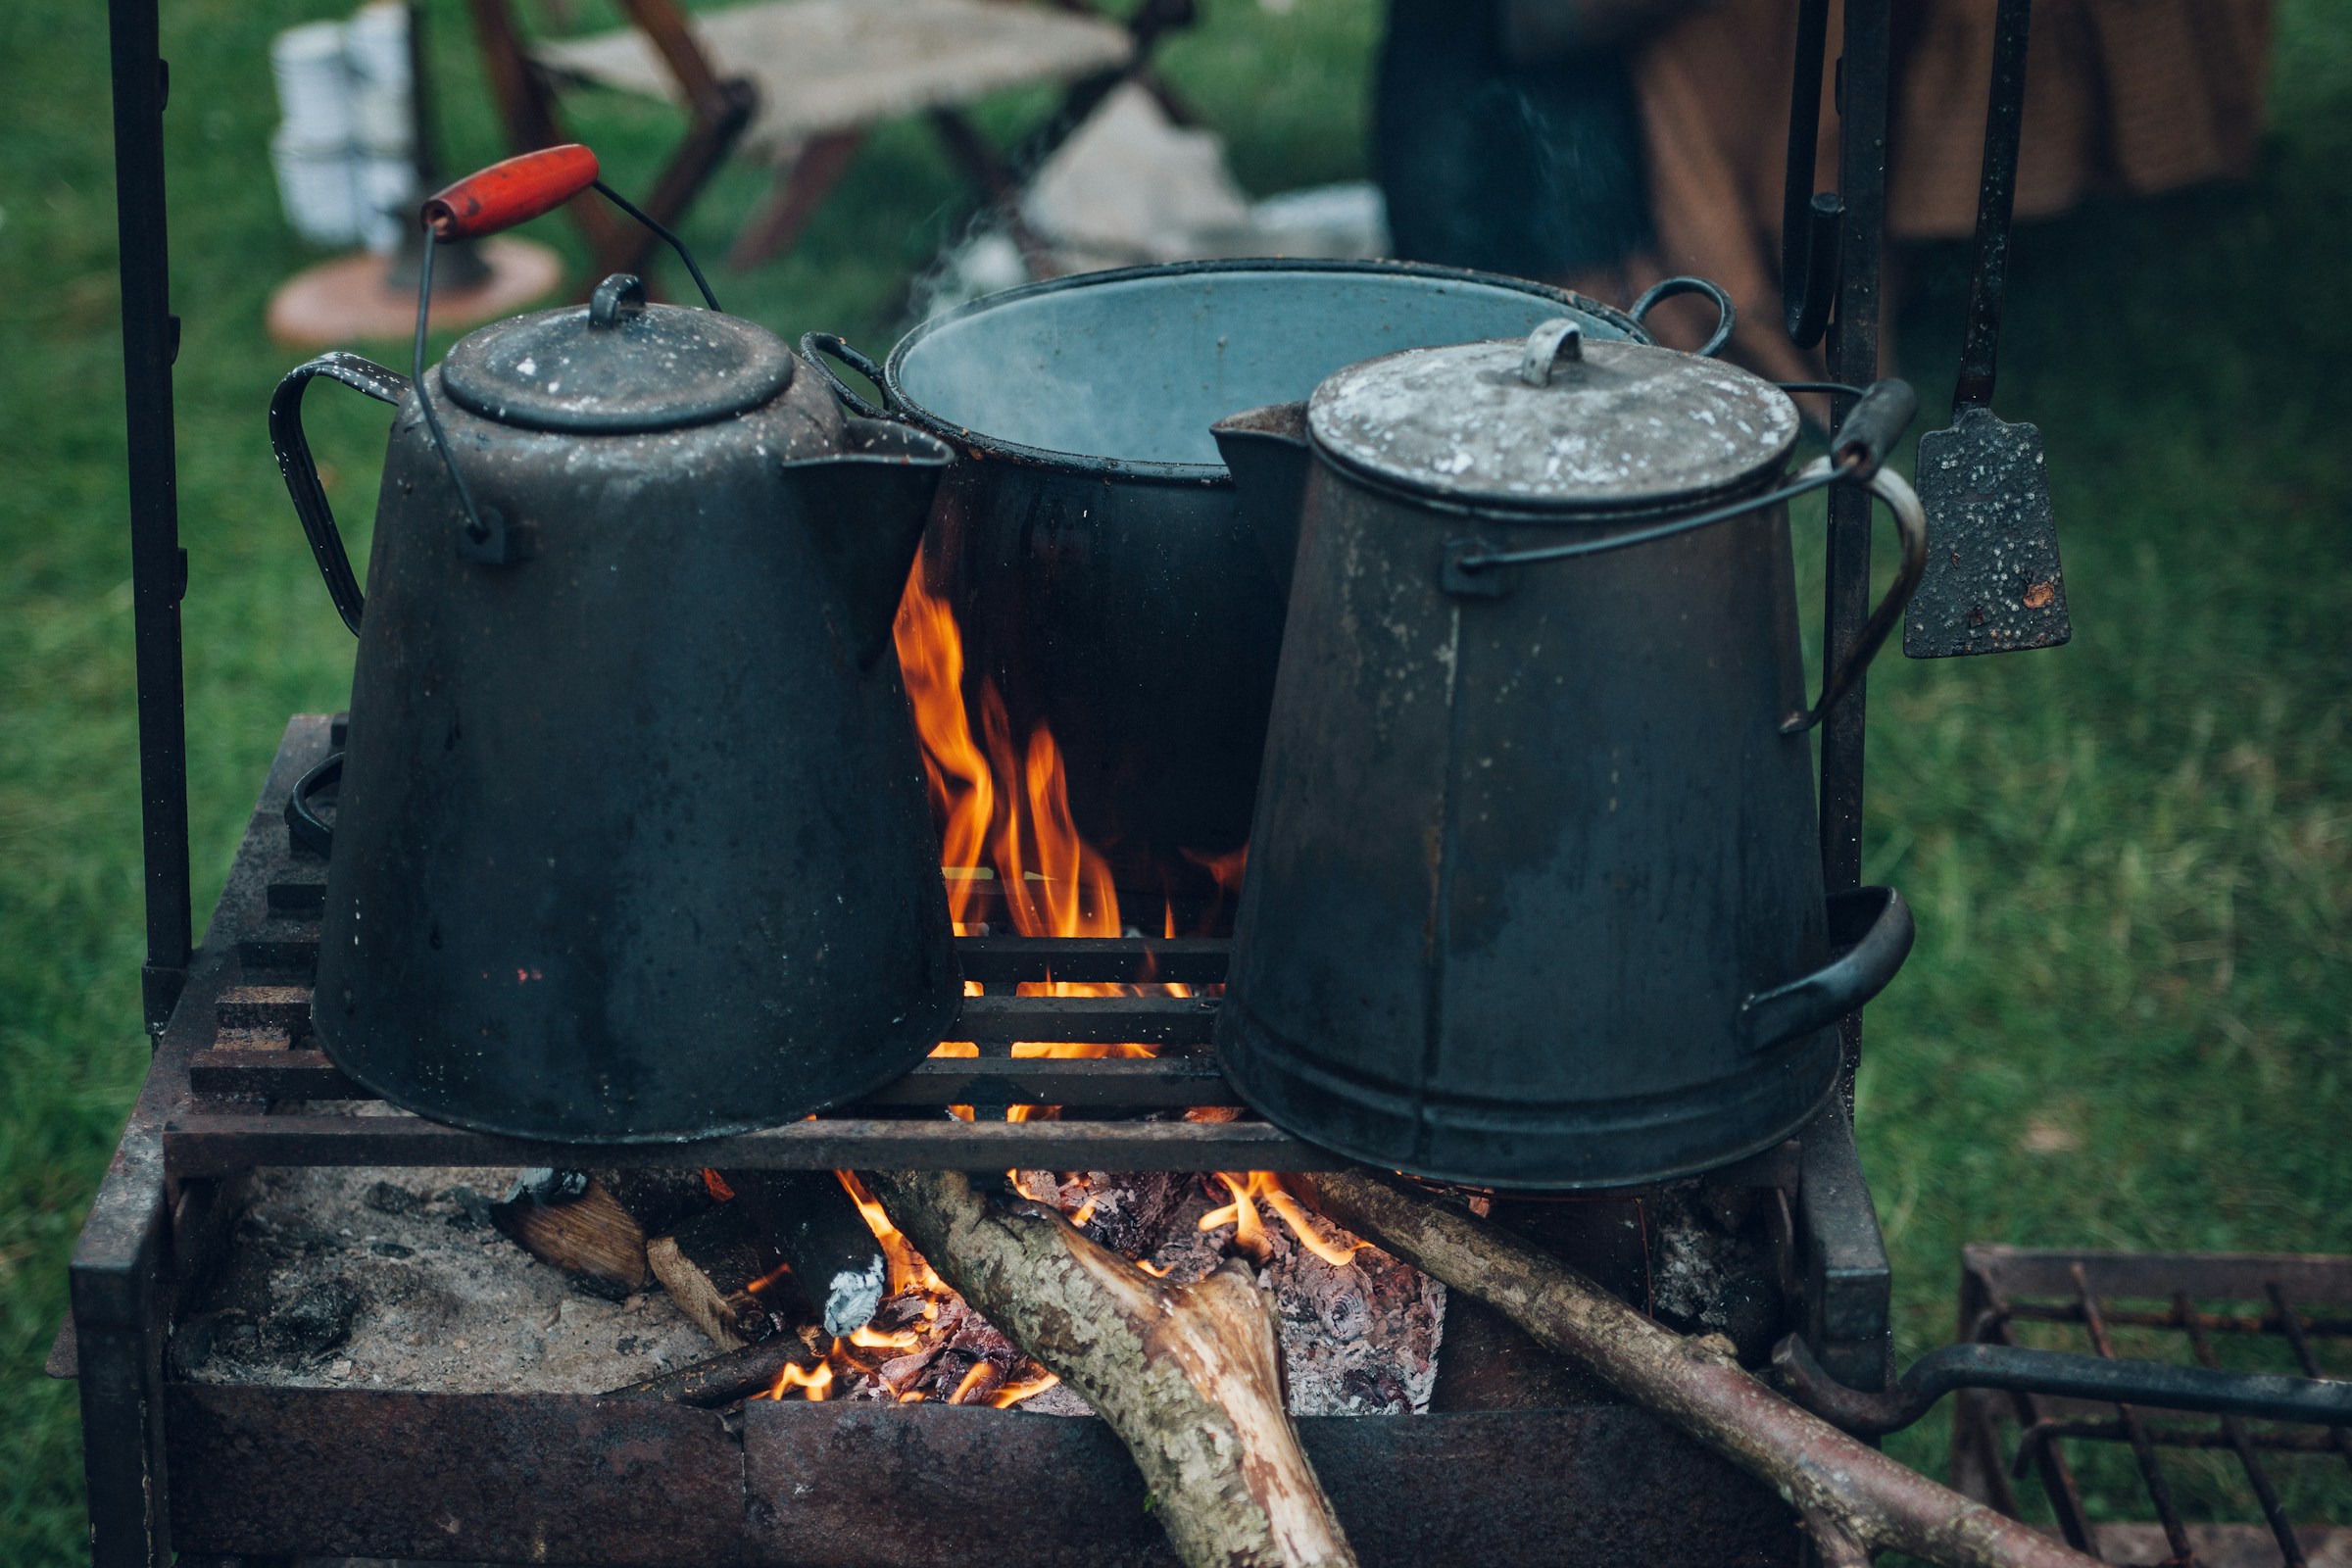
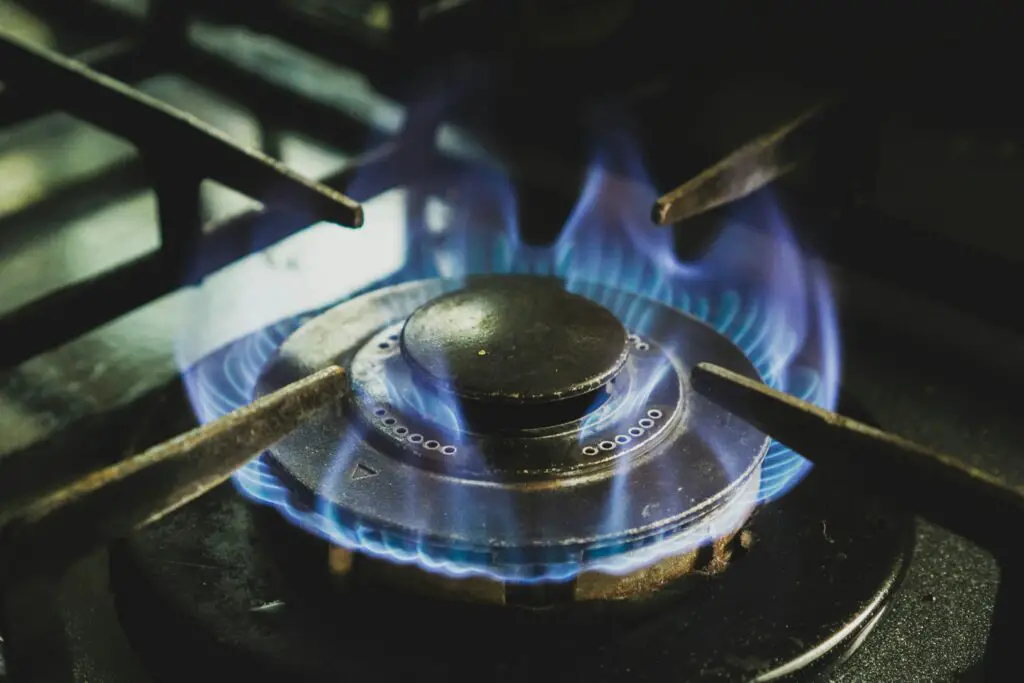
Step 3: Heating and Monitoring
Start by placing the percolator on your heat source.
Whether you’re using a stove or a campfire, set the heat to medium.
Medium heat allows the water to heat gradually, preventing a rapid boil that can over-extract the coffee and make it bitter.
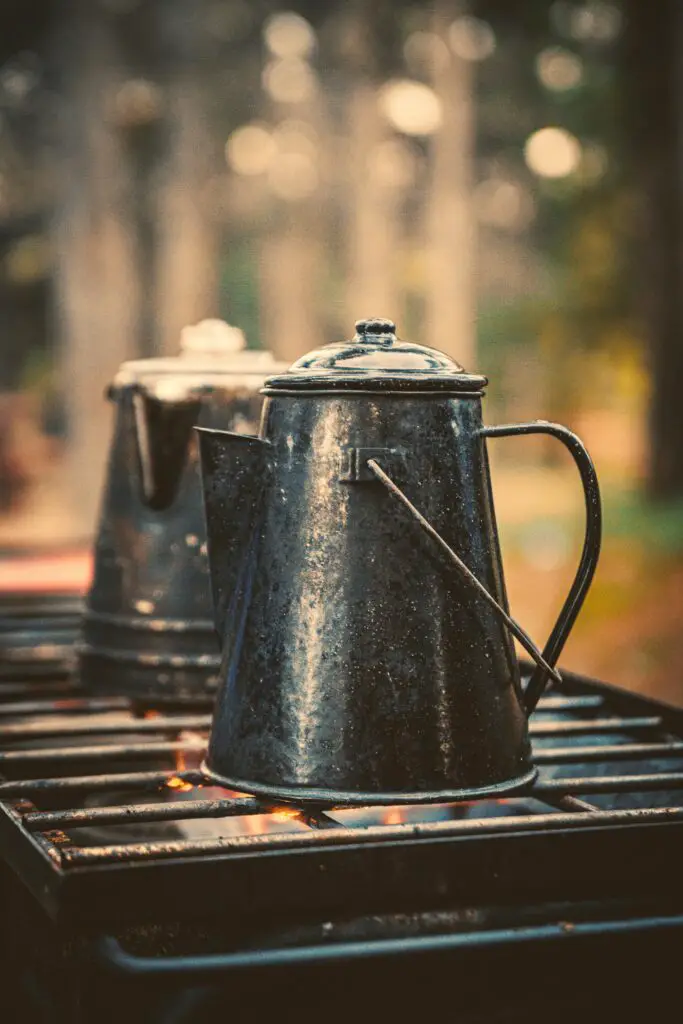
Keep a close eye on the percolator.
Look through the glass knob on the top of the lid.
When the water starts to bubble through the knob, it indicates that the brewing process has begun.
This bubbling is a sign that the water is cycling through the coffee grounds.
Once you see the bubbling, adjust the heat to maintain a steady but slow bubbling.
The bubbles should rise regularly but not too quickly.
If the water bubbles too fast, it means the heat is too high, which can lead to over-extraction and bitterness.
Now, set a timer for 7-10 minutes.
The exact time depends on how strong you like your coffee.
For a lighter brew, aim for closer to 7 minutes.
For a stronger, bolder taste, let it percolate for up to 10 minutes.
Keep an eye on the timer and adjust the heat as needed to keep the bubbling consistent.
Step 4: Finishing the Brew
When the timer goes off, it’s time to remove the percolator from the heat source.
Carefully lift the percolator off the stove or remove it from the campfire.
Use oven mitts if necessary to avoid burns.
Now, let the coffee sit for 30 seconds after removing it from the heat.
This brief resting period allows the grounds to settle at the bottom of the percolator.
Settling the grounds helps ensure a smoother cup of coffee, free from sediment.
Finally, carefully remove the filter basket from the percolator.
This step prevents any remaining grounds from falling into the brewed coffee.
Use a spoon or tongs if the basket is too hot to handle.
Once the basket is removed, your coffee is ready to pour and enjoy.
Step 5: Serving
Once your coffee has settled and the grounds are removed, it’s time to pour the coffee into mugs.
For the finishing touches, customize your coffee to taste.
Add desired sweeteners or creamers.
Whether you prefer sugar, honey, milk, or a flavored creamer, this step allows you to tailor the coffee to your liking.
Stir well to ensure everything is mixed evenly.
Tips for Perfect Percolator Coffee
Use Filtered Water
For the best taste, always use filtered water.
Tap water can contain minerals and impurities that affect the flavor of your coffee.
Filtered water ensures a cleaner, purer taste.
Preheat the Percolator
Before starting the brewing process, preheat the percolator with hot water.
This helps to maintain a stable brewing temperature, ensuring even extraction of the coffee grounds.
Simply fill the percolator with hot water, let it sit for a minute, then empty it and proceed with your brewing.
Avoid Boiling the Water
One of the key tips for avoiding bitterness is to avoid boiling the water.
Boiling water can over-extract the coffee grounds, leading to a bitter taste.
Instead, aim for a steady, slow bubbling, which indicates the right temperature.
Regularly Monitor the Percolation Process
To ensure proper extraction and avoid over-brewing, regularly monitor the percolation process.
Keep an eye on the bubbling through the glass knob and adjust the heat as needed.
This will help you achieve a balanced and flavorful brew every time.
Troubleshooting Common Issues
Over-extraction Leading to Bitterness
If your coffee tastes bitter, it might be due to over-extraction.
Over-extraction occurs when the water pulls too many compounds from the coffee grounds.
To prevent this, use a coarser grind.
Coarse grounds reduce the surface area exposed to water, resulting in a less intense extraction.
Additionally, reduce the brewing time.
Shortening the percolation process helps avoid extracting too many bitter compounds.
Weak Coffee
Weak coffee can be a result of under-extraction.
Under-extraction happens when the water doesn’t extract enough flavors from the coffee grounds.
To fix this, use a finer grind.
Finer grounds increase the surface area exposed to water, allowing for more flavors to be extracted.
Alternatively, increase the brewing time.
Giving the coffee more time to brew ensures a fuller extraction, leading to a stronger cup.
Grounds in Coffee
Finding grounds in your coffee can be annoying and unpleasant.
This issue usually arises from improper assembly or not using a filter.
Ensure that all parts of the percolator are securely assembled.
Double-check that the basket lid is properly closed and the stem is firmly in place.
If you continue to find grounds in your coffee, consider using paper filters.
These filters can help trap finer particles that might otherwise end up in your cup.
Cleaning and Maintenance
Immediate Cleaning
After brewing, it’s crucial to clean your percolator immediately.
This prevents coffee residues from hardening and becoming difficult to remove.
Use warm, soapy water to wash all components.
Ensure you clean the basket, stem, and inside of the percolator thoroughly.
Rinse everything well to remove any soap residue, which can affect the taste of future brews.
Deep Cleaning
For a more thorough clean, you can use a mixture of baking soda or vinegar.
Baking soda is excellent for removing stains and odors.
Simply add a few tablespoons to warm water and scrub the components.
For stubborn stains or build-up, fill the percolator with a solution of half vinegar and half water.
Let it percolate as you would with coffee, then rinse thoroughly.
This helps remove any mineral deposits and keeps your percolator functioning efficiently.
Regular Maintenance Tips
To prolong the life of your percolator, follow these maintenance tips:
- Inspect regularly: Check the percolator for any signs of wear or damage. Ensure that seals and gaskets are in good condition.
- Descale periodically: If you use your percolator frequently, descale it every month using a vinegar solution to prevent mineral build-up.
- Store properly: When not in use, store the percolator in a dry place. Ensure all parts are dry before storing to avoid rust or mold.
- Handle with care: Avoid using abrasive cleaners or harsh scrubbing pads, as these can damage the percolator’s surfaces.
Percolator vs. Other Brewing Methods
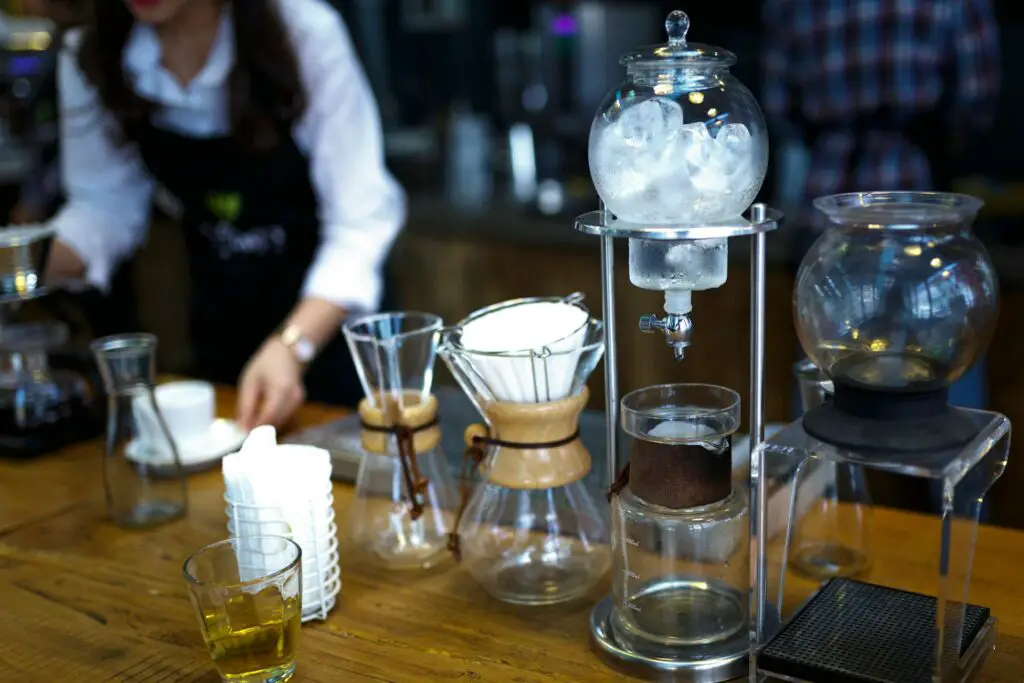
When comparing a percolator to other brewing methods, several distinctions stand out.
Percolators are known for producing a robust and rich coffee, often with a stronger flavor than drip machines.
This is because percolators continuously cycle boiling water through the grounds, which extracts more oils and flavors.
Unlike French presses, which steep coffee grounds in hot water, percolators provide a more hands-off approach, requiring less attention during the brewing process.
Compared to pour-over methods, percolators are more straightforward and less delicate, making them ideal for camping or situations where precision equipment isn’t available.
However, as mentioned earlier, percolators can be prone to over-extraction, leading to a more bitter taste if not carefully monitored.
Conclusion
Using a percolator offers a unique and robust coffee experience, distinct from other brewing methods.
Its simplicity and ability to brew strong, flavorful coffee make it a great choice for both home use and outdoor adventures.
Experiment with different coffee types and brewing times to find your perfect cup.
We invite you to share your own tips and experiences with percolator coffee in the comments below.
FAQ’s
How long do you percolate coffee in a percolator?
Percolate coffee for 7-10 minutes.
Adjust the time based on your taste preference.
For a stronger brew, percolate longer. For a milder taste, reduce the percolation time.
What is the ratio of coffee to water in a percolator?
Use one tablespoon of coarsely ground coffee per cup of water.
This ratio ensures a balanced flavor without over-extraction.
How to use a coffee percolator on the stovetop?
- Fill the reservoir with cold water based on the number of cups desired.
- Place coarsely ground coffee in the filter basket.
- Assemble the percolator, ensuring all parts are securely in place.
- Place the percolator on medium heat and watch for the water to start bubbling.
- Adjust the heat to maintain a steady but slow bubbling and percolate for 7-10 minutes.
- Remove from heat and let it sit for 30 seconds to allow grounds to settle.
Do you put cold or hot water in a coffee percolator?
Start with cold water. This ensures even heating and extraction during the percolation process.
Do you need a filter for a percolator?
Using a filter is optional but recommended.
It helps reduce the amount of sediment in the coffee and can trap oils that may contribute to higher cholesterol levels.
Why is my percolator taking so long?
Several factors can cause this:
- Low heat setting: Ensure the heat source is set to medium.
- Overfilled percolator: Do not exceed the maximum water level.
- Clogged filter or basket: Clean the filter and basket regularly to ensure proper water flow.
What is the water cycle of a percolator?
In a percolator, water is heated in the base.
As it boils, it rises through a tube and is dispersed over the coffee grounds.
The water then filters through the grounds, extracts the coffee, and cycles back into the base.
This process repeats until the brewing time is complete, typically 7-10 minutes.