
Frothed milk is a game-changer for coffee and tea lovers.
It transforms ordinary drinks into creamy, café-quality beverages.
By frothing milk at home, you save money and gain control over the quality and type of milk you use.
Plus, it’s easier than you think!
Whether you crave a latte, cappuccino, or a frothy hot chocolate, mastering this simple skill will elevate your homemade drinks.
Ready to learn how? Let’s dive in!

6 Ways To Froth Milk At Home: At A Glance
- Method 1: Using a Mason Jar
- Method 2: Whisking by Hand
- Method 3: Using a Blender
- Method 4: Immersion Blender
- Method 5: Using a French Press
- Method 6: Electric Milk Frother
What is Frothed Milk?

Frothed milk is milk that has been aerated to create a light, airy texture.
The process introduces air into the milk, resulting in a foam that sits atop beverages like lattes and cappuccinos.
This foam adds a creamy mouthfeel and enhances the overall experience of the drink.
Differences Between Frothed Milk, Steamed Milk, and Microfoam
While frothed milk, steamed milk, and microfoam are all used in coffee drinks, they each have distinct characteristics.
- Frothed Milk: This is milk that has been aerated to create a thick layer of foam with larger bubbles. It’s typically used in drinks where a lot of foam is desired, like cappuccinos. The process can be done using various tools, including jars, whisks, and frothing wands.
- Steamed Milk: Steamed milk is heated and aerated using a steam wand, which creates a smooth, creamy texture without much foam. The milk is more integrated with the air, resulting in a velvety consistency. This type of milk is commonly used in lattes, where a smooth and creamy milk texture is desired.
- Microfoam: Microfoam is a fine, velvety foam with tiny, uniform bubbles. It’s created using a steam wand on an espresso machine, where the milk is carefully textured. Microfoam is ideal for latte art because of its smooth, glossy finish and ability to pour seamlessly.
Why Froth Milk at Home?
Frothing milk at home offers several advantages.
First, it saves you money. Regular trips to coffee shops can add up quickly.
By frothing milk at home, you can enjoy your favorite drinks without the high price tag.
Another benefit is the control over the quality and type of milk you use.
At home, you can choose fresh, high-quality milk or explore different options like oat or almond milk.
This control ensures your drinks are made exactly how you like them.
Customization is another key advantage.
You can adjust the foam thickness and texture to suit your personal taste.
Whether you prefer a thick, creamy foam for your cappuccino or a light froth for a latte, you have the flexibility to experiment and find what you love best.
Methods to Froth Milk at Home
Method 1: Using a Mason Jar

Frothing milk with a mason jar is simple and requires minimal equipment.
Here’s how to do it:
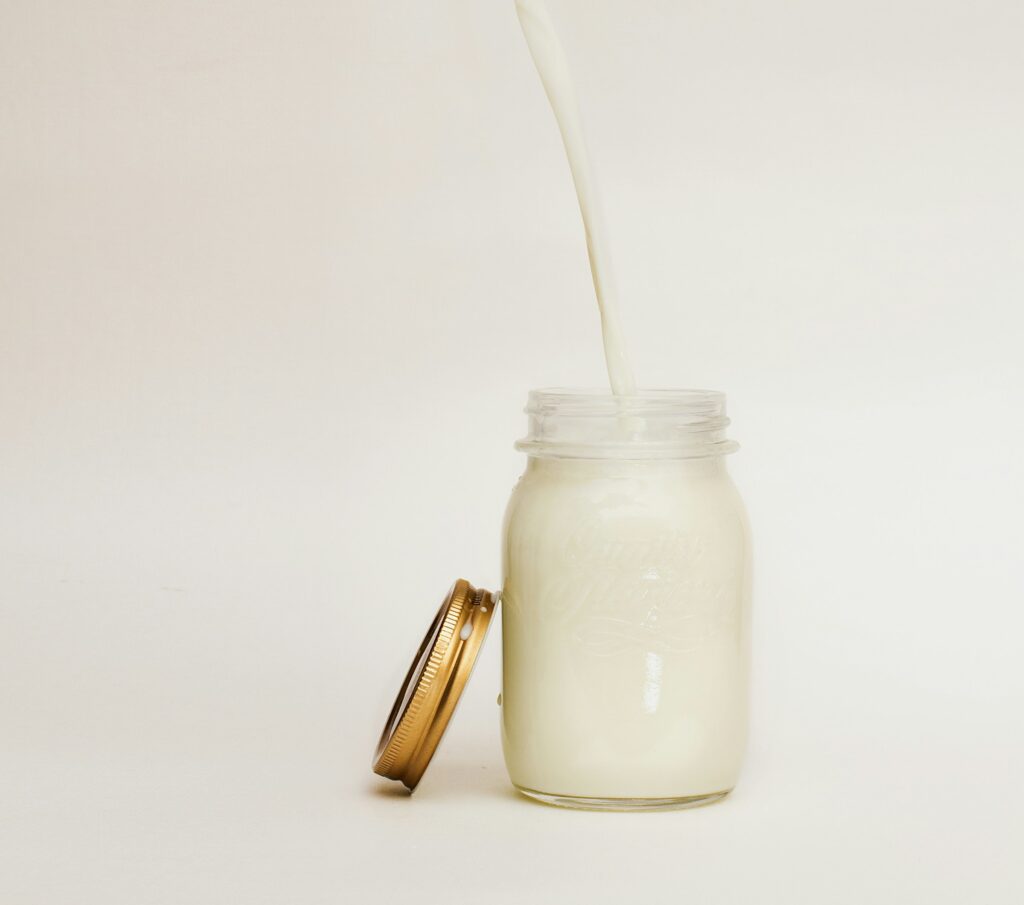
- Fill a Mason Jar Halfway with Milk: Pour your choice of milk into the mason jar, filling it only halfway to allow space for the milk to expand when frothed.
- Shake Vigorously for 45 Seconds to 1 Minute: Secure the lid tightly and shake the jar vigorously. This action incorporates air into the milk, creating foam.
- Microwave for 30 Seconds to Stabilize the Foam: Remove the lid and microwave the jar for 30 seconds. The heat helps to stabilize the foam, making it last longer.
Pros and Cons of This Method
Pros
- Easy and requires no special equipment.
- Quick process, taking just a few minutes.
- Can be done with any type of milk.
Cons
- Foam quality is lower compared to other methods, with larger bubbles.
- The foam may not be suitable for latte art.
- Needs immediate use as the foam dissolves quickly.
Best Types of Milk to Use
- 2% and Nonfat Milk: These types of milk are recommended for frothing because they produce a good amount of foam.
- Oat Milk: For a dairy-free option, oat milk froths well and creates a nice foam.
Method 2: Whisking by Hand

Whisking by hand is another effective method to froth milk at home.
This method is simple and requires only a whisk and a little elbow grease.
Here’s how to do it:
- Heat Milk to 150°F: Pour the milk into a saucepan and heat it over medium heat until it reaches 150°F. You can use a kitchen thermometer to check the temperature. If you don’t have one, heat the milk until it’s hot but not boiling.
- Whisk Vigorously Until Foamy Bubbles Form: Remove the milk from heat and begin whisking it vigorously. Use quick, back-and-forth motions to incorporate air into the milk, creating foam. Continue whisking until you see foamy bubbles forming on the surface.
- Tap and Swirl to Break Down Large Bubbles: After whisking, tap the saucepan on the counter to help break down larger bubbles. Swirl the milk around gently to make the foam more uniform.
Pros and Cons of This Method
Pros
- No special equipment needed, just a whisk and a saucepan.
- Gives you control over the amount of foam.
- Suitable for various types of milk.
Cons
- Requires more effort and time compared to other methods.
- Foam quality might not be as fine as with a frother or blender.
- Can be tiring if making a large quantity.
Method 3: Using a Blender

Using a blender is another efficient way to froth milk at home.
This method creates a consistent foam with small, uniform bubbles.
Here’s how to do it:
- Heat Milk to 150°F: Pour your milk into a saucepan and heat it over medium heat until it reaches 150°F. Use a kitchen thermometer to ensure you hit the right temperature. The milk should be hot but not boiling.
- Blend on Medium Speed Until Frothy: Pour the heated milk into a blender. Blend on medium speed for about 30 seconds or until the milk becomes frothy and increases in volume. Be cautious not to overfill the blender to avoid spills.
Pros and Cons of This Method
Pros
- Creates a consistent foam with small bubbles.
- Quick and easy with minimal effort.
- Suitable for frothing larger quantities of milk.
Cons
- Requires a blender, which some may not have on hand.
- Cleaning the blender can be a bit more time-consuming.
- Can be noisy compared to other methods.
Method 4: Immersion Blender
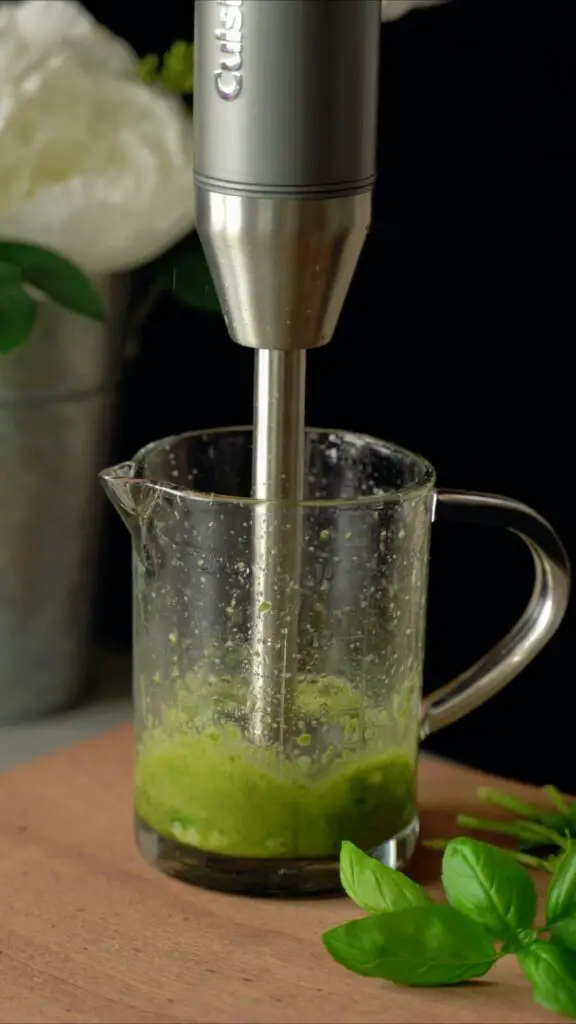
Using an immersion blender is a practical and efficient way to froth milk at home.
This method produces nice, creamy foam and is relatively easy to clean up.
Here’s how to do it:
- Heat Milk to 150°F: Pour your milk into a saucepan and heat it over medium heat until it reaches 150°F. A kitchen thermometer can help ensure you get the temperature right. The milk should be hot but not boiling.
- Use an Immersion Blender in a Deep Pot to Froth the Milk: Transfer the heated milk to a deep pot or keep it in the saucepan if it’s deep enough. Insert the immersion blender and blend on low speed, moving it up and down to incorporate air and create foam. Continue blending until the milk becomes frothy and doubles in volume.
Pros and Cons of This Method
Pros
- Produces a creamy and consistent foam.
- Quick and easy with minimal effort.
- Easy to clean compared to traditional blenders.
- Ideal for frothing larger quantities of milk.
Cons
- Requires an immersion blender, which some may not have on hand.
- Can be messy if the pot isn’t deep enough.
- The noise might be bothersome to some people.
Method 5: Using a French Press

Using a French press to froth milk is a fantastic method, especially if you’re aiming for beautiful latte art.
Here’s how to do it:
- Heat Milk to 150°F: Start by heating your milk in a saucepan over medium heat until it reaches 150°F. A kitchen thermometer will ensure accuracy, but you can also gauge by heating the milk until it’s hot but not boiling.
- Pour into a French Press and Pump Vigorously for 10 Seconds: Transfer the heated milk into your French press. Place the lid on and pump the plunger up and down vigorously for about 10 seconds. This action forces air into the milk, creating a rich, foamy texture.
Pros and Cons of This Method
Pros
- Creates a beautiful, creamy foam ideal for latte art.
- Easy to control the amount of foam by adjusting the number of pumps.
- Multipurpose tool that can be used for brewing coffee as well.
Cons
- Requires a French press, which may not be available in all kitchens.
- Can be slightly more effort compared to automated frothing methods.
- Can be temperamental with non-dairy milk.
Method 6: Electric Milk Frother

Now while all these methods are viable alternatives to using a milk frother, using a milk frother is still always going to be the best way to froth milk.
Unfortunately, not everybody has one, which is why it’s the last option on our list.
Using an electric milk frother is one of the easiest and most efficient ways to froth milk at home.
This method requires minimal effort and produces consistent results.
Here’s how to do it:
- Pour Milk into the Frother and Press the Button: Begin by pouring your desired amount of milk into the electric frother. Most frothers have a maximum fill line, so be sure not to exceed this to avoid spillage.
- Wait for the Frother to Create Foam: Press the button to start the frothing process. The frother will heat the milk and create foam automatically. This usually takes around 1-2 minutes. Once done, the frother will typically shut off automatically or signal completion.
Pros and Cons of This Method
Pros
- Extremely easy to use with minimal effort required.
- Produces consistent and high-quality foam.
- Quick, often taking less than 2 minutes.
- Many models offer both hot and cold frothing options.
Cons
- Requires purchasing an electric frother, which can be an additional expense.
- Limited to the amount of milk the frother can hold, which might be insufficient for large batches.
- Needs regular cleaning to maintain performance.
Recommended Models and Brands
- Nespresso Aeroccino: Known for its ease of use and consistent foam quality. It offers options for both hot and cold froth.
- Breville Milk Cafe: A more versatile option with adjustable temperature settings and the ability to froth larger quantities of milk.
- Secura Automatic Electric Milk Frother: A budget-friendly choice that still delivers good performance and durability.
- Bodum Bistro Electric Milk Frother: Compact and easy to use, ideal for small kitchens or limited counter space.
Tips for the Best Froth

Achieving the perfect froth can significantly enhance your coffee experience.
Here are some essential tips to help you get the best results:
Ideal Milk Temperature (140-155°F)
The temperature of the milk plays a crucial role in frothing.
Heating the milk to the right temperature helps in creating stable foam that enhances the flavor of your drink.
The ideal temperature range for frothing milk is between 140 and 155 degrees Fahrenheit (60-68 degrees Celsius).
This range ensures that the milk is hot enough to create foam but not so hot that it burns or scalds, which can ruin the taste.
Best Types of Milk for Frothing
The type of milk you use greatly affects the quality of the froth.
Here are the best options:
- 2% Milk: This type of milk provides a good balance between fat and protein, resulting in a creamy and stable foam.
- Nonfat Milk: Nonfat or skim milk produces the best froth, with large amounts of foam and stiff bubbles.
- Oat Milk: For those who prefer a dairy-free option, oat milk is the best choice. It froths well due to its balanced fat and protein content.
Importance of Fresh Milk
Using fresh milk is vital for achieving the best froth.
Fresh milk froths better because it contains a higher level of proteins and fats, which are essential for creating stable foam.
Older milk may not froth well and can produce a watery texture.
Techniques to Achieve Different Foam Textures
Different foam textures can be achieved through specific techniques, allowing you to customize your coffee drinks to your liking.
- Smaller Bubbles for Lattes: For a latte, aim for smaller, denser bubbles. This can be achieved by incorporating air slowly and gently tapping the container to break up large bubbles.
- Larger Bubbles for Cappuccinos: For a cappuccino, you want larger, airy bubbles. To achieve this, incorporate air more quickly and whisk vigorously.
- Swirling and Tapping: After frothing, gently tap the container on the counter and swirl the milk to make the froth uniform and break any large bubbles.
Common Mistakes to Avoid
Frothing milk at home can be a straightforward process, but there are some common mistakes that can hinder your results.
Here are the key mistakes to avoid to ensure you achieve the perfect froth every time.
Overheating the Milk
One of the most frequent mistakes is overheating the milk.
Heating milk beyond 155°F can cause it to scald, resulting in a burnt taste.
It also destroys the proteins needed for stable foam.
Always use a thermometer to monitor the temperature and keep it within the ideal range of 140-155°F.
Using the Wrong Type of Milk
As mentioned earlier, the type of milk you use can greatly impact the froth quality.
Not all types of milk froth well.
Whole milk, 2% milk, and nonfat milk are the best for creating foam.
Plant-based milks like oat milk can also froth well, but other non-dairy options like almond or soy may not produce the same quality of foam due to lower protein and fat content.
Not Cleaning Frothing Equipment Properly
Proper maintenance of your frothing equipment is crucial for consistent results.
Residue from previous uses can affect the milk’s ability to froth and can lead to bacterial growth.
Always clean your frothing tools immediately after use.
Rinse and wash all parts, especially the frothing wand, mason jars, blenders, or any other tools you use.
Uses for Frothed Milk

Frothed milk is incredibly versatile and can be used in a variety of drinks and recipes to enhance flavor and texture.
Here are some popular beverages and creative uses for frothed milk:
Popular Drinks
- Latte: A latte consists of espresso and steamed milk, topped with a small layer of frothed milk. The creamy texture of the milk balances the strong flavor of the espresso.
- Cappuccino: This classic coffee drink features equal parts of espresso, steamed milk, and a thick layer of frothed milk, giving it a rich and creamy texture with a bold coffee flavor.
- Macchiato: A macchiato typically includes a shot of espresso with a dollop of frothed milk on top, creating a strong coffee flavor with a touch of creaminess.
- Mocha: Combining the flavors of chocolate and coffee, a mocha is made with espresso, steamed milk, frothed milk, and chocolate syrup, resulting in a sweet and rich beverage.
- Tea Latte: Frothed milk can also be used to make tea lattes, such as a chai latte or matcha latte. These drinks combine brewed tea or matcha powder with steamed milk and frothed milk, offering a creamy and flavorful alternative to traditional tea.
- Hot Chocolate: Adding frothed milk to hot chocolate creates a velvety, smooth texture and enhances the richness of the chocolate, making it a comforting and indulgent treat.
Creative Uses in Recipes and Beverages
Frothed milk isn’t just for coffee and tea.
Here are some creative ways to use it in other recipes and beverages:
- Smoothies: Adding frothed milk to smoothies can give them a light, airy texture and a creamier consistency.
- Desserts: Use frothed milk as a topping for desserts like puddings, cakes, or fruit salads. It adds a touch of elegance and a smooth, creamy finish.
- Oatmeal and Porridge: Stirring frothed milk into oatmeal or porridge can make these breakfast staples creamier and more enjoyable.
- Soup Garnish: A dollop of frothed milk can be used as a garnish for creamy soups, adding a beautiful presentation and a hint of creaminess.
- Cocktails: Some cocktails can benefit from a touch of frothed milk, providing a unique texture and a creamy layer that complements the flavors of the drink.
Conclusion
Frothing milk at home is easier than you might think.
We’ve covered several methods, including using a mason jar, whisking by hand, using a blender or immersion blender, a French press, and an electric milk frother.
Each method has its pros and cons, but all are effective in creating that delicious foam.
Give these techniques a try and discover your favorite way to froth milk at home.
It’s a fun and cost-effective way to enhance your coffee and tea experience.
Don’t forget to share your experiences and any additional tips in the comments below.
Happy frothing!