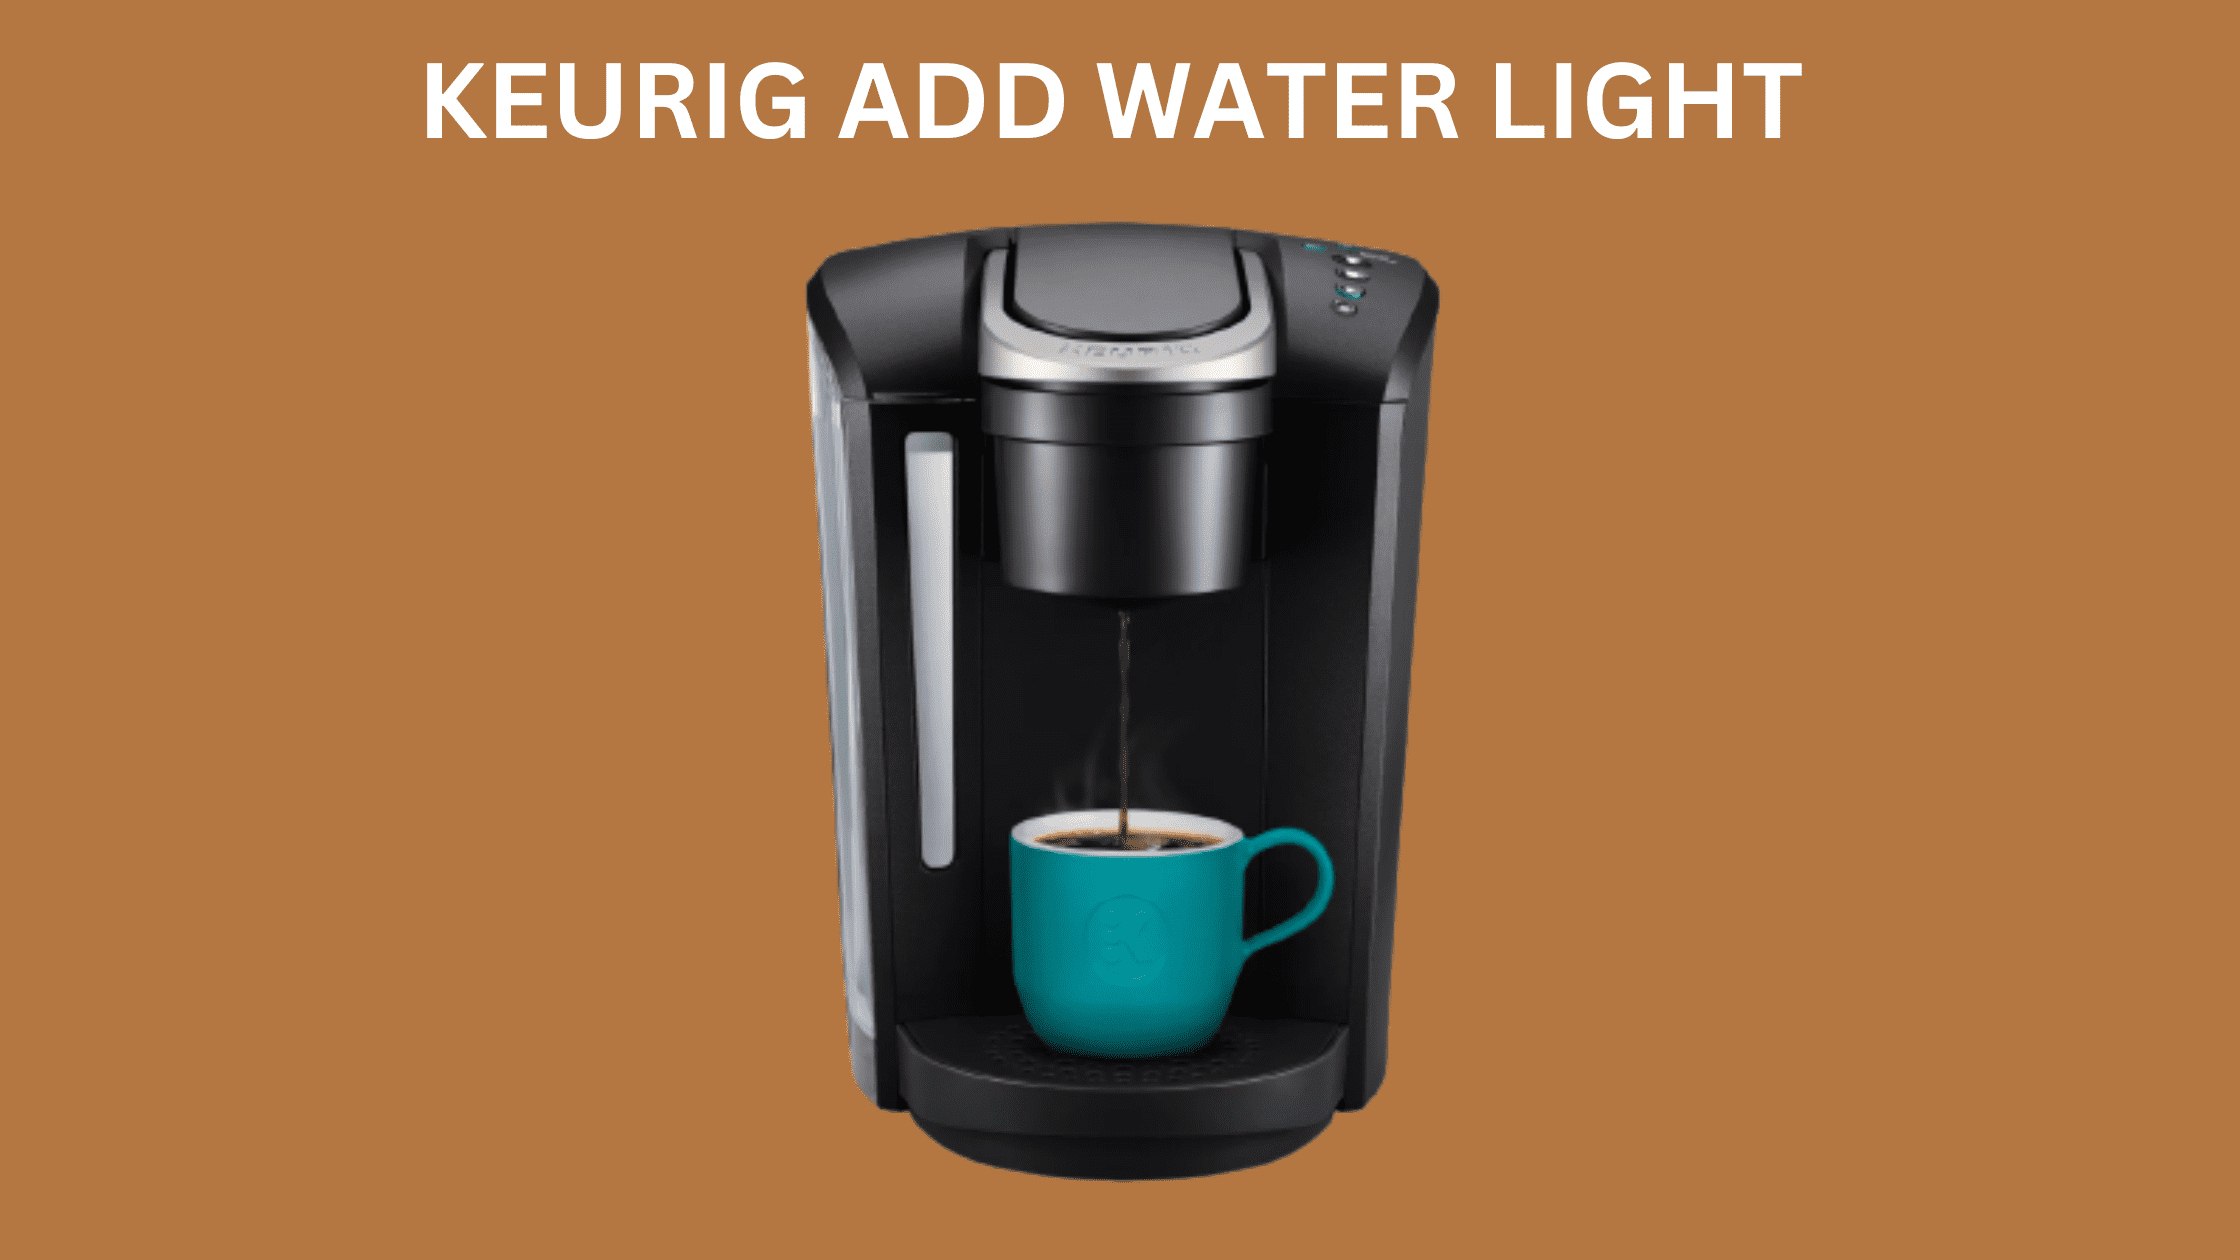
In today’s fast-paced world, Keurig coffee makers have become a convenient and popular choice for coffee lovers.
However, encountering an issue where the “Add Water” light remains illuminated on your Keurig can be frustrating.
The easiest way to fix this issue would be to shake the water tank to get the floater unstuck. If this doesn’t work, check if the water reservoir is seated properly. Thereafter, you can try cleaning the machine to get rid of any clogs. Additional solutions will be outlined throughout this post.
This blog post serves as a concise troubleshooting guide to help you understand and resolve this common problem, ensuring you can get back to enjoying your favorite cup of coffee without any interruptions.
How To Resolve The ‘Add Water’ Light Issue On A Keurig
The issue of the “Add Water” light staying on and the machine not functioning properly is frequently encountered in models such as Keurig K-Duo, K-Elite, K-Compact, and K-Classic.
However, it is possible that these solutions may also apply to other Keurig models. In the following section, we will explore these potential fixes in detail.
Shake the water tank
One common reason for the “Add Water” light to stay on, even after refilling the reservoir, is a stuck floater that indicates the water level. This can occur due to scale buildup or prolonged inactivity of the Keurig coffee maker.
To resolve this, remove the water tank and gently shake it to dislodge the floater. Once done, refill the reservoir, and the “Add Water” light should no longer be illuminated.
Check the water reservoir
Ensure that the water reservoir is properly seated in the base of the Keurig. Sometimes, it can become stuck or misaligned, leading to the “Add Water” light issue.
Remove the reservoir, empty its contents, and then refill it before reattaching it securely to the base.
Clean the machine
A dirty or clogged water filter can impede the proper flow of water, triggering the “Add Water” light to flash.
Thoroughly clean the reservoir and the water dispensing hole. It is also advisable to clean and blow out the tubes within the coffee maker to remove any blockages or residue buildup.
Replace the water sensor
If the water sensor is malfunctioning and fails to accurately detect the water level in the reservoir, replacing the sensor may be necessary.
A faulty sensor can cause the “Add Water” light to stay on even when the tank is filled.
Replace the filter
An old or worn-out water filter may no longer effectively filter the water, leading to the “Add Water” light issue. Replace the filter to ensure it is not the cause of the problem.
Air stuck in the overflow tube
Another possible cause of the “Add Water” light staying on is the presence of air or water trapped in the overflow tube of the coffee maker.
Remove the water tank and blow into the silicon tube located in the upper left corner of the machine. If you hear air or water flowing, it indicates that the issue has been resolved.
Excess air and dirt in the tubes
In some cases, excessive air and dirt accumulation in the tubes can contribute to the persistent “Add Water” light issue.
Remove the top cover of your Keurig coffee maker by either unscrewing two screws or releasing two clips, depending on the model.
Clean the tube connected to the white part responsible for water flow to the K-cup. Then, bend the tube slightly and blow firmly into it or use a balloon inflator.
The release of gurgling air bubbles indicates a successful resolution.
By following these troubleshooting steps, you can effectively address the ‘Add Water’ light issue on your Keurig coffee maker and restore its functionality.
If none of these solutions work, you should contact Keurig customer service for further assistance
Troubleshooting: Add Water Light Won’t Come On
If, despite having an empty water reservoir, you find that the ‘Add Water’ light on your Keurig does not illuminate, there could be an issue with a stuck floater in the water tank.
This occurs when the floater becomes trapped at a higher point, preventing it from descending enough to indicate an empty tank.
To address this problem, start by removing the water tank from the Keurig machine. Gently shake the tank to dislodge the stuck floater.
Afterward, it is essential to clean the tank thoroughly to prevent the floater from becoming stuck again in the future.
While this issue is typically easier to manage, if the problem persists even after freeing the floater, it is advisable to monitor the water tank’s level more closely.
Developing a habit of refilling the tank as soon as it nears empty will help ensure a consistent and uninterrupted brewing experience.
By following these steps, you can effectively resolve the problem of the ‘Add Water’ light failing to come on when the water reservoir is empty.
Remember to perform regular maintenance and keep an eye on the floater to prevent any recurring issues in the future.
Conclusion
The persistent illumination of the “Add Water” light on your Keurig coffee maker can be a frustrating issue, but with the troubleshooting steps provided in this blog post, you can tackle the problem head-on.
From shaking the water tank to cleaning the machine and checking the water sensor and filter, these solutions cover common causes of the issue.
Additionally, we explored how to address the situation when the “Add Water” light fails to come on even with an empty water reservoir.
Remember, if you’ve exhausted all the troubleshooting options and the problem persists, don’t hesitate to reach out to Keurig’s customer service for further assistance. They have a dedicated team ready to help you with specific guidance and support.

