Many people may not know but the quality of your brew hinges significantly on the performance of your coffee grinder.
A well-functioning grinder is crucial, as it determines the freshness, flavor, and aroma of your coffee by delivering the right grind consistency.
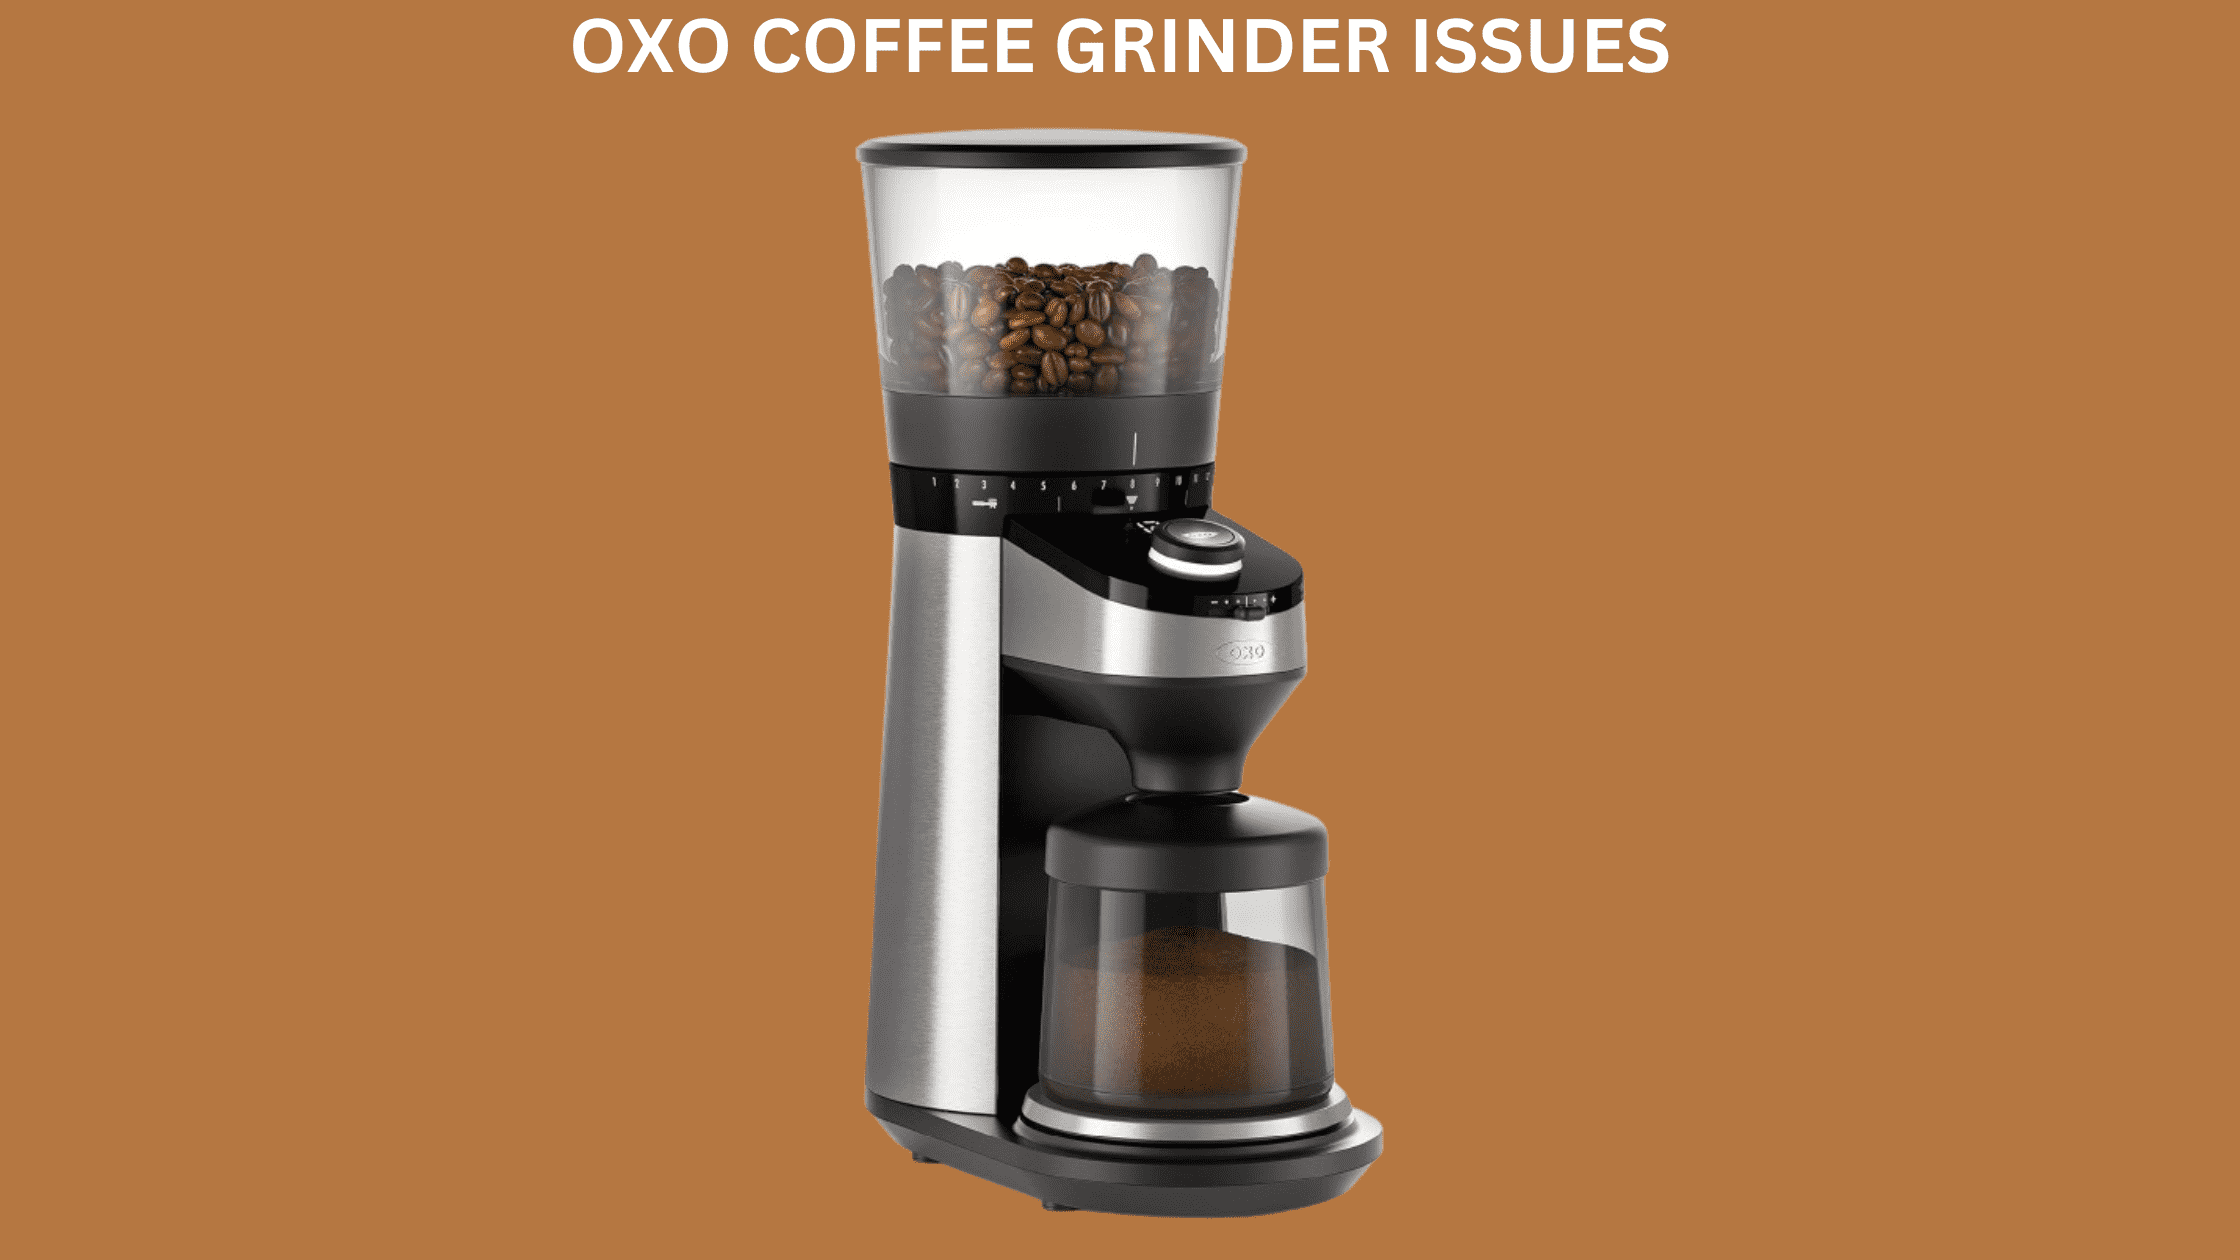
In this realm, OXO coffee grinders have carved out a reputation for reliability and efficiency.
However, like any appliance, they are not immune to issues.
In this blog, we’ll look at 6 common problems faced by OXO coffee grinder users and provide practical solutions to ensure your coffee-making journey remains a smooth and flavorful experience.
Getting to Know Your OXO Coffee Grinder
At the heart of every great cup of coffee is a grinder that knows its job.
OXO coffee grinders are designed with this very purpose in mind.
They operate on a simple yet effective principle: transforming your favorite coffee beans into grounds that are just right for your brewing method.
Whether you prefer a fine grind for an espresso or a coarser one for a French press, these grinders are up to the task.
The key feature of OXO grinders is their burr grinding mechanism.
Unlike blade grinders that chop beans unevenly, burr grinders crush beans between two surfaces.
This method offers a consistent grind, which is essential for extracting the full flavor of the coffee.
Most OXO models also come with adjustable settings, allowing you to fine-tune the grind size to your liking.
Common Problems and Solutions
Now let’s look at some of the most common issues that people face with OXO coffee grinders along with helpful solutions to get you up and running again.
1. When Your Grinder Won’t Start
Checking Power Sources and Connections
It’s a familiar scenario: you’re ready for your morning coffee, but your grinder just won’t turn on.
Before you panic, let’s start with the basics.
First, check if your grinder is properly plugged in.
It sounds simple, but sometimes the plug might be loose or not fully inserted into the socket.
Next, ensure that the power outlet itself is working.
You can test this by plugging in another appliance to see if it powers up.
Troubleshooting the Switch or Button
If the power source isn’t the issue, the next step is to take a look at the grinder’s switch or button.
Sometimes, continuous use can lead to wear and tear, causing these components to become unresponsive.
Gently press the switch or button to see if there’s any resistance or if it feels different than usual.
If it seems stuck or overly loose, it might be a sign that it needs attention.
However, remember that delving into the internal mechanics of your grinder should be done with caution.
If you’re not comfortable with it, it’s best to seek professional help.
Replacing the Internal Fuse
Another potential culprit could be the internal fuse.
Over time or due to power surges, the fuse inside your grinder can blow, preventing it from turning on.
Replacing the internal fuse is a bit more technical and will require some basic understanding of the grinder’s internal components.
If you decide to replace the fuse yourself, make sure the grinder is unplugged and you have the right tools and replacement fuse.
If you’re not sure about doing this yourself, it’s always safer to consult with a professional or reach out to OXO’s customer support for guidance.
2. Fixing a Jammed Grinder
Unjamming Your OXO Coffee Grinder
A jammed coffee grinder can put a real damper on your coffee-making routine.
If your OXO grinder has stopped working and you suspect a jam, here’s how to tackle it:
- Safety First: Always start by unplugging your grinder. Safety is paramount when dealing with electrical appliances.
- Empty the Hopper: Remove any beans from the hopper. This will give you a clear view and access to the burrs.
- Check for Obvious Blockages: Sometimes, a large bean or a foreign object might be causing the jam. If you see anything blocking the burrs or the chute, carefully remove it.
- Gentle Tapping: Sometimes, a gentle tap on the side of the grinder can dislodge any stuck coffee particles. Be gentle to avoid damaging your grinder.
- Reassemble and Test: Once you’ve cleared the blockage, reassemble your grinder and give it a test run with a small amount of coffee beans.
Preventing Future Jams
To keep your grinder running smoothly, regular cleaning and maintenance are key:
- Regular Cleaning: After each use, give your grinder a quick clean. Remove any remaining coffee grounds from the burrs and the chute. A soft brush or a blast of compressed air can be very effective for this.
- Deep Cleaning: Every few weeks, depending on your usage, perform a deeper clean. This might involve disassembling parts of the grinder for a thorough clean. Check your user manual for guidance on how to do this safely.
- Use the Right Beans: Oily beans can often lead to jams. If you frequently encounter jams, consider switching to a less oily variety of coffee beans.
Knowing When to Replace the Burrs
The burrs are the heart of your coffee grinder.
Over time, they can become dull or damaged, which not only affects the quality of your grind but can also lead to more frequent jams.
Here are some signs that it might be time to replace the burrs:
- Inconsistent Grind: If you notice your coffee grind becoming increasingly inconsistent, it could be a sign of wearing burrs.
- Frequent Jams: If jams become a regular occurrence despite regular cleaning, this could indicate that the burrs are worn out.
- Visual Inspection: If you notice any chipping or blunting on the burrs during your regular cleaning, it’s probably time for a replacement.
3. When Your Grinder Is Too Loud
Decoding Unusual Noises from Your Grinder
It’s not uncommon for coffee grinders to make some noise during operation, but when your OXO grinder starts making sounds that are out of the ordinary, it’s time to investigate.
Here’s how to approach this:
- Listen Carefully: Try to pinpoint the type of noise – is it a high-pitched squeal, a grinding sound, or more of a rattling? The nature of the noise can give clues about the underlying issue.
- Check for Loose Parts: Sometimes, strange noises can be due to loose components in the grinder. Make sure everything is tightly secured.
- Empty and Test: Empty the hopper and run the grinder briefly. If the noise persists even without beans, it indicates the problem is with the grinder itself.
Cleaning and Inspecting the Grinder
A thorough cleaning can often resolve noise issues:
- Clean the Burrs: Over time, coffee residue can build up on the burrs, affecting their movement and causing unusual noises. Carefully clean the burrs with a brush.
- Inspect the Hopper: Make sure the Hopper is clear of any debris or stuck coffee beans. A blocked hopper can strain the grinder’s motor, leading to odd sounds.
- Look for Wear and Tear: As you clean, inspect the burrs and other parts for signs of wear or damage. Even small imperfections can cause big noises.
Addressing Damaged Parts
If cleaning doesn’t solve the problem, you might be dealing with damaged parts:
- Worn Burrs: If the burrs are chipped or worn down, they might need replacing. Worn burrs can make grinding difficult, leading to unusual noises.
- Motor Issues: A struggling motor can also be noisy. If you suspect the motor is the problem, it’s best to consult with a professional, as motor repairs can be complex.
- Seek Professional Help: If you’re unsure about the cause of the noise or how to fix it, it’s always safer to seek help from a professional. They can accurately diagnose and fix the issue without risking further damage to your grinder.
4. Solving Inconsistent Grinding Issues
Fine-Tuning Grind Settings
Inconsistent grinding can be a real headache for coffee lovers aiming for that perfect cup.
The first step to tackle this is adjusting the grind settings on your OXO grinder.
Here’s how to do it:
- Understand the Settings: OXO grinders typically come with multiple grind settings, ranging from fine to coarse. If your coffee is coming out too coarse or too fine, try shifting to a setting closer to your desired grind.
- Test and Adjust: Make small adjustments to the settings and grind a small batch of beans to test the results. It might take a few tries to find the sweet spot.
Clearing Clogs and Obstructions
Clogs in the grinder can lead to uneven grinding. Here’s what you can do:
- Unplug and Inspect: Safety first – unplug your grinder. Then, take a look inside the hopper and the burrs for any visible clogs or stuck coffee beans.
- Use a Brush: A small brush is a handy tool for clearing out coffee particles that might be clogging the burrs or the chute.
- Regular Cleaning: Prevent clogs by regularly cleaning your grinder, especially if you use oily coffee beans that can leave residue more quickly.
When to Replace Burrs
The condition of the burrs is crucial for consistent grinding:
- Check for Dullness: Over time, burrs can become dull, leading to inconsistent grinding. Inspect your burrs for signs of wear. If they look blunt or have lost their edge, it’s time for a change.
- Replacing Burrs: Replacing the burrs can be done at home if you’re comfortable with it, but make sure to follow the manufacturer’s instructions. If you’re not sure, it’s best to seek professional help.
- Choose Quality Replacements: When buying new burrs, opt for high-quality ones that are compatible with your OXO grinder model. This ensures the best performance and longevity.
5. The Grinder Won’t Stop Running
Troubleshooting the Switch or Button
When your OXO coffee grinder keeps running non-stop, it’s usually an issue with the switch or button.
Here’s how to approach this:
- Check the Switch/Button: Sometimes, the problem is as simple as a stuck switch or button. Gently press and release it a few times to see if it pops back to its normal position.
- Clean Around the Controls: Coffee grinds or debris can sometimes get lodged around the switch, causing it to stick. Use a soft brush or a dry cloth to gently clean around the area.
Performing Internal Circuitry Checks
If the switch seems fine, the issue might be with the grinder’s internal circuitry:
- Safety First: Before you do anything, make sure the grinder is unplugged. Never attempt to check internal components while the grinder is connected to power.
- Visual Inspection: Open up the grinder’s casing if you’re comfortable doing so. Look for any obvious signs of wear or damage to the wires or internal components.
- Look for Loose Connections: Sometimes, a loose wire or connector can cause operational issues. If you spot any, and you’re confident in your DIY skills, you can try to carefully re-secure them.
When to Seek Professional Service
If basic troubleshooting doesn’t resolve the issue, it’s time to consider professional help:
- Complex Issues: If the problem lies deep within the grinder’s circuitry or motor, it’s best handled by a professional. They have the tools and expertise to safely and effectively fix the issue.
- Warranty Check: Before you take your grinder apart, check if it’s still under warranty. Tampering with the grinder might void the warranty, so it might be better to contact OXO’s customer service for support.
- Finding a Repair Service: Look for a reputable appliance repair service that has experience with coffee grinders or specifically with OXO products. They can provide a more thorough inspection and repair.
6. Addressing a Shaking OXO Coffee Grinder
Identifying the Cause of the Shaking
If your OXO coffee grinder starts shaking during use, it’s important to address this issue promptly as it can affect the grinder’s performance and longevity.
Here’s how to approach it:
- Check for Uneven Surfaces: First, ensure that your grinder is placed on a stable, level surface. An uneven surface can cause the grinder to wobble or shake.
- Inspect for Overfilling: Overfilling the hopper can sometimes lead to imbalance, resulting in shaking. Make sure you’re filling the hopper to the recommended level.
Resolving the Shaking Issue
Once you’ve ruled out external factors, it’s time to look inside:
- Turn Off and Unplug: Safety first – always turn off and unplug your grinder before inspecting it.
- Check the Burrs: Misaligned or loose burrs can cause the grinder to shake. Open the burr chamber and ensure everything is properly aligned and securely fastened.
- Remove Obstructions: Look for any foreign objects or coffee build-ups that might be causing an imbalance. A thorough cleaning might be necessary to remove any obstructions.
When to Seek Help
If the shaking persists after these checks:
- Consult the Manual: Refer to your OXO coffee grinder’s manual. It might have specific instructions or troubleshooting tips for issues like shaking.
- Professional Assessment: Persistent shaking, especially if it’s a new development, might indicate a more serious internal issue. In such cases, it’s best to seek professional service.
- Warranty and Support: Check if your grinder is still under warranty. If it is, contact OXO customer support for advice or to arrange for a repair or replacement.
Navigating Advanced Troubleshooting for Your OXO Grinder
Delving into More Complex Issues
Sometimes, your OXO coffee grinder might present challenges that require a bit more technical know-how.
Here’s how to approach these more complex issues:
Understand the Problem
Take note of any specific symptoms your grinder is exhibiting.
Is it making an unusual noise, failing to grind properly, or behaving erratically? The more specific you can be, the better.
Research and Resources
Utilize online resources, such as forums, videos, or the OXO website, for guidance.
Often, others have encountered similar issues and their solutions might apply to your situation.
Gather the Right Tools
If you’re planning to delve into the internals of your grinder, ensure you have the right tools on hand.
This might include screwdrivers, brushes for cleaning, and sometimes specialized tools for grinder repair.
When to Seek Professional Advice
While it’s rewarding to fix issues yourself, there are times when professional input is invaluable:
Complex Mechanical or Electrical Issues
If the problem involves the grinder’s motor, electrical system, or intricate mechanical parts, it’s best handled by someone with expertise in these areas.
Risk of Damaging the Grinder
If you’re unsure about any step and there’s a risk of causing further damage, it’s time to consult a professional.
Warranty Considerations
Remember, attempting repairs on your own might void your warranty.
Check your warranty status before proceeding with any in-depth troubleshooting.
Contacting Customer Support
Sometimes, the best course of action is to reach out directly to those who know your grinder best:
Customer Support
OXO’s customer support can provide tailored advice, troubleshooting steps, and inform you about warranty coverage.
Service Centers
If your grinder needs professional service, ask OXO for recommendations on authorized service centers or arrange for a repair through them.
Documentation and Serial Numbers
When contacting support, have your grinder’s model number and any relevant documentation handy.
This information will help them assist you more efficiently.
Keeping Your OXO Grinder in Top Shape: Maintenance Tips
Maintaining your OXO coffee grinder is key to ensuring it continues to perform at its best.
Here are some essential maintenance tips to help you keep your grinder in optimal condition.
Regular Cleaning and Care Routines
Daily Cleaning
After each use, empty any remaining coffee grounds.
A quick brush around the burrs and the hopper can prevent build-up.
For electric grinders, a soft, dry cloth is ideal for wiping the exterior.
Weekly Deep Cleaning
Depending on your usage, a more thorough cleaning weekly or bi-weekly is beneficial.
This involves disassembling parts like the hopper and burr chamber (as per your model’s instructions) and cleaning them with a brush or a specialized grinder cleaner.
Avoid using water or liquid cleaners on the internal parts.
Check for Residue
Oily residues from coffee beans can accumulate over time.
Regularly check and clean these residues to ensure smooth operation and to prevent clogging.
Importance of Using High-Quality Beans
Choose the Right Beans
The quality of your coffee beans can significantly impact your grinder’s performance.
High-quality, fresh beans are less likely to cause clogs and will provide a better flavor profile.
Avoid Overly Oily Beans
Some beans, especially darker roasts, can be very oily.
These oils can stick to the grinder’s components and lead to build-up.
If you notice your grinder struggling, try switching to a less oily bean variety.
Replacing Worn-Out Parts
Monitor Burr Wear
The burrs are the most crucial part of your grinder.
Over time, they can become dull, leading to inconsistent grinds.
Keep an eye on their condition and replace them when they start to show signs of wear.
Replace Filters and Gaskets
If your grinder has filters or gaskets, check them regularly for wear and tear.
Replacing these parts when needed can prevent leaks and maintain the quality of your grind.
Stay on Top of Maintenance
Keep a record of when you perform maintenance tasks and replace parts.
This log can help you stay on top of routine care and prevent unexpected breakdowns.
Elevating Your Coffee Game
Getting the most out of your coffee involves more than just a good grinder.
Here are some tips to enhance your coffee experience, from achieving the perfect grind to pairing your grinder with the right coffee equipment.
Achieving the Perfect Grind for Different Coffee Types
- Understand Grind Sizes: Different brewing methods require different grind sizes. For instance, espresso needs a fine grind, while French press coffee works best with a coarser grind. Familiarize yourself with the grind requirements of your preferred brewing method.
- Experiment and Adjust: Don’t be afraid to experiment with grind sizes. Even within a brewing method, slight adjustments can make a big difference in flavor. Start with the recommended settings and adjust slightly finer or coarser to find your perfect match.
- Consistency is Key: Aim for a consistent grind size. Inconsistent grinds can lead to uneven extraction, affecting the taste of your coffee. Regular maintenance of your grinder will help ensure consistent grinds.
Pairing Your Grinder with the Right Coffee Equipment
- Complementary Equipment: Pair your OXO grinder with a quality coffee maker or espresso machine. The right combination of grinder and brewer can significantly elevate your coffee experience.
- Quality Water: The water you use can impact the taste of your coffee. Consider using filtered water, especially if your tap water is hard or has a strong taste.
- Accurate Measurements: Use a scale to measure your coffee beans before grinding. This will help you achieve the right coffee-to-water ratio, which is crucial for brewing a great cup.
- Temperature Control: If you’re using a manual brewing method, like pour-over or French press, pay attention to water temperature. Water that’s too hot or too cold can affect extraction and the overall taste of your coffee.
- Clean and Calibrate: Regularly clean and calibrate your brewing equipment. Just like your grinder, other coffee equipment needs care to perform at its best.
Conclusion
Mastering your OXO coffee grinder involves understanding its operation, tackling common issues like jams or strange noises, and knowing when to seek professional help.
Remember, the key to a consistently great coffee experience lies in regular maintenance and understanding the nuances of your grinder.
By keeping up with cleaning, adjusting grind settings for different brews, and replacing parts when necessary, you’ll not only extend the life of your grinder but also ensure it performs at its best every time.
FAQ’s
Can You Use Vinegar to Descale an OXO Coffee Maker?
Yes, you can use a diluted vinegar solution to descale an OXO coffee maker.
Mix equal parts of water and white vinegar, and run this solution through the coffee maker.
Follow this with a few cycles of plain water to rinse any residual vinegar taste.
Can I Use an OXO Grinder for Espresso?
Absolutely! OXO grinders, especially those with adjustable settings, can grind coffee fine enough for espresso.
Just set your grinder to the finest setting and experiment a bit to find the perfect grind for your espresso machine.
How Long Can You Grind with an OXO Coffee Grinder?
It’s best not to run your OXO coffee grinder continuously for more than a few minutes at a time.
Continuous grinding can cause the motor to overheat.
For optimal performance and longevity, give it a break after about 3-5 minutes of continuous use.
How Often Should You Clean an OXO Coffee Grinder?
For the best performance, clean your OXO coffee grinder after every use by brushing out the grounds.
A more thorough cleaning, including disassembling and cleaning individual parts, should be done every 3-4 weeks, depending on usage.
How Do You Take Apart an OXO Coffee Grinder?
To take apart your OXO coffee grinder for cleaning:
- Unplug the grinder.
- Remove the hopper and grind chamber.
- Carefully remove the burrs – consult your model’s manual as different models have different mechanisms.
- Clean the parts according to the manufacturer’s instructions.
- Reassemble in reverse order, ensuring all parts are dry and properly fitted.
Remember, always refer to your specific model’s manual for detailed instructions, as disassembly can vary between different OXO grinder models.