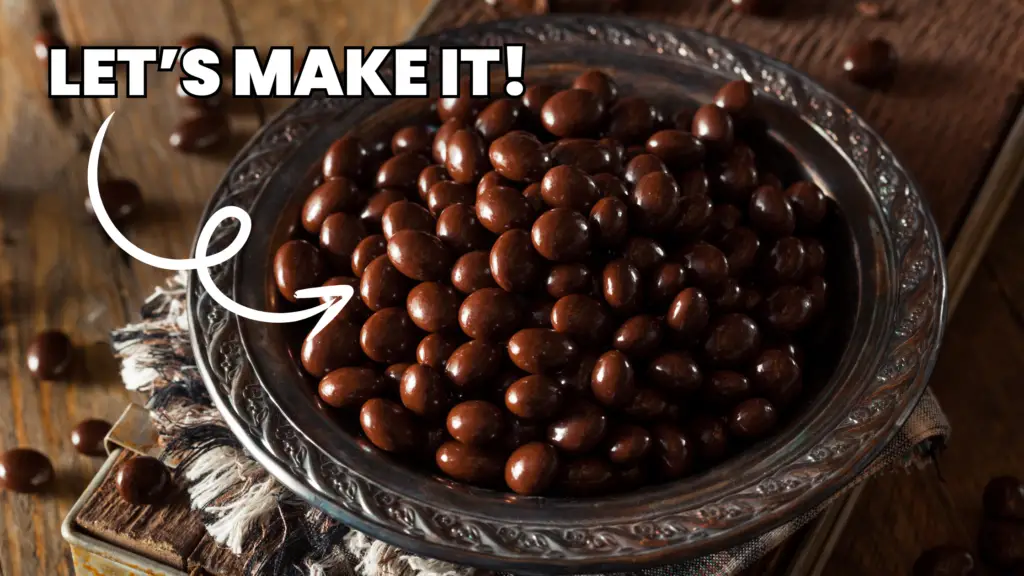
Imagine the bliss of combining rich chocolate with the bold flavor of coffee, all in a single bite.
Making chocolate-covered coffee beans at home is not only simple but also incredibly versatile.
You can tailor each batch to your taste, choosing your favorite beans and chocolate.
Plus, homemade means fresher, more delicious treats.
Check out this easy recipe and discover how fun and rewarding it is to create your own chocolate-covered coffee beans!
How To Make Chocolate Covered Coffee Beans: At A Glance
- Step 1: Select and prepare the coffee beans
- Step 2: Melting the Chocolate
- Step 3: Coating the Coffee Beans
- Step 4: Let the chocolate set
- Step 5: Customize and enjoy!
Ingredients Needed
- 1 cup coffee beans: Preferably high-quality, medium to dark roast or flavored beans (Arabica, Robusta, espresso beans).
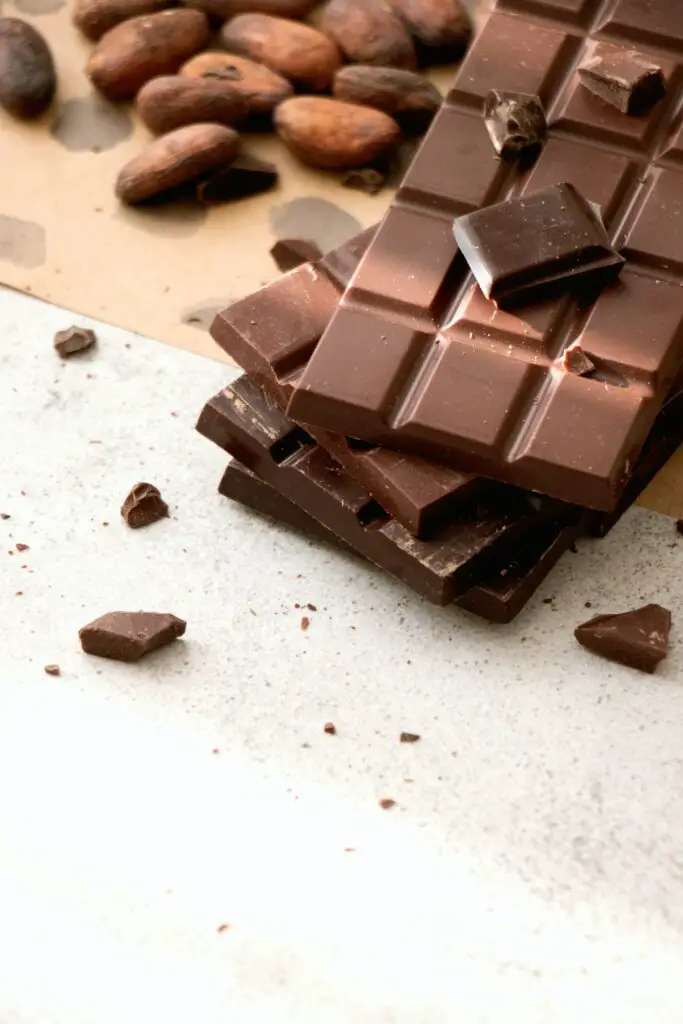
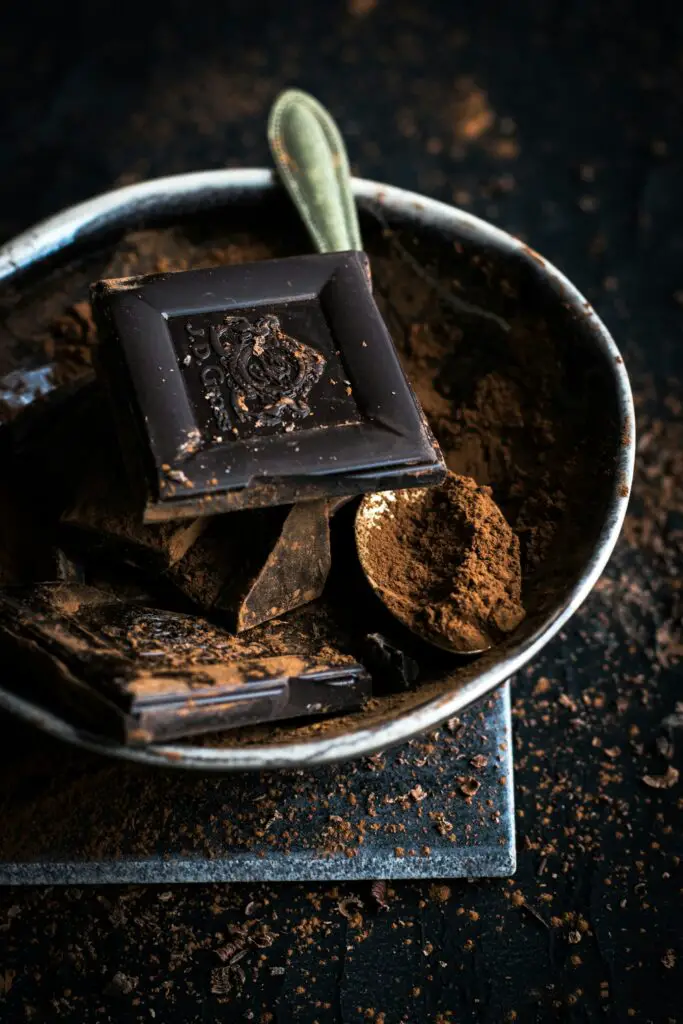
- 1 cup dark chocolate: Broken into pieces (you can also use milk, white, or ruby chocolate based on your preference).
- 3 tablespoons cocoa powder: Optional, for dusting.
- 1 teaspoon coconut oil: Optional, for adding shine to the chocolate.
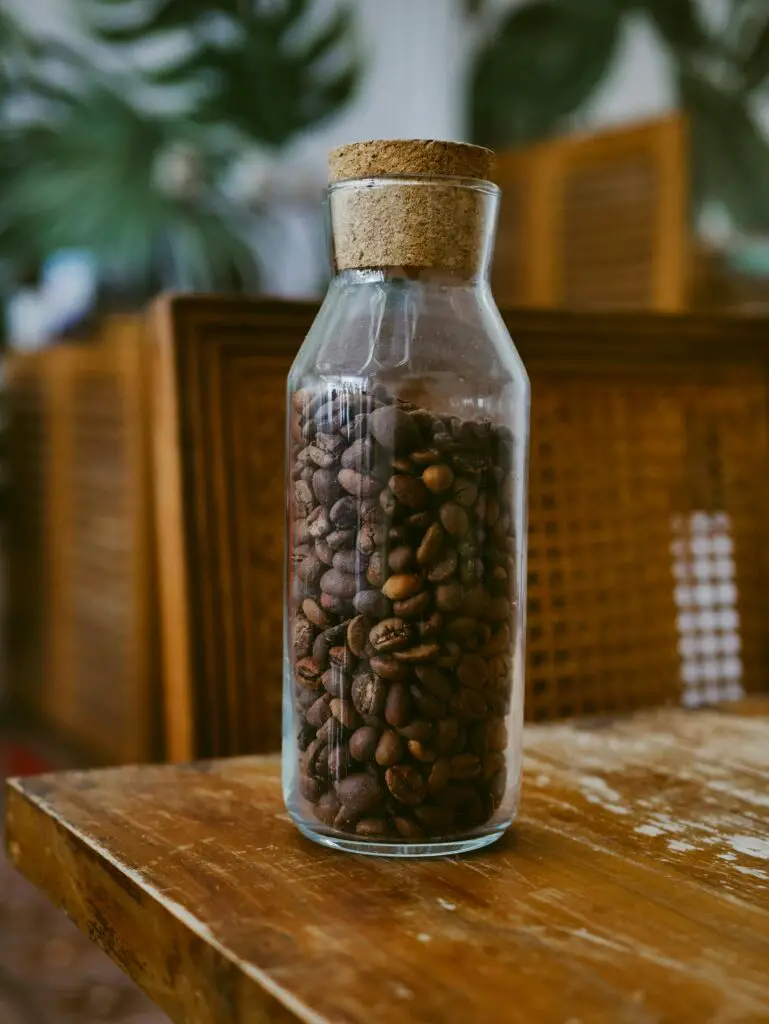
Coffee Beans
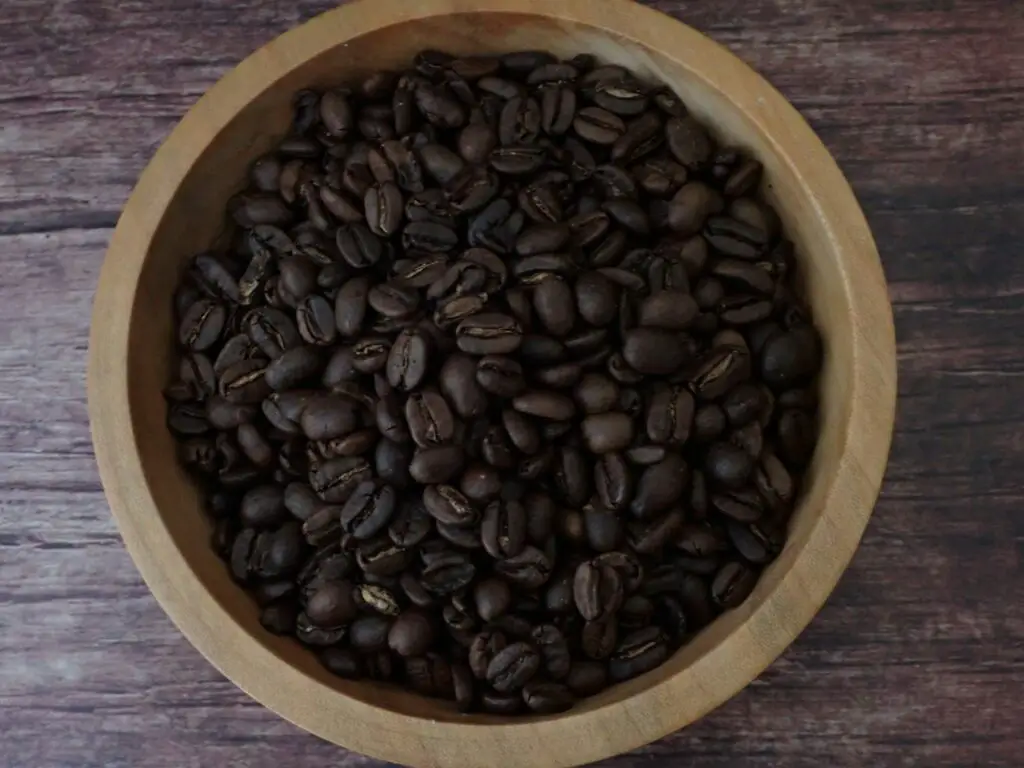
For the best chocolate-covered coffee beans, start with high-quality coffee beans.
Medium to dark roast beans are ideal.
They offer a good balance of flavor and acidity, complementing the sweetness of the chocolate perfectly.
Arabica beans are a great choice due to their superior taste and lower caffeine content.
However, if you prefer a stronger flavor, Robusta or espresso beans work well too.
Flavored beans, like hazelnut or vanilla, can add a unique twist to your treats.
Chocolate Types
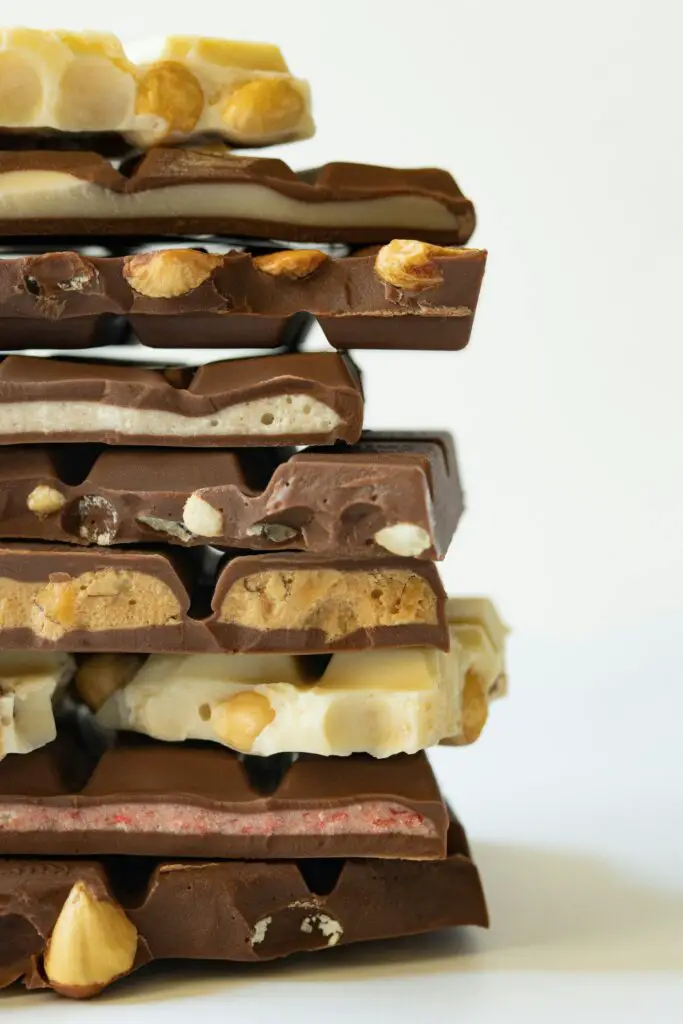
The type of chocolate you use can significantly impact the flavor of your coffee beans.
Dark chocolate is a popular choice, providing a rich, deep flavor that pairs beautifully with both medium and dark roast beans.
Milk chocolate offers a sweeter, creamier alternative, which works well with darker, more robust coffee beans.
White chocolate can be used for a sweeter, milder option, and ruby chocolate adds a fruity twist.
Experiment with different types to find your favorite combination.
Additional Ingredients
To elevate your chocolate-covered coffee beans, consider adding some extra ingredients.
Cocoa powder is a classic choice for dusting the beans, giving them a sophisticated finish.
Crushed nuts can add a delightful crunch, while a sprinkle of sea salt can enhance the chocolate’s flavor.
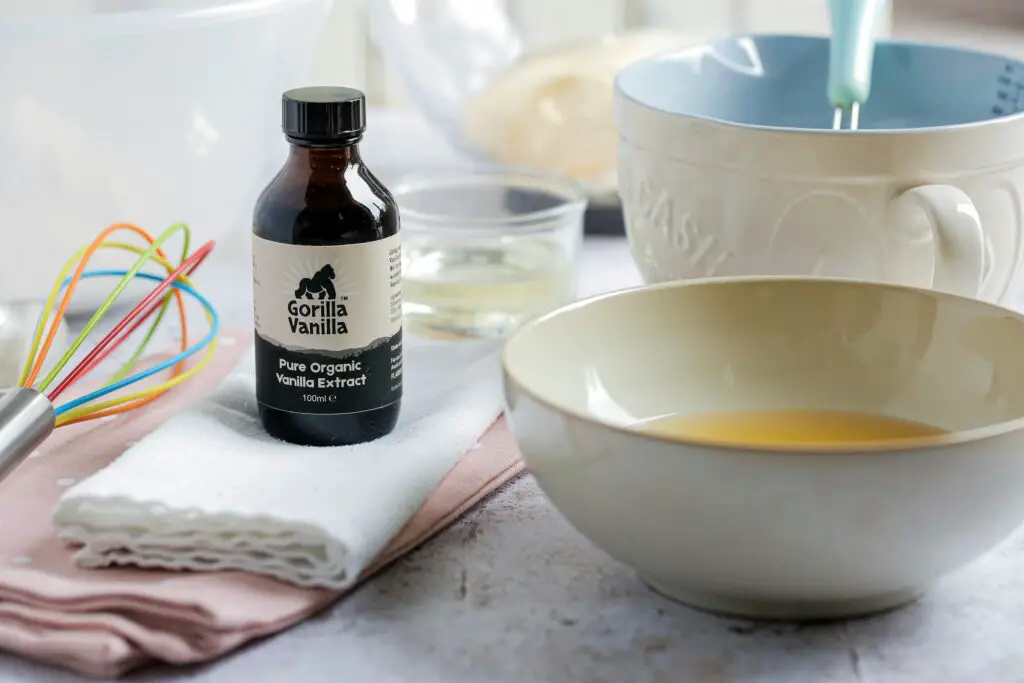
For additional taste variations, try mixing in a drop of vanilla extract or a pinch of cinnamon into the melted chocolate.
These small additions can make your homemade treats even more special and personalized.
Equipment Required
Melting Tools
To melt your chocolate properly, you’ll need a double boiler or a microwave-safe bowl.
A double boiler is ideal because it allows for gentle, even heating.
Simply place your chocolate in the top pot, and heat it over simmering water in the bottom pot.
This method helps prevent the chocolate from burning.
If you don’t have a double boiler, you can improvise with a heatproof bowl placed over a pot of simmering water.
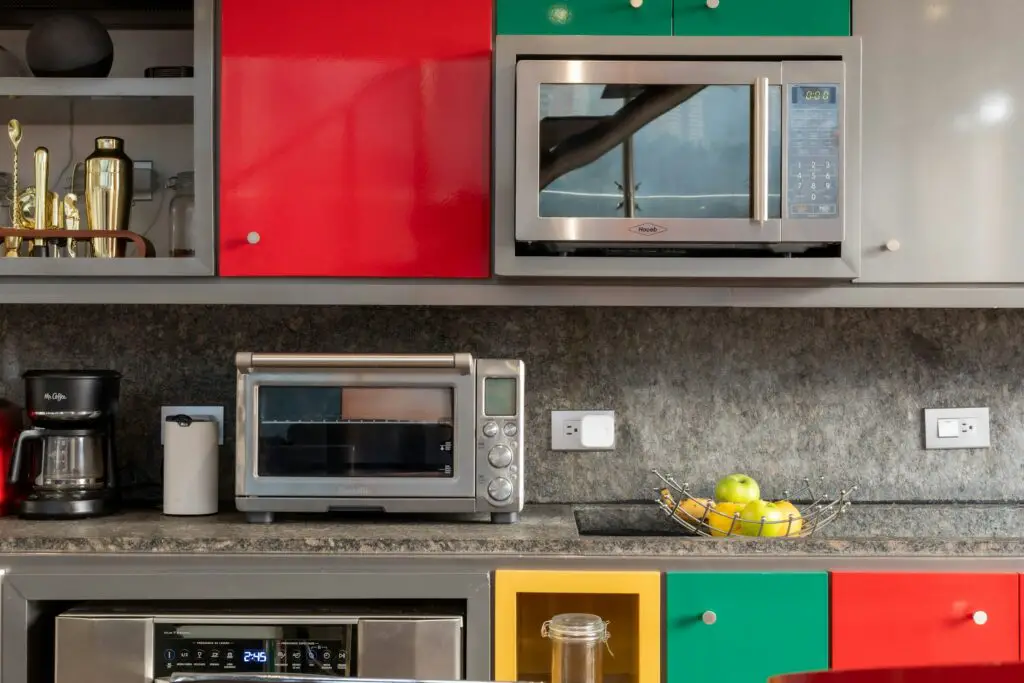
Alternatively, you can use a microwave to melt the chocolate.
Place the chocolate in a microwave-safe bowl and heat it in short intervals, about 30 seconds each.
Stir between intervals to ensure even melting and to prevent overheating.
This method is quick and convenient, but be careful not to burn the chocolate.
Other Tools
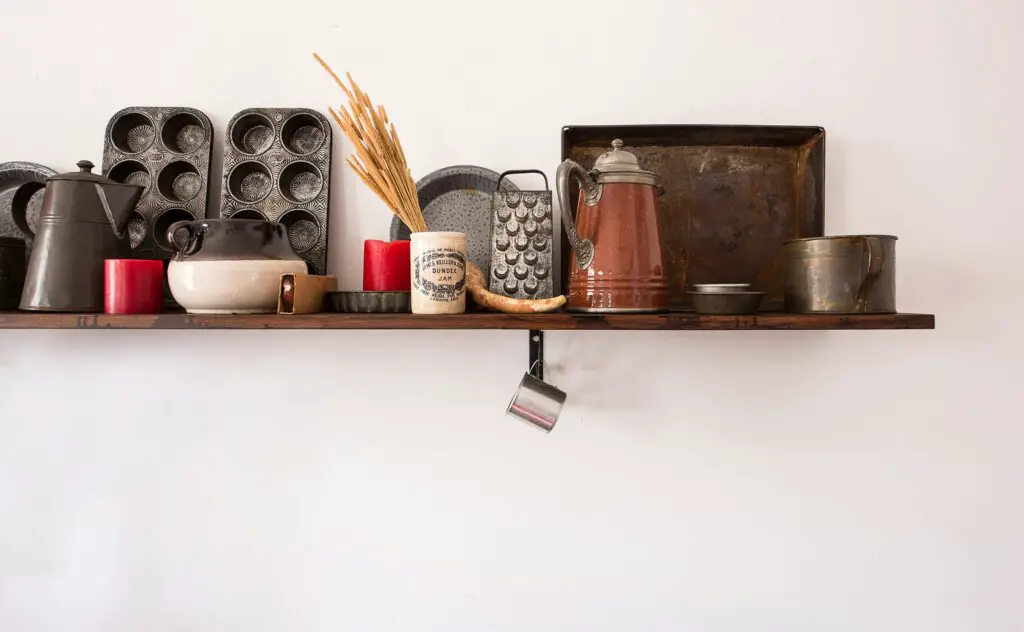
In addition to melting tools, you’ll need a few other essential items.
First, prepare a baking sheet lined with parchment or wax paper.
This will be where you place your chocolate-covered coffee beans to cool and set.
The parchment or wax paper prevents the beans from sticking to the sheet, making cleanup easier.
You’ll also need a couple of forks for dipping the coffee beans into the melted chocolate.
Using forks helps to coat the beans evenly and allows excess chocolate to drip off before placing the beans on the baking sheet.
Finally, an airtight container is essential for storing your chocolate-covered coffee beans once they are fully set.
This keeps them fresh and ensures they don’t absorb any unwanted odors or moisture from the environment.
Step-by-Step Instructions
Step 1: Preparation
Selecting and Preparing Coffee Beans
Start by choosing high-quality coffee beans.
As mentioned earlier, Medium to dark roast beans are ideal as they offer a balance of flavor and acidity that complements the chocolate.
If you prefer a more intense coffee flavor, opt for espresso beans.
Flavored beans, like hazelnut or vanilla, can also add an interesting twist.
If the beans are not roasted, you can roast them at home.
Preheat your oven to 350°F (175°C), spread the beans on a baking sheet, and roast for 8-10 minutes.
Step 2: Melting the Chocolate
Double Boiler Method
To melt the chocolate using a double boiler, fill the bottom pot with about an inch of water and bring it to a simmer.
Place the chocolate in the top pot or a heatproof bowl and set it over the simmering water.
Stir the chocolate continuously until it is completely melted and smooth.
Be careful not to let any water mix with the chocolate, as this can cause it to seize.
Microwave Method
If you prefer using a microwave, place the chocolate in a microwave-safe bowl.
Heat it in 30-second intervals, stirring after each interval.
Continue until the chocolate is fully melted and smooth.
This method is quick but requires careful attention to avoid burning the chocolate.
Step 3: Coating the Coffee Beans
Initial Coating
Once the chocolate is melted, add the coffee beans to the bowl.
Stir until all the beans are thoroughly coated.
Using a fork, lift the beans out one by one, letting the excess chocolate drip off.
Place the coated beans on a baking sheet lined with parchment or wax paper.
Make sure the beans are separated to prevent them from sticking together.
Additional Coatings
For a thicker coating, let the initial layer of chocolate set, then repeat the dipping process.
You can add as many layers as you like, allowing the chocolate to set between each layer.
This creates a thicker, more indulgent coating on the beans.
Step 4: Setting the Chocolate
Cooling and Setting
Place the baking sheet with the chocolate-covered coffee beans in the refrigerator or freezer to set.
This helps the chocolate harden quickly and evenly.
Leave them in the fridge for at least 30 minutes or until the chocolate is firm.
If you are in a hurry, the freezer can speed up the process.
Optional Dusting
For an extra touch, dust the set chocolate-covered coffee beans with cocoa powder or other toppings.
This can add a different texture and flavor.
Simply roll the beans in the desired topping and place them back on the parchment paper to set.
Tips for Success
Avoid Direct Heat
When melting chocolate, it’s crucial to avoid direct heat.
Melting chocolate over direct heat can cause it to scorch and burn, leading to a bitter taste and an inconsistent texture.
Instead, use a double boiler or a microwave.
With a double boiler, you gently melt the chocolate using indirect heat from simmering water.
If you use a microwave, heat the chocolate in short intervals and stir frequently to ensure even melting.
Handling Clumping
Clumping can be a common issue when coating coffee beans in chocolate.
To prevent clumping, make sure the chocolate is fully melted and smooth before adding the coffee beans.
Stir the beans well to ensure they are evenly coated.
Use a fork to lift the beans out of the chocolate, letting the excess drip off.
If the chocolate starts to harden and clump, you can reheat it gently using a double boiler or microwave to restore its smooth consistency.
Flavor Variations
Experimenting with different chocolates and flavors can make your chocolate-covered coffee beans even more delightful.
Try using dark, milk, white, or ruby chocolate to see which you prefer.
You can also add flavorings like vanilla extract, almond extract, or spices such as cinnamon or nutmeg to the melted chocolate.
For added texture and flavor, sprinkle sea salt, crushed nuts, or even chili powder on the beans while the chocolate is still wet.
These variations can create unique and personalized treats that suit your taste.
Storage and Shelf Life
Storage Recommendations
Proper storage is key to maintaining the freshness and flavor of your chocolate-covered coffee beans.
Once the chocolate has fully set, transfer the beans to an airtight container.
This helps keep them fresh and prevents them from absorbing any unwanted odors or moisture.
Store the container in a cool, dry place, away from direct sunlight and heat sources.
For longer storage, you can place the container in the refrigerator or freezer.
Shelf Life
When stored correctly, chocolate-covered coffee beans can last for a considerable time.
In an airtight container at room temperature, they will stay fresh for up to two weeks.
If you refrigerate them, they can last for up to a month.
For even longer storage, you can freeze them for up to six months.
To maintain the best quality, ensure the container is sealed tightly and avoid frequent temperature changes, which can cause condensation and affect the texture of the chocolate.
Serving Suggestions
Chocolate-covered coffee beans are incredibly versatile and can be enjoyed in many ways.
One of the simplest ways is to eat them as a snack.
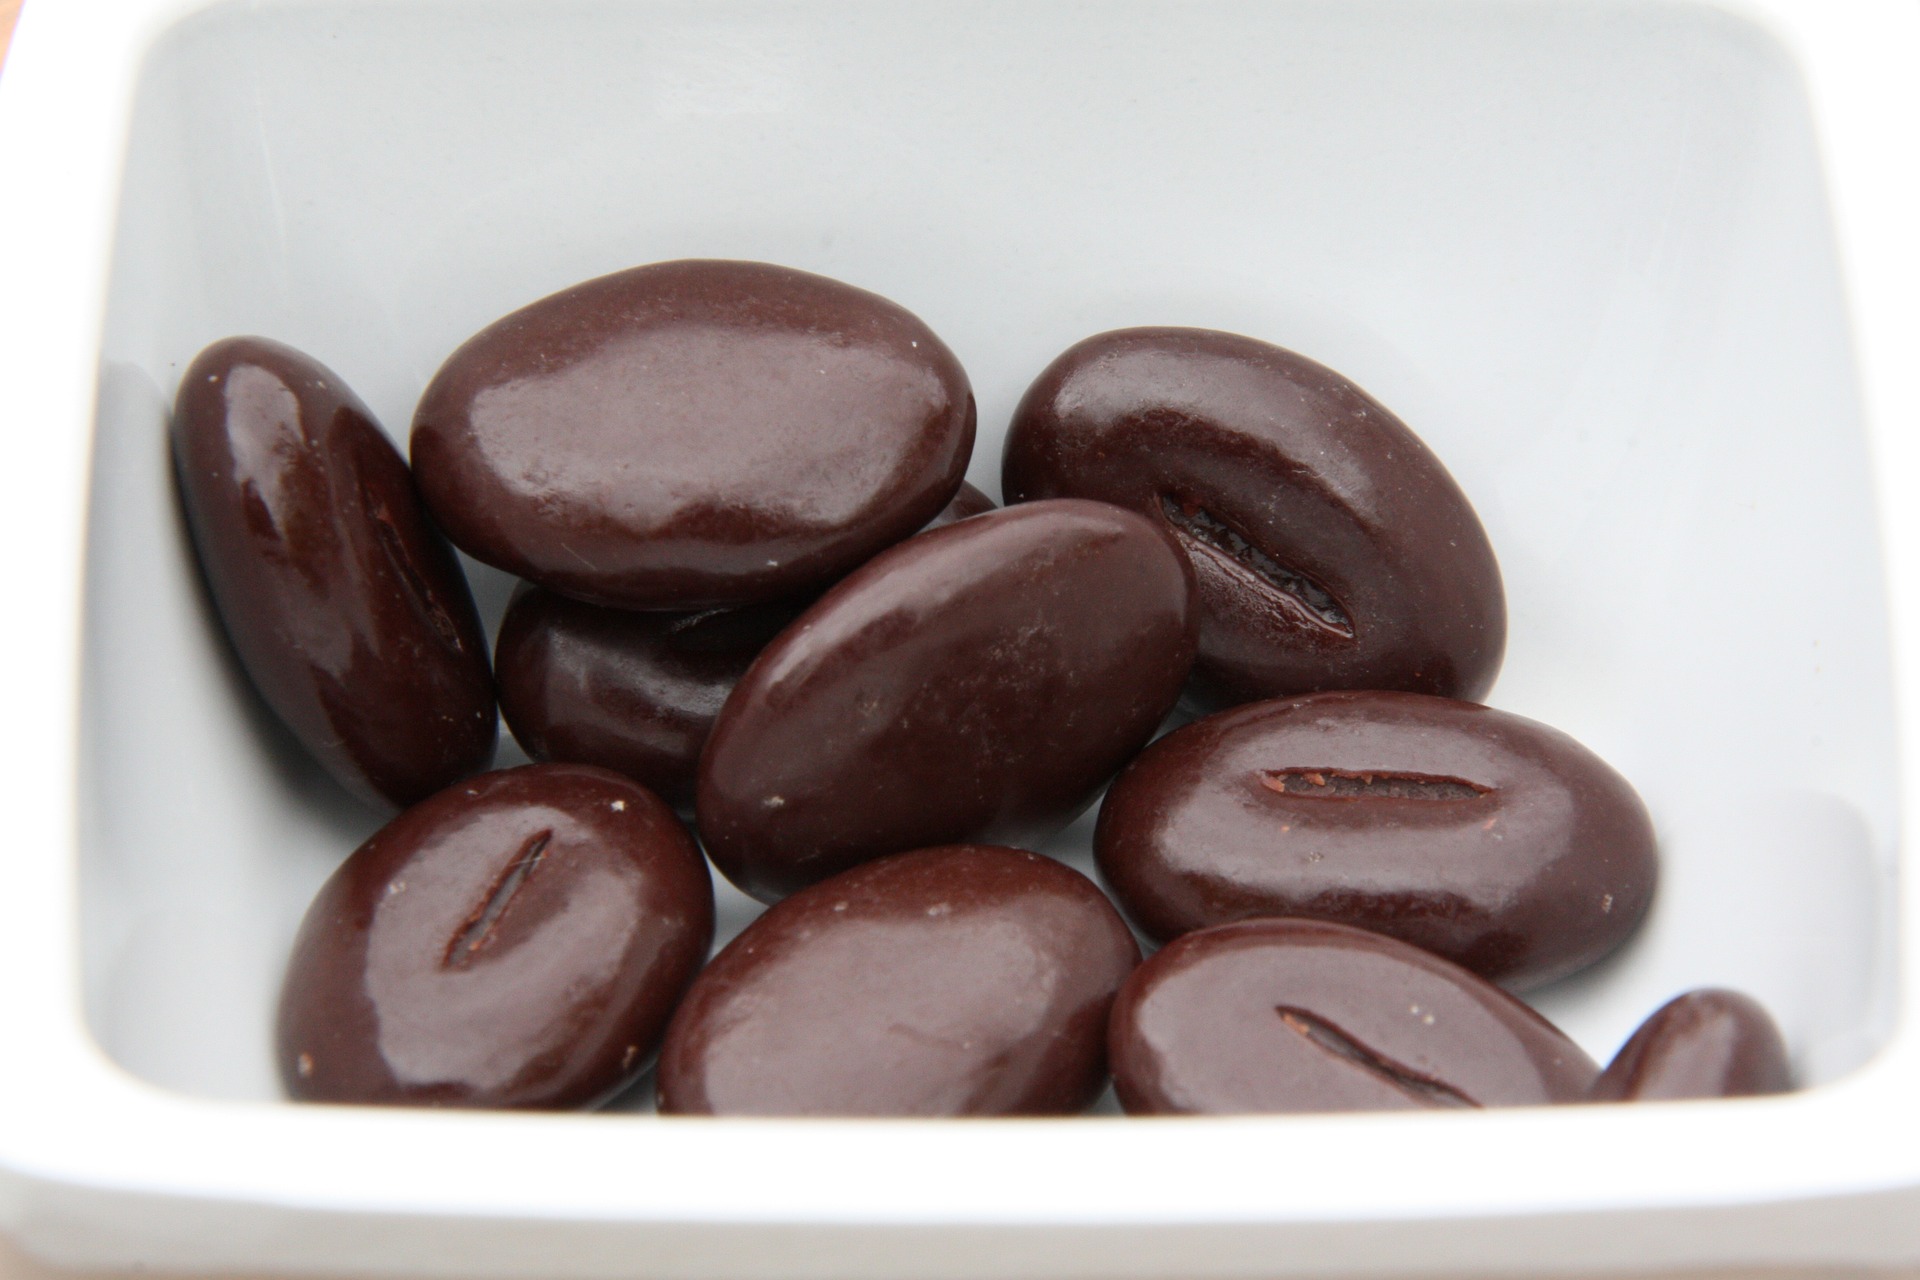
Their rich chocolate coating and the crunch of the coffee beans make for a delightful treat that combines sweetness with a subtle coffee kick.
These beans also make excellent dessert toppings.
Sprinkle them over ice cream, cakes, or even add them to your favorite chocolate or coffee desserts for an extra layer of flavor and texture.
They can enhance the taste and presentation of your desserts, making them even more appealing.
Additionally, chocolate-covered coffee beans are perfect for homemade gifts.
Package them in a pretty jar or cellophane bag with a ribbon for a thoughtful, homemade gift.
They are a great way to show appreciation and share a treat that you made yourself.
This makes them ideal for holidays, birthdays, or any special occasion.
Conclusion
Making chocolate-covered coffee beans at home is simple and rewarding.
You can customize them to your taste and enjoy a fresh, delicious treat.
Give it a try and see how fun and easy it is to create these tasty bites.
We’d love to hear about your experiences and any variations you tried.
Share your thoughts in the comments section below!