Making espresso at home doesn’t have to be complicated or expensive.
With a Moka pot, you can enjoy rich, flavorful coffee that rivals what you get from an espresso machine.
This simple, classic tool has been a staple in Italian homes for decades, and it’s easy to see why.
In just a few steps, you can brew strong, espresso-like coffee on your stovetop.
Whether you’re a coffee aficionado or a casual drinker, the Moka pot offers a perfect blend of convenience and quality.
Let’s dive into how you can master this timeless method and enjoy a perfect cup of espresso every time.

How To Make Espresso In A Moka Pot: At A Glance
- Step 1: Preheat the Water
- Step 2: Fill the Bottom Chamber
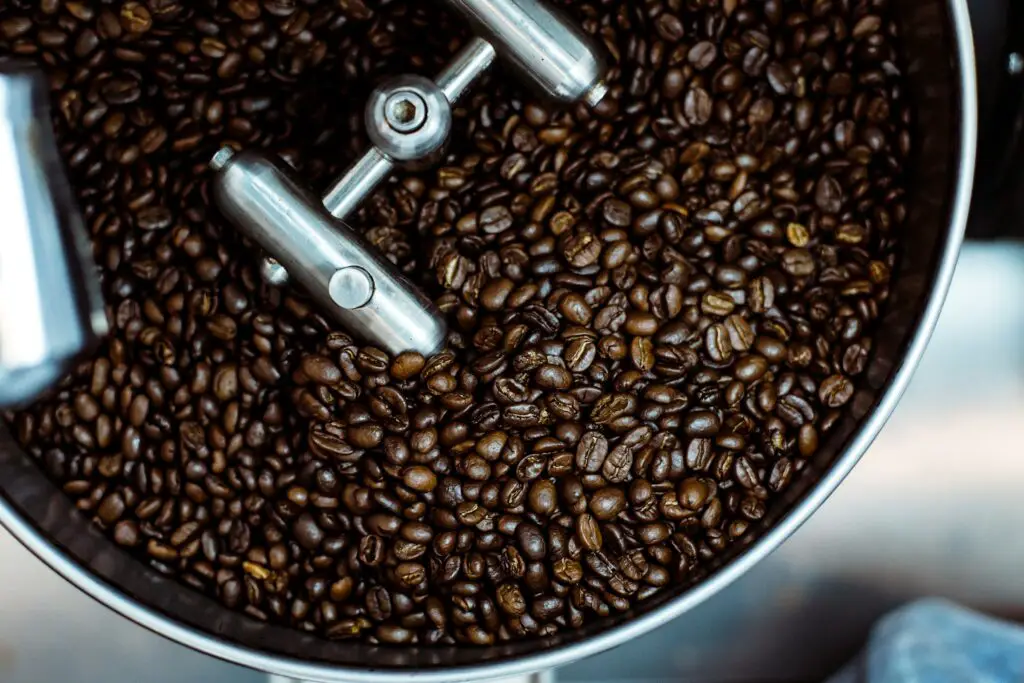
- Step 3: Grind the Coffee Beans
- Step 4: Add Coffee Grounds to the Filter Basket
- Step 5: Assemble the Moka Pot
- Step 6: Heat the Moka Pot
- Step 7: Serve the Coffee
What Is a Moka Pot?
History and Origin
The Moka pot was invented in 1933 by Alfonso Bialetti.
Bialetti’s creation revolutionized home coffee brewing.
It allowed people to make strong, espresso-like coffee without expensive equipment.
The design quickly became a household staple in Italy.
Over time, its popularity spread worldwide.
During the COVID-19 pandemic, the Moka pot saw a resurgence.
With cafes closed, many turned to home brewing.
The Moka pot, with its simplicity and affordability, became a favorite.
It provided a way to enjoy quality coffee at home, reminding many of its enduring appeal.
Design and Functionality
A Moka pot is made up of three main parts: the bottom chamber, the filter basket, and the collecting chamber.
The bottom chamber holds water.
The filter basket sits above it and holds the coffee grounds.
The collecting chamber, on top, gathers the brewed coffee.
Here’s how it works:
- You fill the bottom chamber with water, just below the safety valve.
- Place the coffee grounds in the filter basket without tamping them down.
- As the water heats up, steam pressure builds.
- This pressure forces the boiling water up through the coffee grounds.
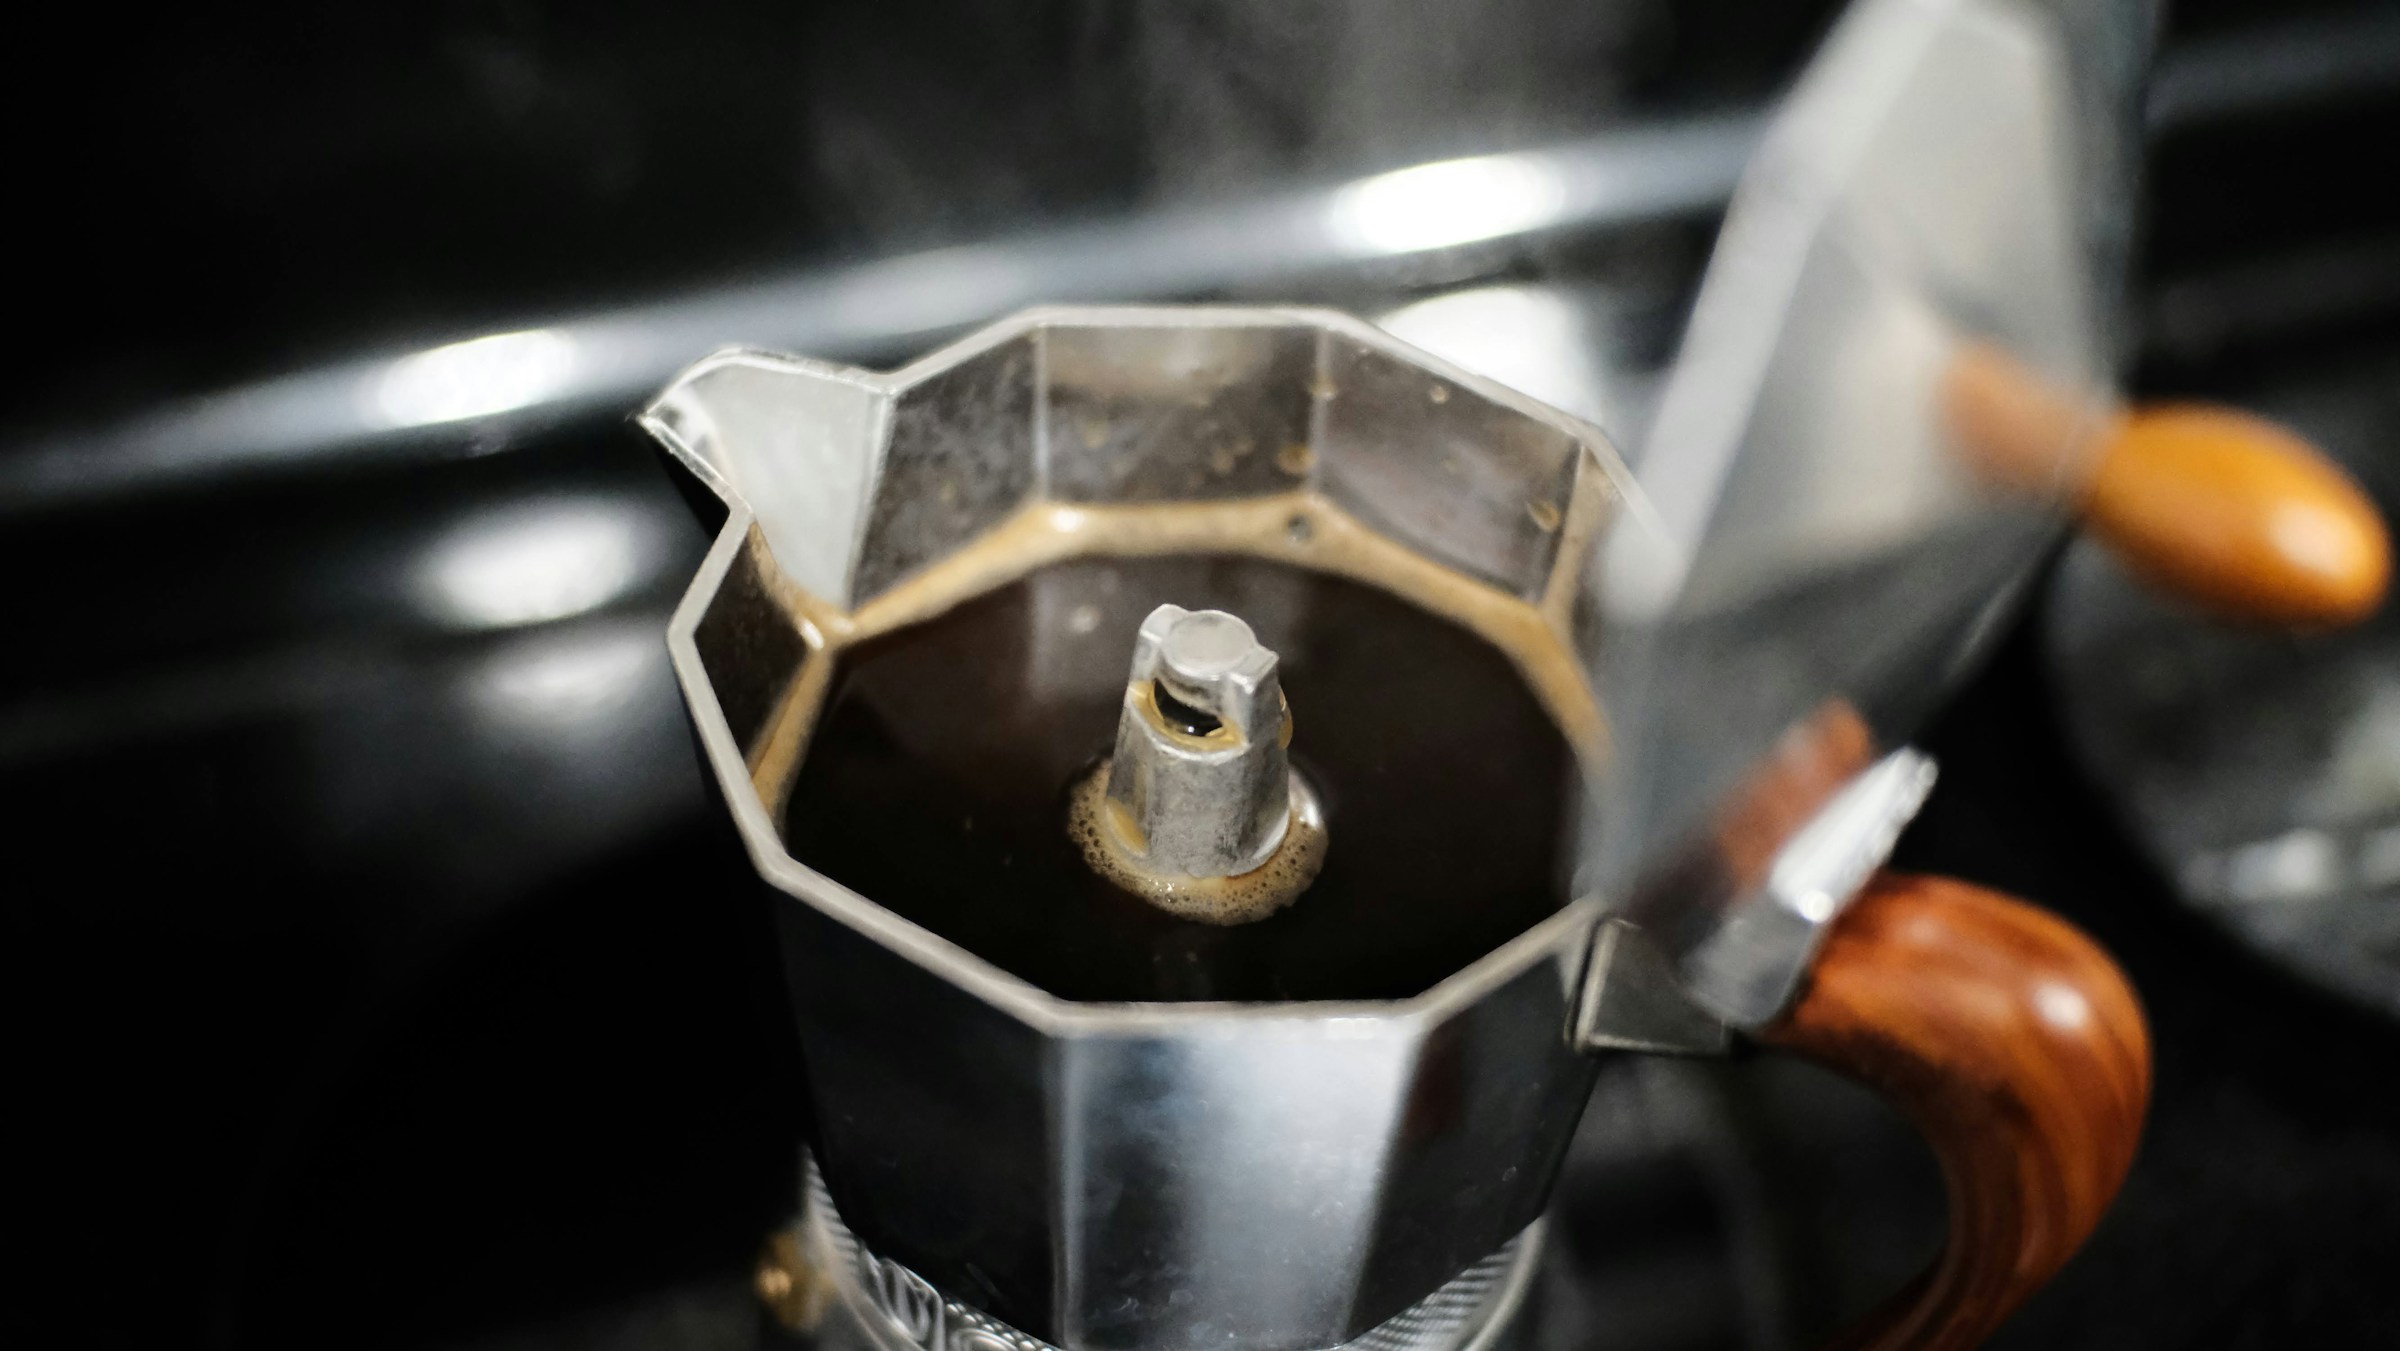
- The brewed coffee then collects in the top chamber, ready to serve.
This process creates a rich, strong coffee similar to espresso.
The Moka pot uses steam pressure, but it doesn’t reach the high pressure of an espresso machine.
Still, it produces a robust and flavorful brew that many coffee lovers appreciate.
Essential Tools and Ingredients
Ingredients
To make the best espresso in a Moka pot, you need a few key ingredients.
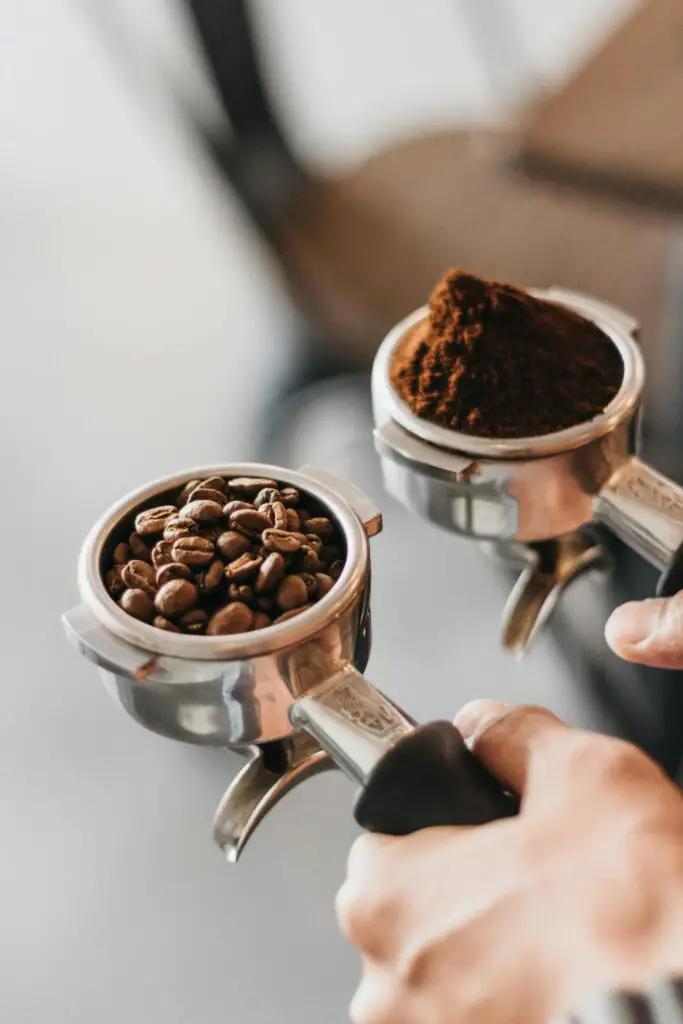
First, start with high-quality espresso coffee beans.
The quality of your beans will directly impact the flavor of your coffee.
Next, use filtered water.
Using filtered water ensures a clean taste and avoids any unwanted flavors from tap water.
Finally, if you prefer your espresso sweetened, have some sugar on hand.
Adding sugar can enhance the flavor and create a delightful, sweet espresso.
Tools You’ll Need
Having the right tools makes the process of brewing espresso in a Moka pot simple and effective.
Here’s what you’ll need:
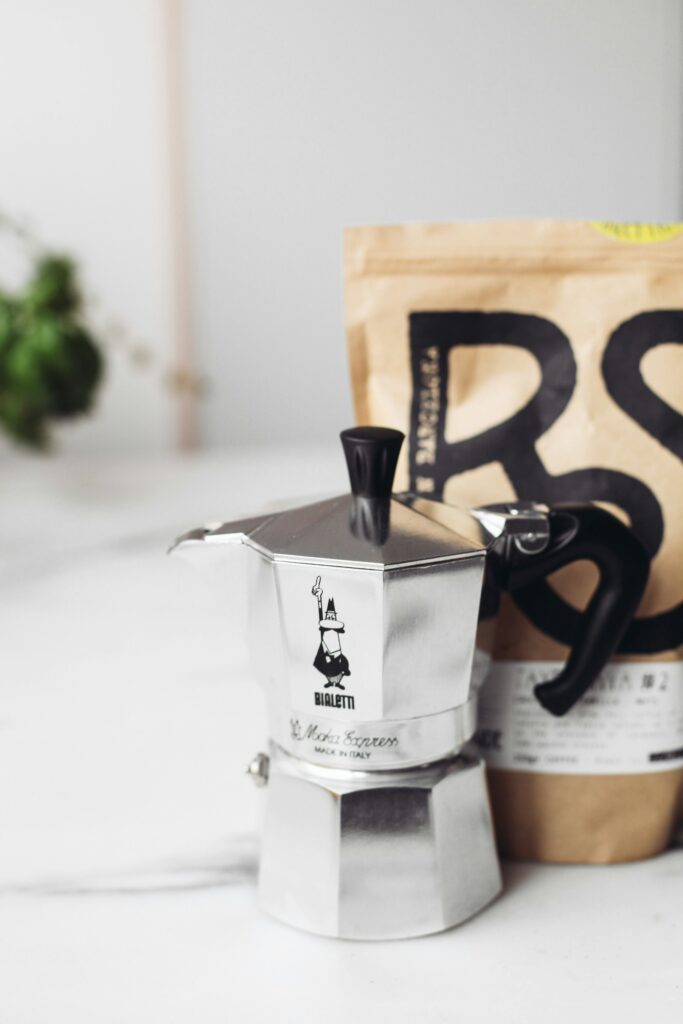
- Moka Pot: These come in various sizes, from small 1-cup pots to larger 18-cup versions. Choose a size that suits your needs.
- Coffee Grinder: Freshly ground beans make a big difference in flavor. A good grinder allows you to achieve the right grind size for your Moka pot.
- Coffee Scale: Accuracy matters. A scale helps you measure the perfect amount of coffee and water for consistent results.
- Kettle: Boil your water before adding it to the Moka pot. This step helps prevent bitterness in your coffee.
- Heat Source: A stovetop is the traditional choice, but electric options are available too. Both work well, so use whichever you have access to.
Step-by-Step Guide to Making Espresso in a Moka Pot
Step 1: Preheat the Water
Preheating the water before adding it to the Moka pot helps prevent bitterness.
Starting with hot water reduces the time the coffee grounds are exposed to high temperatures.
This minimizes the chance of over-extraction, resulting in a smoother, more balanced espresso.
Step 2: Fill the Bottom Chamber
Fill the bottom chamber of the Moka pot with water.
Make sure to fill it just below the safety valve.
This valve is a crucial safety feature, so don’t cover it.
Use filtered water for the best taste.
Filtered water avoids any off-flavors from tap water, ensuring a clean and pure coffee flavor.
Step 3: Grind the Coffee Beans
Grind your coffee beans to the right size.
The grind should be coarser than espresso but finer than drip coffee.
Freshly ground beans are preferred as they provide a richer and more aromatic flavor.
Using a good coffee grinder helps you achieve the perfect consistency.
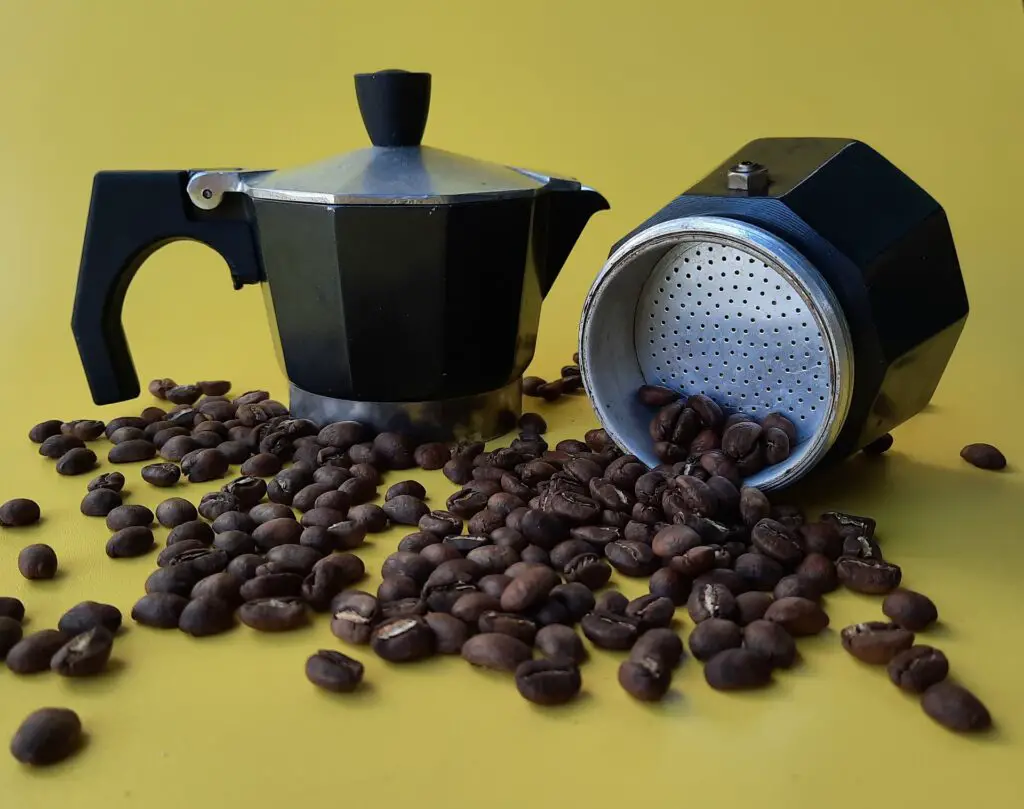
Step 4: Add Coffee Grounds to the Filter Basket
Fill the filter basket with the ground coffee.
Fill it loosely, about three-quarters full.
Do not tamp the grounds down.
This allows the water to pass through the coffee evenly, extracting the best flavors without causing blockages.
Step 5: Assemble the Moka Pot
Carefully assemble the Moka pot.
Place the filter basket into the bottom chamber filled with water.
Screw the collecting chamber on top, ensuring a tight seal.
This tight seal is essential to build the necessary pressure for brewing your espresso.
Step 6: Heat the Moka Pot
Place the assembled Moka pot on a medium heat source.
As the water heats, it will create steam and pressure, forcing the water through the coffee grounds.
Listen for the distinctive gurgling sound.
This sound indicates that the brewing process is nearly complete, and the coffee is ready.
Step 7: Serve the Coffee
Once the gurgling sound stops, remove the Moka pot from the heat.
Pour the freshly brewed espresso into pre-warmed cups.
For sweetened espresso, you can mix the first few drops of brewed coffee with sugar to create a syrup.
Add this syrup to your cup before pouring in the rest of the espresso.
Enjoy your rich, flavorful coffee straight from the Moka pot.
Tips and Tricks for the Best Moka Pot Espresso
Troubleshooting Common Issues
Bitter Coffee: Possible Causes and Solutions
- Cause: Over-extraction can lead to bitterness. This happens when the coffee grounds are exposed to high temperatures for too long.
- Solution: Preheat the water to reduce brewing time. Use a coarser grind size and ensure you’re not overheating the Moka pot.
Weak Coffee: How to Adjust Grind Size and Brewing Time
- Cause: Under-extraction leads to weak coffee. This occurs when the grind size is too coarse or the brewing time is too short.
- Solution: Use a finer grind size, but not as fine as espresso. Ensure the water is hot enough, and allow adequate brewing time.
Cleaning and Maintenance
Regular Cleaning
After each use, hand wash your Moka pot with warm water and a soft-bristled brush.
Avoid using soap, as it can leave a residue that affects the taste of your coffee.
Descaling the Moka Pot
Occasionally, descale your Moka pot to remove mineral buildup.
This ensures smooth operation and maintains the quality of your espresso.
Replacing Parts
Over time, parts like gaskets and filters may need replacement.
Check these components regularly and replace them as needed to ensure a proper seal and optimal brewing performance.
Enhancing Flavor
Using Dark Roasts or Espresso Blends
For a richer and more robust flavor, use dark roast coffee beans or blends formulated for espresso.
These beans are roasted longer, bringing out deeper flavors.
Experimenting with Grind Size and Water Temperature
Adjust the grind size and water temperature to find your perfect brew.
A slightly coarser or finer grind can significantly affect the taste.
Similarly, using water just off the boil can enhance the flavor without causing bitterness.
Avoiding Distilled Water
Avoid using distilled water, as it lacks essential minerals that contribute to the flavor of your coffee.
Filtered water is ideal, as it is free from impurities but retains the minerals needed for a great-tasting espresso.
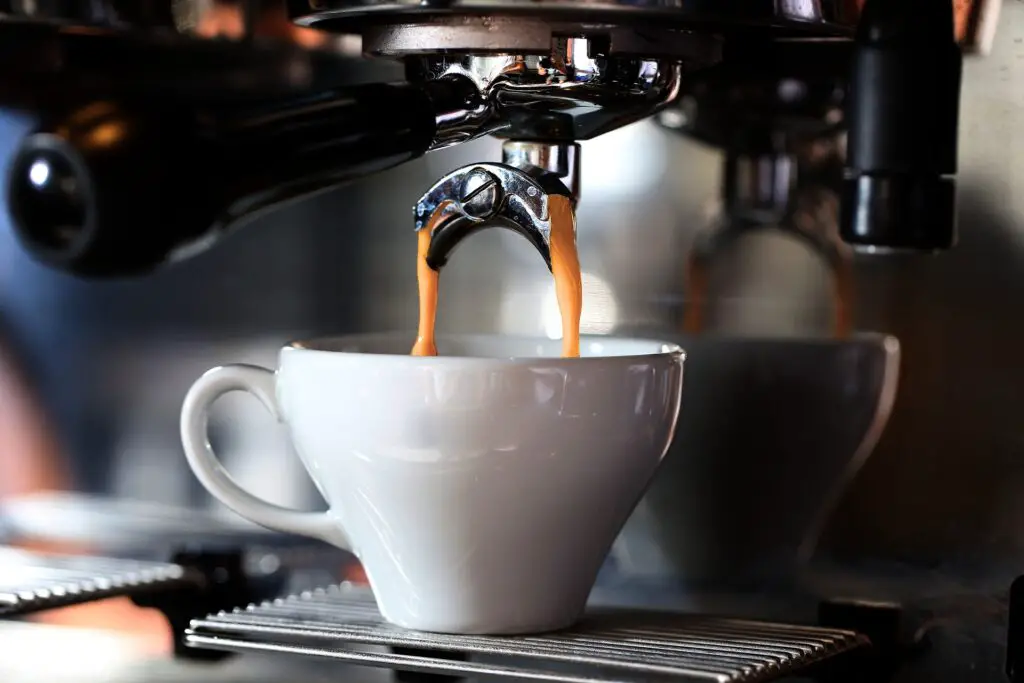
Comparing Moka Pot to Other Coffee Makers
Moka Pot vs. Espresso Machine
Cost and Convenience Comparison
- Moka Pot: A Moka pot is an affordable option for making espresso-like coffee at home. It’s simple to use and doesn’t require electricity, making it convenient for everyday use.
- Espresso Machine: Espresso machines are generally much more expensive and can be complex to operate. They often require regular maintenance and a stable power supply.
Differences in Pressure and Resulting Coffee Quality
- Moka Pot: Uses steam pressure to force water through coffee grounds. It creates a strong, rich coffee, but it doesn’t reach the high pressure of an espresso machine.
- Espresso Machine: Uses high pressure to extract coffee, resulting in a true espresso with a thicker crema and more concentrated flavor.
Moka Pot vs. French Press
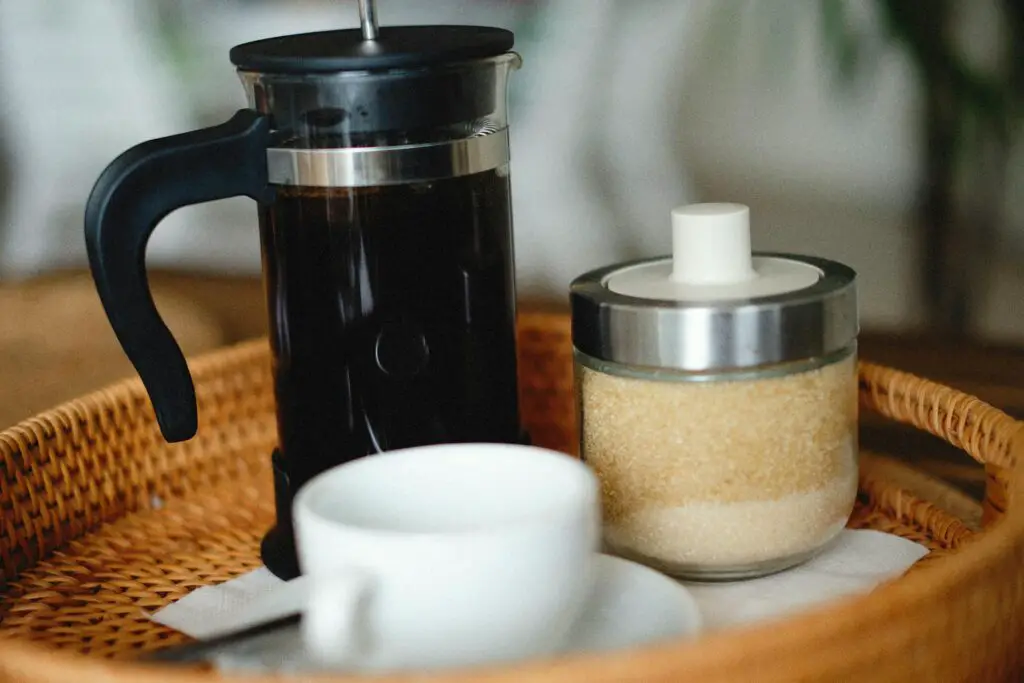
Brewing Methods: Pressure vs. Steeping
- Moka Pot: Relies on steam pressure to brew coffee. The water is forced through the coffee grounds, producing a strong and intense flavor.
- French Press: Uses a steeping method. Coffee grounds are steeped in hot water, then separated by pressing down a plunger. This method results in a different extraction process and flavor profile.
Taste and Texture Differences
- Moka Pot: Produces a bold and robust coffee with a taste similar to espresso. The texture is thicker and more concentrated.
- French Press: Yields a coffee that is smooth and full-bodied, with a more pronounced mouthfeel due to the oils and fine particles that remain in the brew.
Portability and Ease of Use
- Moka Pot: Highly portable and easy to use. It’s a great option for camping or travel, as it doesn’t require electricity and can be used on any heat source.
- French Press: Also portable and simple to use. It requires just hot water and ground coffee, making it convenient for various settings. Both are easy to clean, though the French Press may require more effort to remove the grounds.
Conclusion
Making espresso with a Moka pot is simple and rewarding.
This classic tool offers a cost-effective way to enjoy rich, flavorful coffee at home.
Remember to preheat your water, use the right grind size, and clean your pot regularly.
Each step helps ensure a great cup of coffee.
Experiment with different beans and grind sizes to find your perfect brew.
Enjoy the process and the delicious results.
With a Moka pot, you can create a café-quality experience in your own kitchen.
Happy brewing!
Frequently Asked Questions (FAQs)
Can You Use Regular Coffee Grounds in a Moka Pot?
Yes, you can use regular coffee grounds in a Moka pot, but for the best results, use a grind size that’s coarser than espresso but finer than drip coffee.
Regular pre-ground coffee may be too coarse, leading to weak coffee.
Freshly ground beans are preferred for optimal flavor and aroma.
Should You Tamp Coffee in a Moka Pot?
No, you should not tamp the coffee grounds in a Moka pot.
Fill the filter basket loosely, about three-quarters full, and level the surface without pressing down.
Tamping can block the flow of water, resulting in uneven extraction and potential overflow.
Should you start a moka pot with hot or cold water?
You should start a Moka pot with hot water.
Preheating the water before adding it to the bottom chamber helps prevent the coffee from developing a bitter taste.
When you use cold water, the Moka pot takes longer to heat up, which can over-extract the coffee grounds and result in a burnt or bitter flavor.