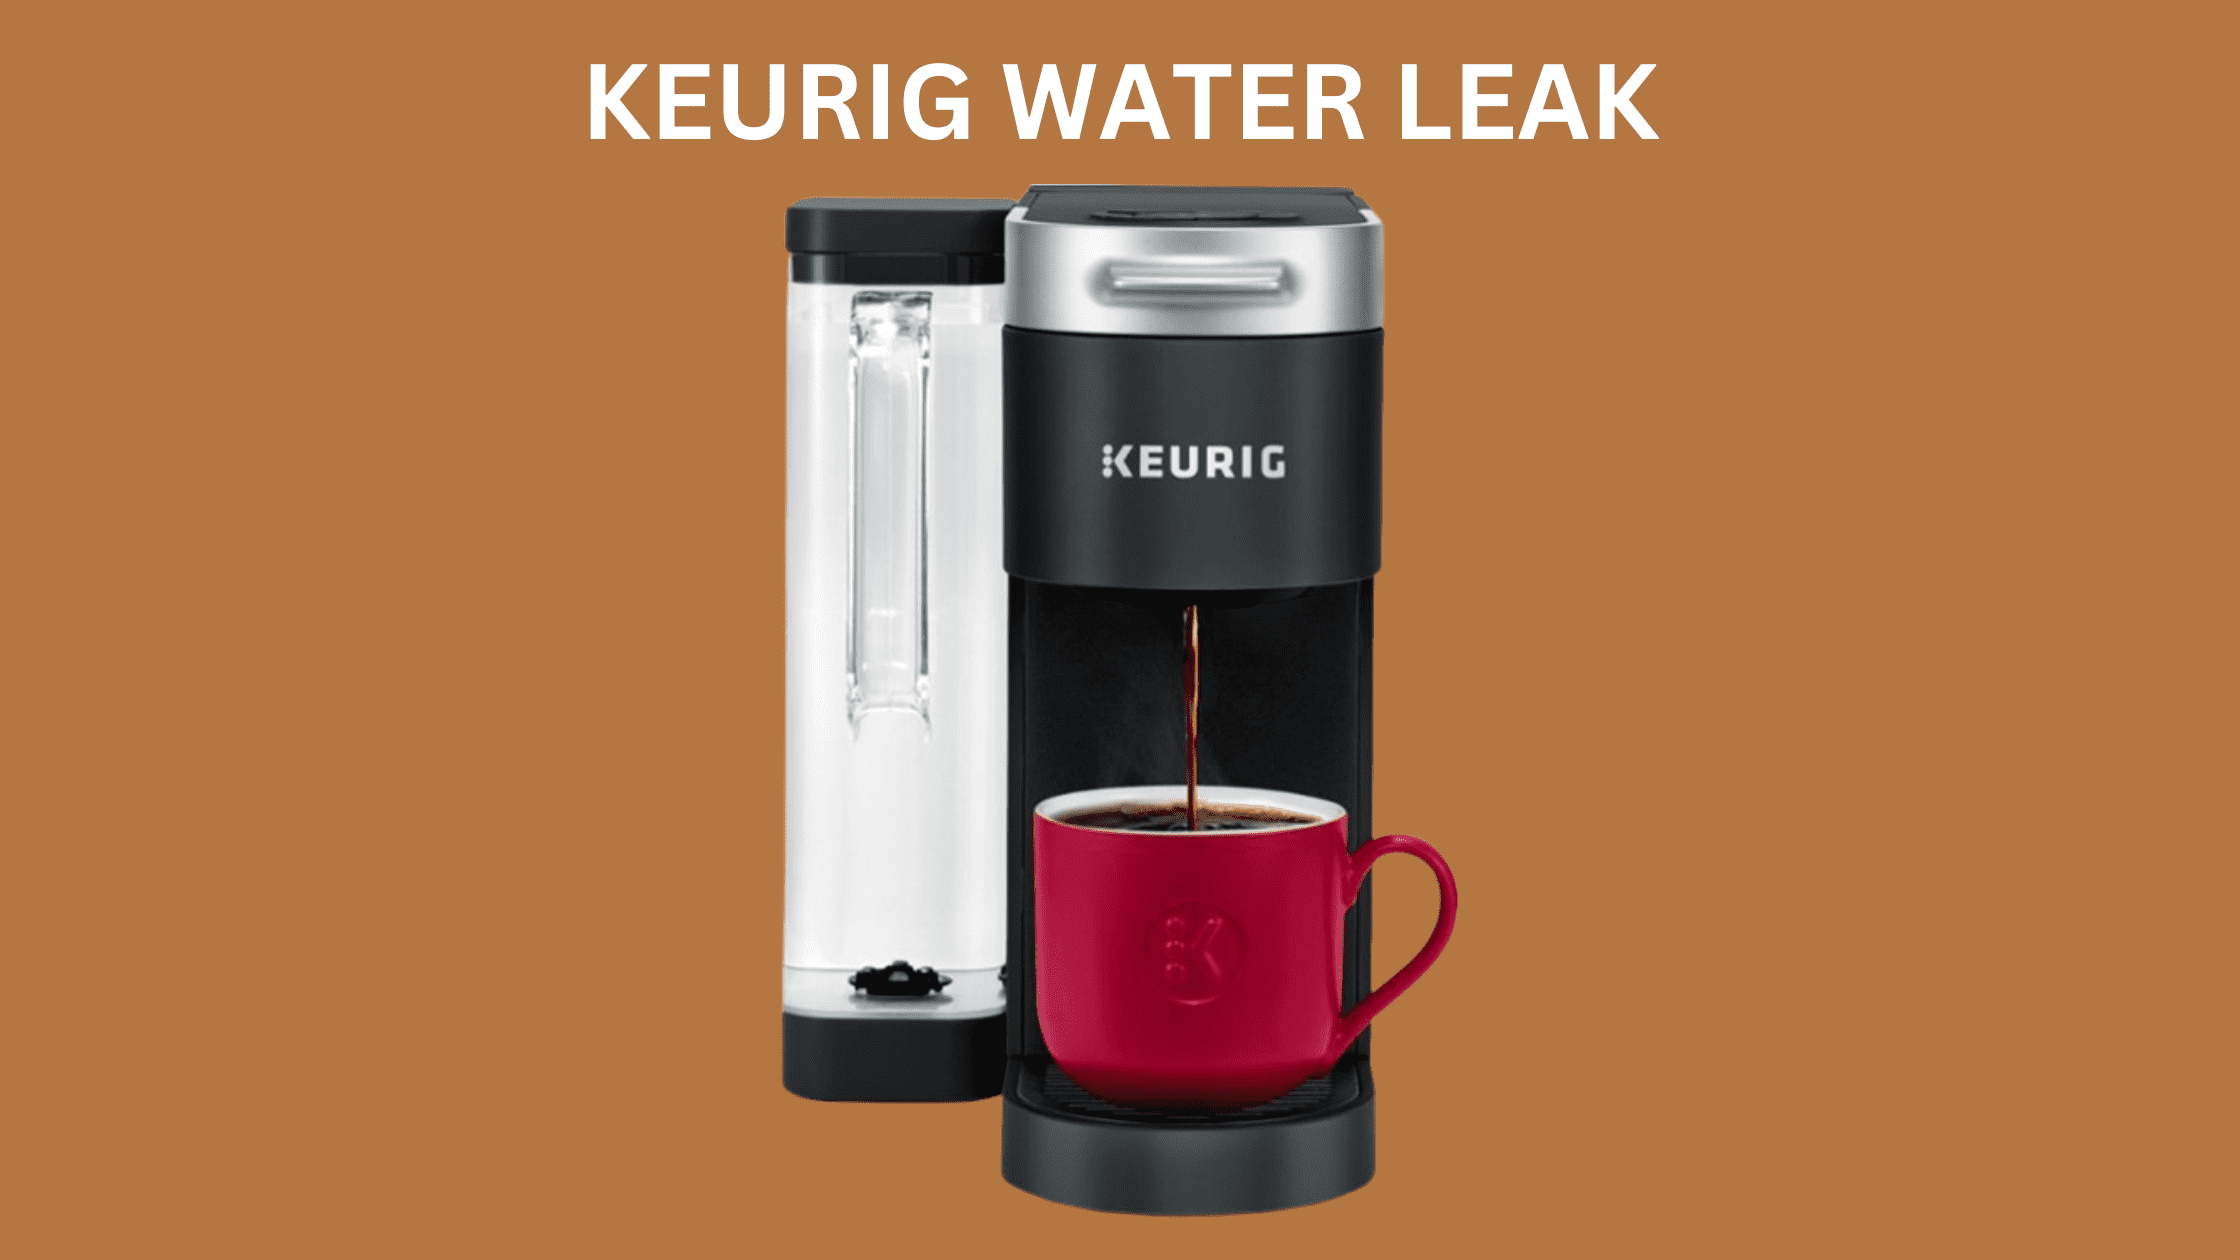
Are you experiencing the frustration of water leaking from your Keurig coffee maker? A leaking Keurig can be a bothersome and messy issue that needs immediate attention.
In this blog post, we will provide you with a concise guide to troubleshooting and fixing common causes of water leakage in your Keurig machine.
Whether it’s a simple fix or a more complex problem, we’ve got you covered. So, let’s dive in and get your Keurig back to its drip-free brewing excellence!
Descaling: The First Step to Fixing a Leaking Keurig Machine
One of the most common reasons why a Keurig machine may experience water leakage is due to a lack of regular descaling.
Descaling is a crucial maintenance process that removes the buildup of calcium deposits, known as scale, inside the coffee maker.
By following the steps outlined below, you can effectively descale your Keurig and address the issue of leakage:
Prepare for descaling
Begin by unplugging the Keurig machine and disassembling any detachable parts, such as the lid, mug tray, and K-Cup holder.
Thoroughly clean these parts with warm soapy water, ensuring they are free from any residue. Rinse the components and allow them to dry before reassembling the Keurig.
Prepare the descaling solution
Fill the water reservoir with a commercial descaling solution or create a mixture of equal parts white vinegar and water. Both options work effectively in removing scale buildup from the machine.
Initiate the descaling cycle
Turn on the Keurig machine and follow the manufacturer’s instructions for activating the descaling mode. This typically involves pressing and holding specific buttons to initiate the descaling process.
Refer to the machine’s manual or the manufacturer’s website for specific guidance regarding your particular Keurig model.
Complete the descaling process
Allow the descaling solution to run through the machine as instructed by the manufacturer. This process helps dissolve and remove the accumulated scale from the internal components.
Once the descaling cycle is complete, thoroughly rinse the water reservoir with clean water to eliminate any remaining descaling solution.
Run clean water cycles
To ensure all traces of the descaling solution are removed, run several cycles of clean water through the Keurig. This helps flush out any residue and leaves the machine ready for brewing.
How Often Should A Keurig Be Descaled?
It is generally recommended to descale a Keurig every three to six months, depending on usage.
Regular descaling not only resolves leakage issues but also helps maintain the performance and longevity of your Keurig coffee maker.
Keep in mind that certain Keurig models may have specific instructions for descaling, so it’s essential to consult the manufacturer’s manual or website for accurate and detailed guidance.
By incorporating descaling as a routine maintenance task, you can prevent water leaks and ensure a consistent brewing experience with your Keurig machine.
Identifying the Causes: Reasons Why Your Keurig is Leaking from the Top
Dealing with a leaking Keurig can be frustrating, but fear not, as we’re here to help you troubleshoot and resolve this issue.
In this subsection, we will explore some common reasons why your Keurig may be leaking from the top, providing you with valuable insights to identify the underlying causes.
Avoid Overfilling: Preventing Water Leakage from an Overfilled Water Reservoir
The first reason your Keurig may be leaking water from the top is if the water reservoir is overfilled. Check the water level and make sure it’s not above the max fill line.
Overfilling the water reservoir is a common mistake, especially when using brewing machines like the K-15 Mini or when trying to accommodate a larger group of coffee drinkers.
However, it’s important to understand that water expands slightly when it gets hot. If the reservoir is filled to the brim and the water heats up, the pressure can build up and cause the water to leak over the edge.
To avoid this, always leave some room at the top of the reservoir.
While overfilling the water reservoir may seem harmless, it can lead to significant damage if the pressure inside the machine builds up without a proper escape route.
It’s crucial to adhere to the recommended fill level or below to prevent leakages and potential complications.
If your machine has a capacity of 1 liter, resist the temptation to use 1.5 liters or more, as it can result in leaks and potential malfunctions.
By ensuring that you don’t overfill your Keurig’s water reservoir, you can prevent water leakage issues caused by excess pressure.
Remember, it’s always better to err on the side of caution and follow the manufacturer’s guidelines for filling the reservoir to enjoy a leak-free brewing experience.
Clearing the Path: Resolving Leaks Caused by a Clogged Entrance Needle
Another potential reason for water leakage from the top of your Keurig machine is a clogged entrance needle. The entrance needle is responsible for puncturing the K-Cup coffee pod when you close the lid.
If this needle becomes obstructed and cannot penetrate the K-Cup, water may begin to leak. Thankfully, resolving this issue is relatively simple.
To clean the entrance needle effectively, you’ll need a paper clip or a similar tool. Begin by removing the pod holder, which is the component where you place the pods. This holder can usually be separated into two sections.
Take the paper clip and insert it into the funnel located at the bottom of the pod holder. Move it around to dislodge any debris and give both sections a thorough rinse to ensure they are clean.
Next, direct your attention to the silver entrance needle positioned beneath the lid of your Keurig. Using the paper clip, carefully clean out any residue or blockages from the needle.
Take your time to ensure it is completely clean and free from any obstructions. Once you have finished cleaning, reassemble the pod holder and all other components of your machine.
Perfecting the Pod: Addressing Leaks Caused by Defective K-Cups
If you’re experiencing water leakage from your Keurig machine and are using third-party K-Cups instead of official ones made by Keurig Green Mountain, the issue may lie in the improper seating of the pods within the chamber.
When the alignment is off or the lid of the K-Cup is too thick for the needles to penetrate properly, water can leak out during the brewing process.
One of the most common reasons for faulty K-Cups is an excessive amount of air trapped inside.
If your K-Cup appears inflated or ready to burst, there is a risk of it exploding during brewing, causing water that should have gone into the pod to leak instead. Ensuring proper sealing is another crucial factor.
If the K-Cup is not sealed correctly, the entrance needle will struggle to pierce through, resulting in water leakage.
Additionally, brewing at a high altitude can create pressurized conditions within the K-Cup, similar to how a bag of chips can expand due to the elevation.
This increased pressure can lead to the pod exploding when the needle attempts to penetrate it, causing water to leak.
To mitigate this, you can preemptively create a small hole in the K-Cup using a sewing needle before placing it in the coffee maker, allowing the excess pressure to escape harmlessly.
Securing the Seal: Resolving Leaks Caused by a Broken or Missing Upper Gasket
The next reason behind water leakage from your Keurig machine is a loose or broken upper gasket. The upper gasket is a silicone component responsible for creating a tight seal between the K-Cup and the water hose.
If this gasket is not properly aligned or if there are gaps between the puncture needle and the K-Cup, water can escape and lead to leaks.
Begin by checking that the upper gasket is correctly aligned by closing any gaps between the puncture needle and the K-Cup.
Ensure that the gasket is securely in place and creates a tight seal. If you notice any signs of damage, such as cracks or breaks in the gasket, or if the gasket is missing altogether, it is essential to order a replacement.
Contact Keurig customer care or check the manufacturer’s website to obtain the appropriate upper gasket for your specific Keurig model.
In the event that none of the solutions resolve the water leakage problem, it is possible that a broken valve or hose exists somewhere inside the machine.
In such cases, it is advisable to seek assistance from customer care or professional repair service. They will have the expertise to diagnose and address any internal issues that may be causing the leaks.
Ensuring a Secure Seal: Addressing Leaks Caused by a Lid Not Closing Tightly
One overlooked but potential reason for water leakage from your Keurig machine is a lid that fails to close tightly.
When you lower the lid of your Keurig, it should securely close, applying the necessary pressure on the K-Cup inside.
However, if the lid is even slightly loose, water pressure can build up in the chamber, leading to coffee grinds being forced into your cup and causing leaks.
When brewing with your Keurig, ensure that the lid is closing tightly. It should firmly seal the brewing chamber, exerting the necessary pressure on the K-Cup to prevent leaks.
Begin by checking if there are any obstructions or debris preventing the lid from closing properly. Clearing away any potential blockages can sometimes resolve the issue.
If the lid continues to exhibit a loose fit or fails to close tightly despite your efforts, it may be necessary to seek assistance from Keurig support.
Resolving Leaks Caused by a Damaged Heating Element or Internal Pipework
In some cases, water leakage from your Keurig machine may be attributed to a damaged heating element or internal pipework. If you suspect these components are the source of the leaks, there is a simple way to detect and confirm the issue.
By running the coffee machine while it’s disassembled, you can observe any water loss and gain valuable insights into the potential breakages causing the leaks.
However, it is important to note that performing this procedure may void your machine’s warranty, so proceed only if the warranty period has expired.
Additionally, always ensure the device is unplugged before conducting any servicing to prevent electrical shocks and short circuits.
To begin, carefully disassemble your Keurig machine by removing the back screws and opening up the rear panels. Running the machine in this disassembled state allows you to observe and identify the specific component that is leaking.
This visual inspection is crucial in determining the root cause of the leakage. Once you have identified the problematic component, you have a few options for resolution.
If you are confident in your abilities, you can seek a quick replacement for the damaged part at a local service or spares center. With the new component in hand, you can proceed to replace the affected piece on your own.
However, if you are uncertain or uncomfortable with the process, it is advisable to enlist the services of a qualified technician who can efficiently replace the damaged part for you.
It is generally recommended to opt for a genuine replacement part rather than attempting to repair the damaged component.
A new, authentic component is likely to offer better performance and durability compared to a patched-up or repaired piece.
In some cases, if the issue is related to a loose component within the water circuit of your Keurig machine, you may be able to manually reposition and secure it firmly, thus resolving the leakage problem.
However, exercise caution and ensure the device is unplugged throughout the process.
It is important to note that operating the machine with its casing open is extremely dangerous and should only be undertaken at your own risk.
Water and electricity do not mix, and there is a significant risk of electrical hazards.
Understanding Water Leakage from the Bottom of Your Keurig
While water leaks from the top of your Keurig coffee maker can be a cause for concern, it’s important to know that leaks can also occur at the bottom of the machine.
Although this may sound alarming, the good news is that there are typically only a few main reasons why your Keurig may be leaking from the bottom, and they are relatively simple to identify and address.
In this subsection, we will delve into these potential causes along with their solutions.
Sealing the Deal: Addressing Water Leakage from Perished Water Reservoir Seal
A potential cause of water leakage from the bottom of your Keurig machine lies in the seal on the water reservoir.
When you fill the reservoir and push it into the base of the unit, a small valve opens, allowing water to flow into the machine. It’s worth noting that you can observe the seal on the valve when you look down into the water tank.
Over time, it is not uncommon for the seal in this valve to perish, resulting in water leakage instead of a proper connection.
Fortunately, there is a remedy to address this issue and restore the seal’s functionality. One effective solution is to use a product like DANCO Silicon Grease to fix the perished seal.
To begin, apply the silicon grease to both the seal and the O-ring where it joins the coffee brewer. This lubrication helps to enhance the sealing properties of the components.
To ensure proper distribution of the grease, remove and re-insert the water tank a couple of times. This action spreads the grease and allows it to coat the necessary areas.
Once this step is completed, refill the tank and place it on a dry surface to recheck for any remaining leaks.
In most cases, the silicone valve itself may not be broken. However, it tends to wear off at the point of attachment with the water tank.
To maintain its sealing characteristics and prevent future leaks, it is important to regularly apply silicone grease to the silicone seal.
This practice helps preserve the integrity of the seal and ensures a proper connection between the water reservoir and the machine.
Securing the Connection: Addressing Water Leakage from a Defective O-Ring
Another potential cause of water leakage from the bottom of your Keurig machine is a defective or worn-out O-ring, which is responsible for ensuring a secure connection between the valve and the pump.
In such cases, it may be necessary to replace the O-ring instead of relying solely on the application of silicone grease.
To check and address the issue with the O-ring, follow these steps:
- Verify the presence of the O-ring: Check if the O-ring is still intact and in its designated position. It’s possible that it may have fallen off or been misplaced. Without the O-ring, water will almost certainly leak from the bottom of the machine. If the O-ring is missing, you can obtain a new one from Keurig. However, ensure that you identify the correct O-ring for your specific model, as they may vary slightly between different machines.
- Ensure proper positioning: Examine the O-ring’s placement and ensure it sits snugly against the bottom of the water tank. If it has shifted from its intended position, you can use your fingers to gently push it back into place.
- Check for damage: If repositioning the O-ring does not resolve the leakage issue, inspect it for any cracks or signs of damage. You can do this by removing the O-ring and carefully examining its condition. Should you discover any cracks or damage, it will be necessary to obtain a replacement O-ring to rectify the problem effectively.
If the O-ring appears to be in good condition and properly positioned, the issue may lie elsewhere, potentially within the water tank itself.
In such cases, further investigation or assistance from Keurig support may be required to identify and address the underlying cause of the water leakage.
Cracked Water Tank: Identifying and Addressing Leakage
The presence of a crack or pinhole in the water reservoir of your Keurig machine can be a common cause of water leakage from the bottom.
These cracks may occur due to accidental falls or even hairline fractures in the reservoir itself.
To determine if a cracked water tank is the source of the leakage and take appropriate measures, follow these steps:
- Inspect the water tank: Carefully remove the water tank from the machine and thoroughly examine it. Look for any noticeable cracks along the sides or at the bottom of the tank. If you spot a significant crack, it will be necessary to order a replacement water tank.
- Check for water underneath: Lift up the water tank and check the area beneath it. If you find water collected underneath, it indicates potential damage to the water tank, and replacing it will likely be necessary.
- Perform a drip test: Hold the water tank over a sink and observe if water drips from it. If water consistently drips into the sink, it serves as another indication of a damaged water tank that requires replacement.
When addressing a cracked or damaged water tank, the best course of action depends on the severity of the issue. If the crack is minor and repairable, you may consider using a dab of hot glue or attempting to solder the affected area.
However, if the damage is extensive or beyond repair, replacing the entire water tank is the recommended solution. Keurig themselves suggest opting for a replacement unit.
To acquire a replacement water tank, you can reach out to Keurig customer support or explore alternative options.
Amazon often provides a convenient and efficient way to procure replacement parts, including water tanks, ensuring a smooth transition in getting your Keurig machine back in working order.
Remember, it is essential to know the specific model of your machine as water tanks can vary between different Keurig models.
Worn Water Reservoir Seal: Remedying Leakage with Proper Maintenance
There is a small valve located at the bottom of the water tank. When you securely attach the tank to the machine, water is supposed to flow out of the valve and into the brewer’s pump.
Unfortunately, the accumulation of limescale can disrupt this connection, causing water to leak out.
To address this issue, begin by cleaning both the valve and the base connection using a small amount of white vinegar.
Wipe them down and allow them to dry. Then, reattach the tank and check if the connection has improved, thus preventing any leakage.
If the problem persists, you can try applying a small amount of silicon faucet grease to both components.
Troubleshooting Coffee Leaking from the Keurig Machine
While less common than water leaks, experiencing coffee leaking from your Keurig machine can be equally frustrating. This section addresses the potential causes of coffee leakage and provides steps to address the issue effectively.
Faulty Tube Connectors and Worn-out Filters
The main reason behind coffee leaking into your mug is faulty tube connectors. When these connectors are worn out, the coffee content in your cup can exceed the desired level, resulting in leakage.
To prevent further leakage, it is recommended to replace both the tube connectors and filters with new ones from Keurig.
By ensuring proper connections and using fresh filters, you can prevent coffee from leaking out of the machine during the brewing process.
Dirty Puncturing Needle
A clogged or damaged puncturing needle in your Keurig machine can lead to coffee leakage.
If you notice thin steam flowing from the machine while brewing coffee, it indicates a potential issue with the bottom puncture needle.
This can cause excess coffee to seep into your mug.
To address this, follow these steps to clean the dirty exit needle using a paper clip:
- Straighten one end of a paper clip.
- Turn off the machine, unplug it, and remove the water reservoir.
- Gently pull away the sides of the K-cup holder to remove it from the brewer.
- Press the button on both sides to separate the holder from the housing. Flip the holder over while holding down the lever to expose the exit needle.
- Insert the straight end of the paper clip into the needle area and move it around in a circular motion several times.
- Rinse the pod holder with water and set it aside to dry.
- Additionally, clean the top entrance needle by carefully inserting the paper clip underneath the handle and moving it around to clean.
- Reinstall the pod holder and close the lid.
It is also advisable to clean the puncture needle located under the Keurig lid. However, if the needle is bent or damaged, it is recommended to replace it.
Although repair is possible, it is often more effective to obtain a replacement needle for optimal performance.
By regularly cleaning the puncturing needles and ensuring they are free from debris, you can prevent coffee leaks and maintain the proper functioning of your Keurig machine.
It Might Be Time To Call A Professional
If you have tried all the previous troubleshooting steps but the leaking issues persist, it is likely that one or more internal components are broken or damaged.
These advanced issues can involve parts such as the upper gasket, tube connectors, filters, water line circuit, heating element, or internal pipes.
Diagnosing and replacing these components requires opening up the coffee maker, which can void your warranty.
We strongly advise against attempting this repair yourself as it is a complex task. Instead, it is recommended to contact Keurig support to explore options for professional assistance and repair.
How To Check My Warranty?
To determine the status of your Keurig warranty and reach out for support, there are several available options to consider.
Firstly, you can conveniently check the validity of your Keurig warranty by visiting the official Keurig website and utilizing the Warranty Lookup tool. By entering your brewer’s serial number, you can determine whether your Keurig is still covered by warranty.
If it is, you can proceed by contacting Keurig’s customer service via their toll-free phone number 1-866-901-BREW (2739) to request warranty servicing.
For any technical support requirements, you have the option to call Keurig’s dedicated technical support line at 1-888-287-2739, choosing option 5.
Alternatively, you can access the Keurig support website, which offers troubleshooting tips, informative how-to videos, and frequently asked questions.
Should you need to submit a service request, the process can be initiated through the Keurig support website, where you will find clear instructions to follow.
It’s worth noting that Keurig provides a limited one-year warranty for their brewers, which covers defects in materials or workmanship under normal home use.
Conclusion
Dealing with water leaks from your Keurig machine can be frustrating, but by following the troubleshooting steps outlined in this blog post, you can identify and resolve common causes of leakage.
From checking the top and bottom of the machine for potential issues, such as perished seals, defective O-rings, cracked water tanks, to descaling the machine regularly, these steps can help address most leak-related problems.
However, it’s important to recognize that some issues may require advanced troubleshooting or professional assistance.
In cases where the internal components are broken or damaged, attempting repairs yourself can be risky and may void your warranty.
Instead, it is highly recommended to contact Keurig support to explore options for repair and obtain expert guidance.
Remember, prevention is key to maintaining the optimal performance of your Keurig. Regular descaling, proper maintenance, and timely replacement of worn-out parts can go a long way in preventing leaks and ensuring a satisfying brewing experience.
By understanding the potential causes of water leaks and knowing how to address them, you can enjoy your Keurig machine without the annoyance of unexpected leaks.
So, take care of your Keurig, follow the maintenance recommendations, and savor every cup of delicious coffee it brews. Cheers to leak-free brewing!
FAQ’s
How long does a Keurig last?
If you use your Keurig to brew between one and four cups per day, you can typically expect your machine to last for approximately 3-5 years. On average, Keurig machines tend to have a lifespan of three to five years before showing signs of wear and tear.
Why is my Keurig coming out like water?
If your Keurig is dispensing watery coffee, it may be due to a clogged needle, an incorrect water-to-coffee ratio, or a faulty brewer pump.
Try cleaning the needle, ensuring the proper water amount, and checking the K-Cup insertion. If the issue persists, consider contacting Keurig support or seeking professional assistance.
How do you get water out of a broken Keurig?
To remove water from a broken Keurig, ensure that the brewer is powered off but still plugged in. Place a mug on the Drip Tray to catch the water.
Check if there is any remaining water in the Cold Water Reservoir, and if so, lift the brewer handle to drain it into the Hot Water Tank.
Where is the water sensor on a Keurig?
The water sensor on a Keurig is located within the water reservoir of the brewer.